
Removing
1. We prepare the car for operations (see "Vehicle preparation for maintenance and repair").
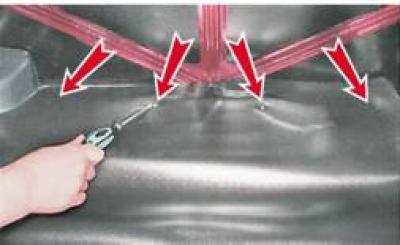
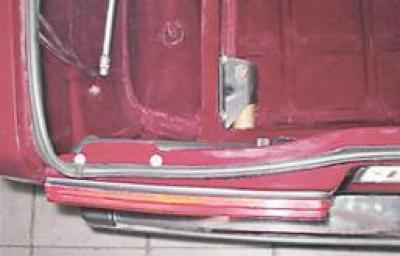
2. Using a slotted screwdriver, we hook and remove the four rubber clips of the front mounting of the trunk mat.
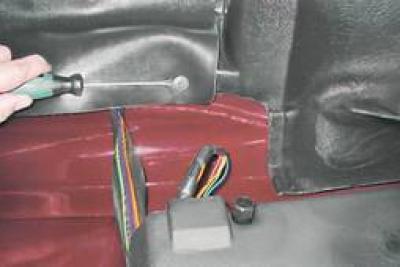
3. Using the same tool, we remove two plastic clips from the rear mounting of the trunk mat from the holes in the body (The photo shows one clamp).
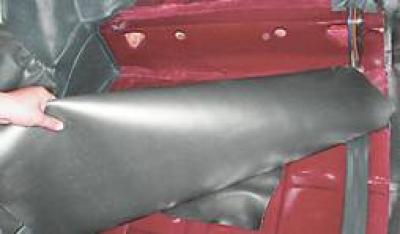
4. We take out a rug from a luggage carrier.
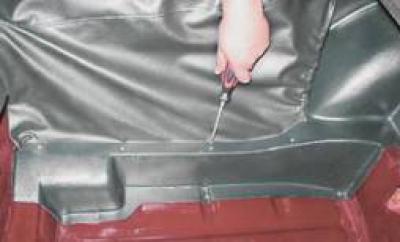
5. Using a Phillips screwdriver, unscrew the seven screws securing the lining to the left side member and remove it.
6. Having unfastened a cover, we take out a spare wheel from a niche of a luggage carrier.
7. Using a 13 mm wrench, unscrew the nut of the bumper mounting bracket on the left side.
8. Remove the fuel tank trim and unscrew the fuel tank clamp bolt (see "Fuel tank - removal and installation"). To access the nut of the bumper mounting bracket on the right side, move the fuel tank forward and unscrew the nut with a 13 mm wrench.
9. Using a 22 mm wrench, unscrew the bolt securing the bumper bracket to the body bracket.
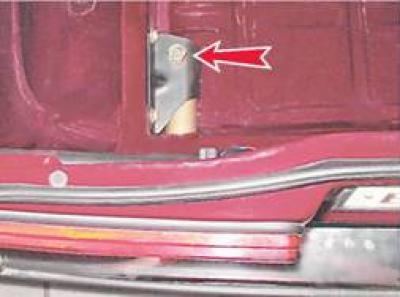
10. Similarly, we unscrew the bracket mounting bolt on the other side.
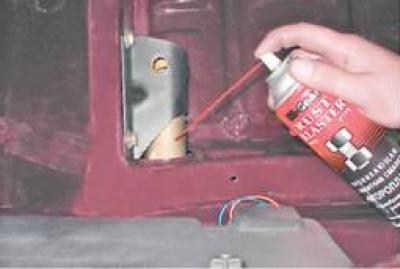
11. To reduce the friction of the brackets on the rubber seals, when removing the bumper, apply a penetrating lubricant or soapy solution to the brackets.
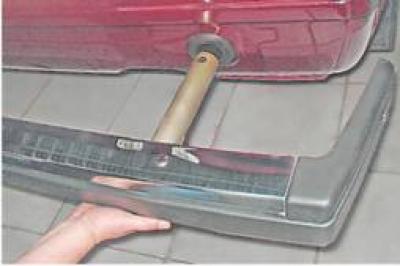
12. When removing the bumper pipes from the seals in the body, remove the bumper.
13. We disassemble the rear bumper in the same way as the front (see "Front bumper - removal and installation").
Installation
Assembly and installation of the bumper is carried out in the reverse order.