
Removing
1. We prepare the car for operations (see "Vehicle preparation for maintenance and repair").
2. Special hose (see "Tools, fixtures and operating materials") we pump out gasoline from the tank.
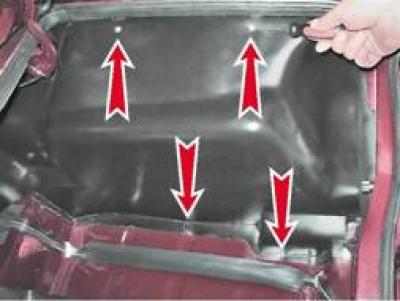
3. We take out the caps and bend the right edge of the trunk mat (see "Rear bumper - removal and installation").
4. Using a Phillips screwdriver, unscrew the four screws securing the fuel tank lining and remove it.
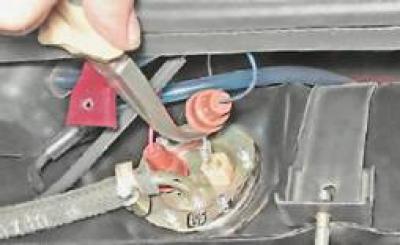
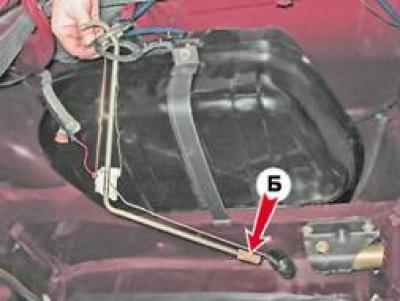
5. Having previously marked the location, we shift the protective caps and disconnect the wire ends from the terminals of the level indicator and fuel reserve sensor. The blue-brown wire is connected to the right output of the sensor, and the pink-brown wire is connected to the left (direction of view from the trunk).
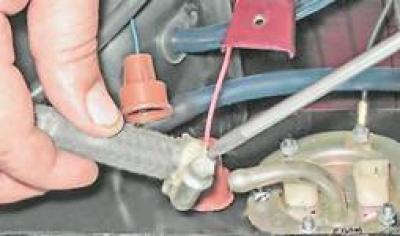
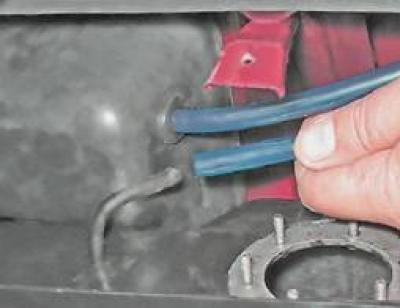
6. Using a Phillips screwdriver or an 8 mm wrench, loosen the fuel hose clamp and remove the hose from the fitting. We plug the end of the hose with an M8 bolt.
7. Using a 7 mm wrench, unscrew the six nuts securing the sensor and remove tip A "mass" wires.
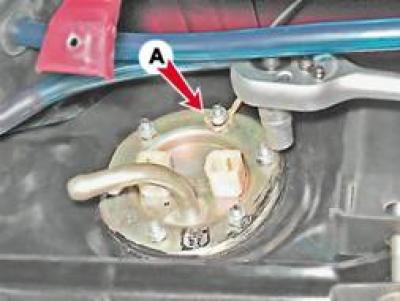
8. We remove the level indicator and fuel reserve sensor from the fuel tank. We wash filter B with acetone and blow the filter tube with compressed air.
9. Remove the ventilation hose from the fuel tank fitting.
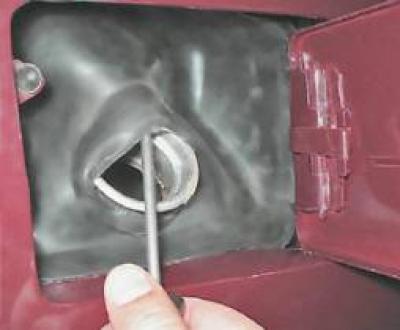
10. Turn off the filler cap.
11. Prying with a screwdriver, remove the rubber apron from the tank neck.
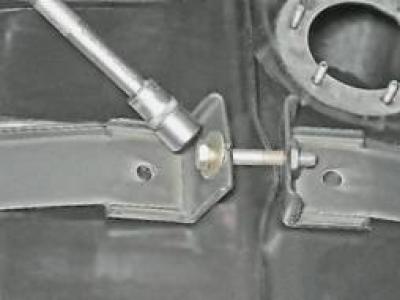
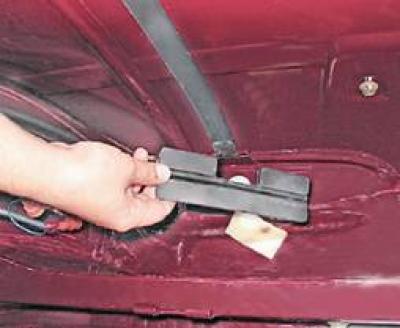
12. Using a 10 mm wrench, unscrew the bolt of the fuel tank fastening clamp.
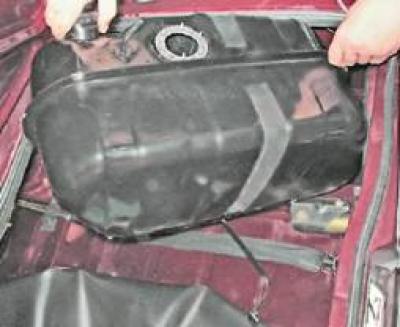
13. We take out the tank from the trunk niche.
14. We take out the bottom rubber gasket.
Installation
1. If the tank was not removed for replacement, we wash it from the inside with gasoline or solvent.
2. Install all removed parts in reverse order.