




Contents: Removal ↓ Installation ↓
We remove the bumper to replace its parts or perform body repairs on the rear of the car.
Removal
1. Prepare the car for work (see "Preparing a car for maintenance and repair").
2. Using a slotted screwdriver, pry up and remove the three rubber fasteners of the front fastening of the trunk mat.
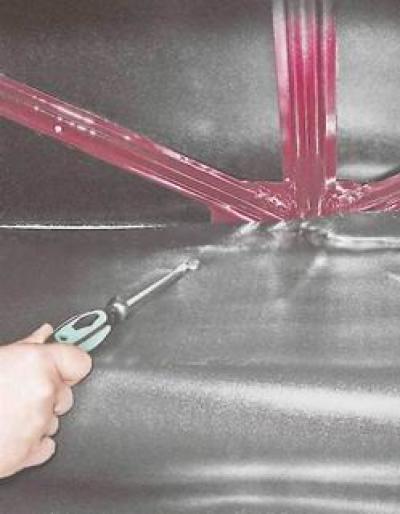
3. Using the same tool, remove the two plastic fasteners for the rear boot mat from the holes in the body (the photo shows one clamp).
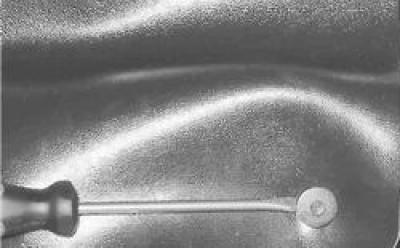
4. Remove the mat from the trunk.
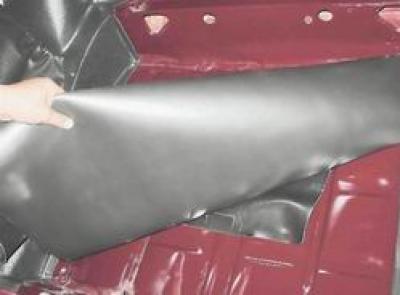
5. Using a Phillips screwdriver, unscrew the six screws securing the rear trim panel of the trunk and remove it.
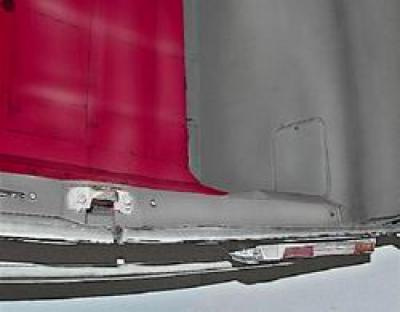
6. Using the same tool, unscrew the six screws securing the trim to the left side member and remove it.
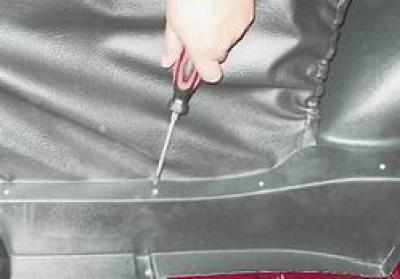
7. Remove the fuel tank trim (see "Fuel tank - removal and installation").
8. With a socket wrench by 13 mm we unscrew two bolts securing the bumper bracket to the body side members.
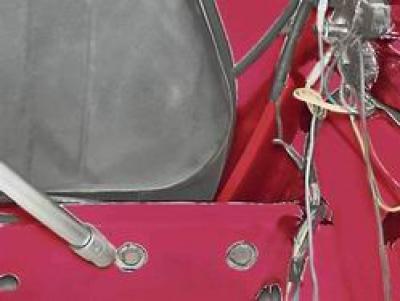
9. Disconnect the wire from the fog light terminal (see "Rear fog light - bulb replacement, removal and installation").
10. Remove the brackets from the holes in the body and remove the bumper.
11. Disassemble the rear bumper in the same way as the front one (see "Front bumper - removal and installation").
12. Remove the fog light (see "Rear fog light - bulb replacement, removal and installation").
Installation
Assembly and installation of the bumper is performed in the reverse order.