




Note: The car may be equipped with a bumper with a plastic or metal reinforcing beam. These bumpers differ in the way they are attached to the rear panel of the body. It is more convenient to perform the work on an inspection pit or overpass.
Removal and disassembly
1. Prepare the car for work (see "Preparing the car for maintenance and repair").
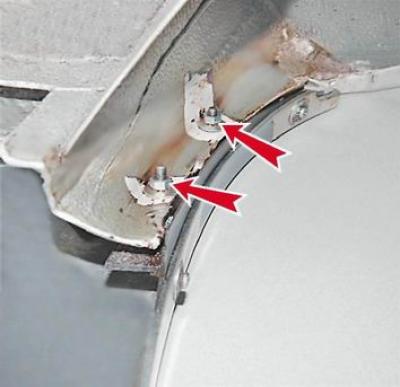
2. Key by 10 mm we unscrew the two nuts that secure the left bumper cover to the body.
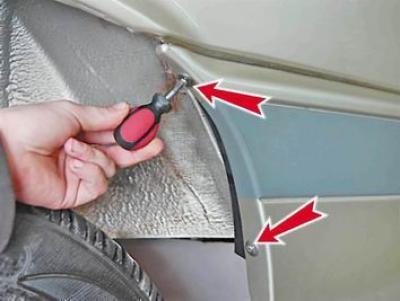
3. Using a Phillips screwdriver, unscrew the two screws securing the left trim to the bumper.
4. Remove the studs of the side bumper bracket and remove the left bumper trim.
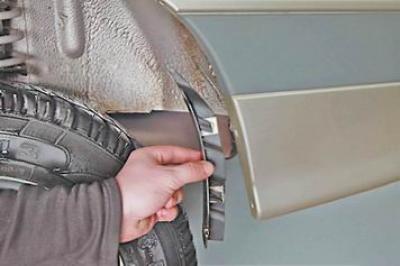
5. Remove the right bumper trim in the same way.
6. By car with metal beam key by 13 mm unscrew the three nuts securing the rear left bumper bracket to the rear body panel (for clarity, shown with the bumper trim removed).
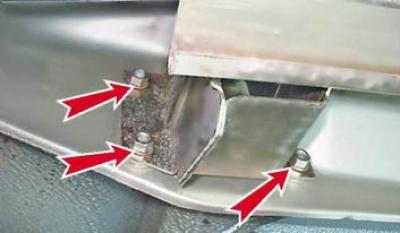
By car with plastic beam key by 13 mm unscrew the nuts securing the bumper to the rear panel of the body (two on each side).
7. Remove the bumper assembly from the car.
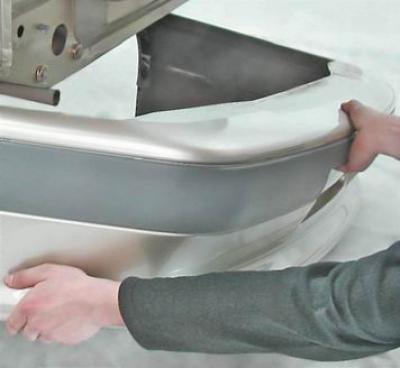
Note: There may be adjusting washers installed under the bumper mounting brackets - mark their location.
If it is necessary to replace the bumper, it must be disassembled.
Disassembly
1. Using a Phillips screwdriver, unscrew the four screws securing the beam to the bumper (or six screws for the plastic beam).
2. Remove the beam from the bumper.
3. Using a Phillips screwdriver, unscrew the three screws securing the bracket to the bumper and remove the bracket. Remove the second bracket in the same way.
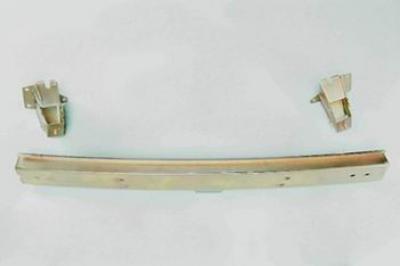
4. By car with metal beam key by 13 mm we unscrew the nuts securing the two bumper brackets...
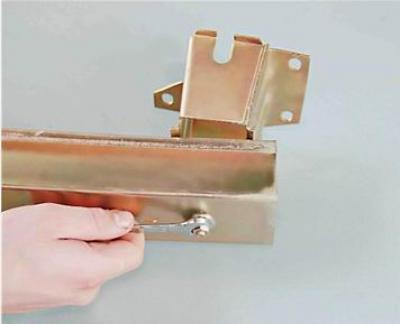
...and remove the brackets from the beam.
Assembly and installation
We assemble and install the bumper in the reverse order. Before tightening the nuts securing the bumper to the body, we move the bumper in the vertical plane, achieving a uniform gap.
Note: To adjust the position of the bumper in the horizontal plane, you should change the number of washers under its rear brackets.