




Contents: Disassembling the cardan joint ↓ Assembling the cardan joint ↓ Removal the intermediate support ↓ Installing an intermediate support ↓ Removal the elastic coupling ↓ Installation of elastic coupling ↓
To complete the work you will need: a new crosspiece assembly, a crosspiece puller, a cardan shaft fork nut and a section of pipe with an outer diameter of 22 mm, an inner diameter of at least 15 mm and a length of 10 mm.
1. Remove the cardan shaft (see "Cardan transmission - removal and installation").
2. Clean the shafts and joints from dirt, wash them with water and detergent.
3. Apply marks with a center punch or paint (on one side of the shaft) the relative position of the cardan joint forks to avoid imbalance of the cardan transmission.
Disassembling the cardan joint
On a car with high mileage, it is recommended to first tap it with a suitable punch (socket wrench head or old piston pin) ends of the retaining rings and apply penetrating liquid to them.
1. Using snap ring pliers, remove the four rings.
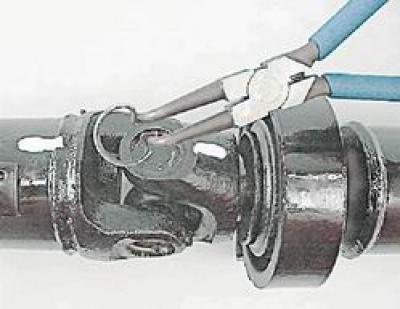
2. The bearings are installed in the joint forks with tension. In case of corrosion, the tension in the joint increases additionally, therefore, to avoid damaging the forks during disassembly, it is recommended to use not a hammer, but a special puller and to treat the entire joint with penetrating lubricant in advance.
3. Using a puller, partially press the bearing into the puller cup until the crosspiece rests against the fork. In this case, the bearing comes out of the fork only by 1/3 of its height.
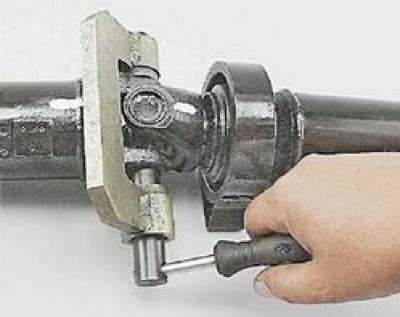
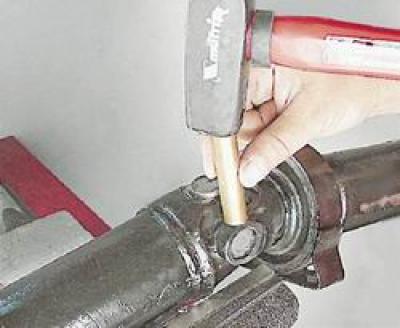
4. Clamp the cardan shaft in a vice by the joint fork so as not to deform the pipe. Use a hammer through a punch to strike the fork eyes of the front cardan shaft, moving the crosspiece until it stops in the fork. In this case, the bearing is partially pressed out.
5. From a piece of pipe we make two half rings.
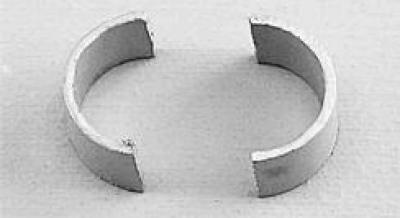
6. Move the front cardan shaft fork with the crosspiece to the opposite side and install the half rings on the crosspiece tenon (one half ring is shown).
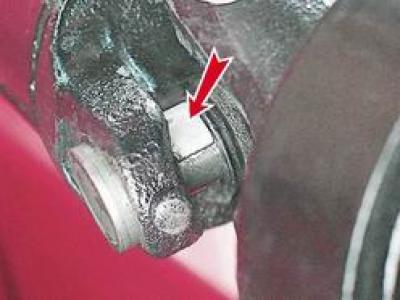
7. Using a puller, press out the bearing.
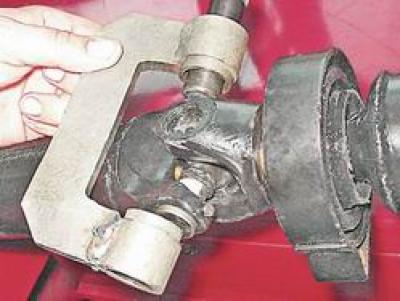
8. Remove the crosspiece from the rear cardan shaft fork.
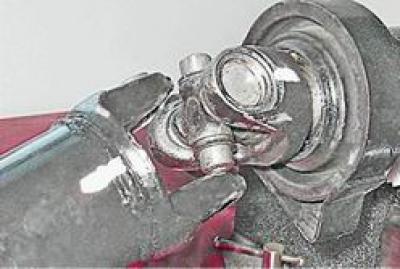
9. Similarly, we press out the bearing from the front cardan shaft fork, clamping it in a vice, but so as not to deform the pipe.
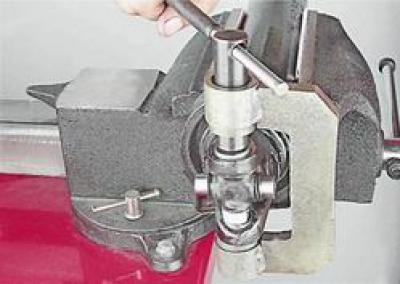
10. Remove the crosspiece.
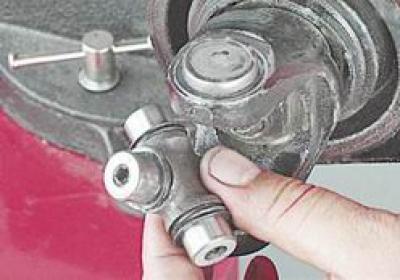
11. Using a hammer and a drift, press out the bearings from the forks of the rear and front cardan shafts.
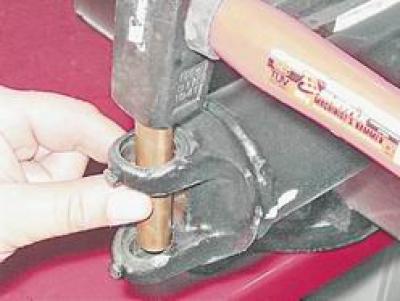
Assembling the cardan joint
Before assembly, additionally clean the hinge forks from dirt.
During assembly, it is necessary to ensure the axial clearance of the crosspiece within 0.01-0.04 mm. A larger clearance makes the bearing seals leaky and disrupts the balance of the transmission. The regulated clearance is ensured by installing retaining rings of the appropriate thickness. Spare parts are supplied with retaining rings with a thickness of 1.50 to 1.62 mm.
Attention! The crosspiece and bearing set must be replaced at the same time.
1. Before installing new bearings and the crosspiece, after making sure that these parts are clean, generously coat the needle rollers with grease. You can use Fiol-2U, No.158, MC1000, SHRUS-4 or another grease with similar properties. Fill the holes of the crosspiece pins with grease.
Attention! Liquid oil, various solid oils, graphite grease, and CIATIM-201 must not be used to lubricate cardan joints.
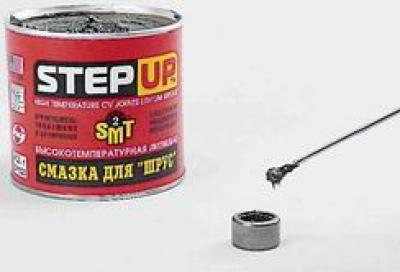
We apply a thin layer of grease to the fork eye holes to facilitate pressing and protect against corrosion.
2. Put the sealing rings on the crosspiece spikes (with the forked edge towards the bearing) and install plastic end washers into the holes of the crosspiece tenons.
3. Place the crosspiece between the fork eyes.
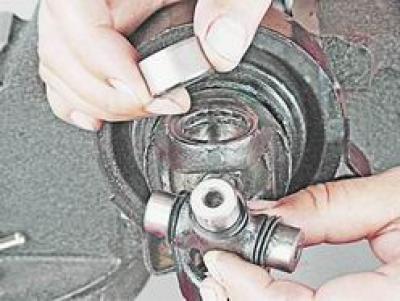
Using light hammer blows through the spacer, press the bearing into the fork a little deeper than the groove for the retaining ring. Using pliers, install the retaining ring into the groove.
4. Turn the fork over and press in the second bearing until the first bearing rests against the retaining ring. Install the retaining ring of the second bearing.
5. Similarly, we press the bearings into the eyes of the second fork.
6. After pressing in all the bearings and installing the retaining rings, tap the fork lugs with light hammer blows. This is necessary to press the bearings against the retaining rings. This will create gaps between the ends of the crosspiece pins and the bottoms of the bearings, which are necessary for the normal operation of the joint.
After assembling the joint, it should be checked for ease of swinging and the absence of axial play in both forks that can be felt by hand. If such play is detected, thicker retaining rings should be installed.
Removal the intermediate support
The intermediate support usually has to be removed when its bearing wears out, however, by this time, as a rule, the elastic support cushion is also damaged. Therefore, it is more expedient to replace the support with the bearing assembly.
To complete the job you will need a universal two-grip puller.
1. Clamp the front cardan shaft in a vice so as not to deform the pipe.
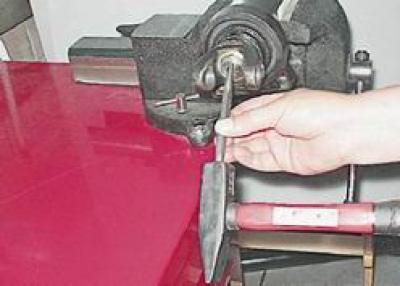
2. Using a fine punch, loosen the nut securing the front cardan joint fork.
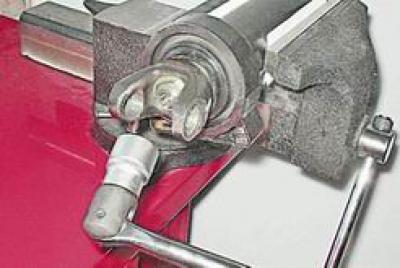
3. With a socket wrench by 27 mm we unscrew the nut.
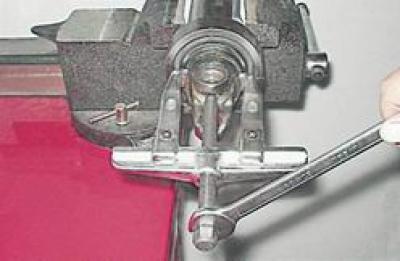
4. Using a two-jaw puller, press the fork off the splines of the cardan shaft.
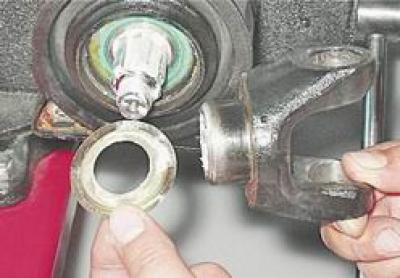
5. Remove the fork and mud deflector.
6. Having installed the intermediate support on two suitable keys or rods, we knock the shaft out of the bearing using a soft metal punch.
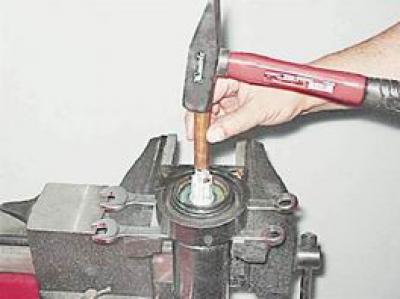
7. Remove the second mud deflector from the shaft.
Installing an intermediate support
1. Install the intermediate support in the reverse order. Apply any plastic grease to the splines of the front cardan shaft to protect against corrosion.
2. Tighten the new front driveshaft fork mounting nut to a torque of 79.4-98.0 N·m and secure it with a punch.
Removal the elastic coupling
The flexible coupling usually has to be removed to replace its rubber element (if it is damaged). If the element is not damaged and will be installed in place, a worm clamp with a diameter of at least 140 mm should be purchased to tighten the coupling during installation. The new coupling is supplied complete with a special mounting clamp.
1. Remove the cardan shaft (see "Cardan transmission - removal and installation").
2. With a socket wrench by 13 mm using an extension, unscrew the two nuts securing the gearbox crossmember to the body.
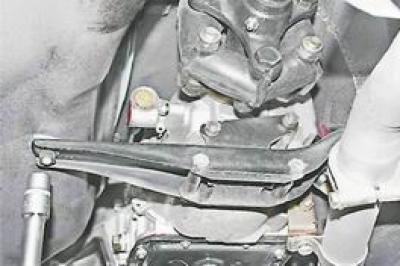
3. To facilitate removal and subsequent installation (in case of using the previous coupling) we tighten its rubber element with a clamp.
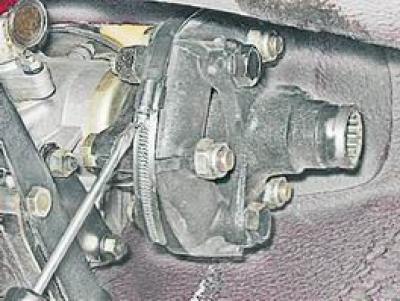
4. With a socket wrench by 19 mm we unscrew the three self-locking nuts of the coupling mounting bolts, holding the bolts from turning with a wrench of the same size.
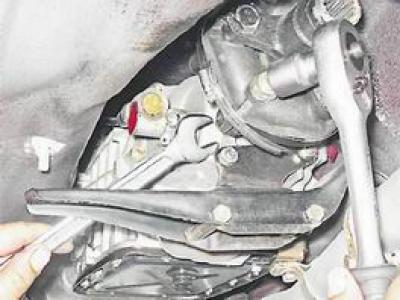
5. Remove the coupling together with the centering ring and rubber seal.
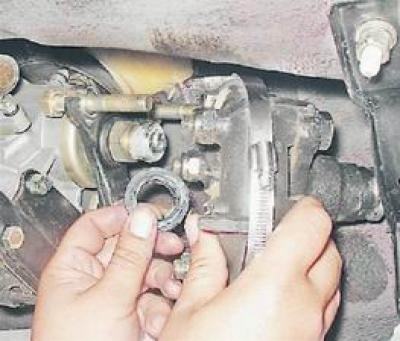
6. After unscrewing the three nuts of the bolts securing the elastic coupling to the flange of the front propeller shaft, we separate the parts.
Installation of elastic coupling
1. Install the new coupling in the reverse order.
In this case, we must ensure that the protrusions on the coupling enter the corresponding grooves of the flanges of the front propeller shaft and the secondary shaft of the gearbox.
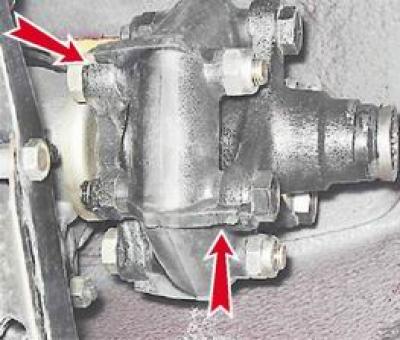
2. Install the cardan transmission on the car (see "Cardan transmission - removal and installation").