




Contents: Removal the upper longitudinal…↓ Installation ↓ Removal the lower longitudinal…↓ Installation ↓ Removal the crossbar ↓ Installation ↓
We install the car on an inspection pit or overpass (see "Preparing a car for maintenance and repair"). We treat threaded connections with penetrating lubricant.
Removal the upper longitudinal reaction rod
1. Using a 19 mm socket wrench, unscrew the nut of the bolt securing the rod to the rear axle bracket, holding the bolt from turning with a wrench of the same size.
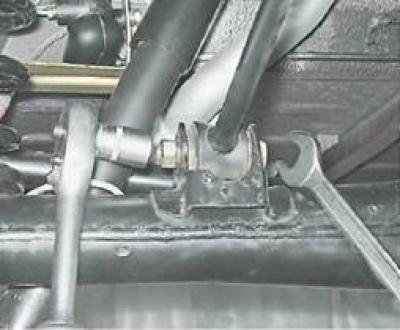
2. Remove the spring washer and take out the bolt, using a soft metal punch if necessary to avoid damaging the threads.
3. Using a 19 mm socket wrench, unscrew the self-locking nut of the bolt securing the rod to the body side member.
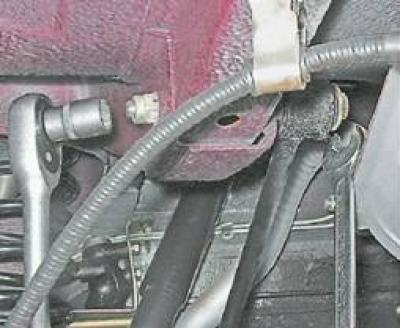
4. Remove the washer, take out the bolt with the washer (using a punch if necessary) and remove the upper longitudinal reaction rod from the car.
Installation
The installation of the upper rod is performed in the reverse order. It is recommended to replace the self-locking nuts with new ones.
Removal the lower longitudinal reaction rod
[Information taken from the website VazBook.ru]
1. To access the head of the bolt that secures the rod to the axle, disconnect the lower end of the shock absorber from the rear axle beam bracket (see below, "Rear suspension shock absorber - replacement") and move it to the side.
2. Using a 19 mm wrench, unscrew the nut of the bolt securing the rod to the rear axle bracket, holding the bolt from turning with a wrench of the same size.
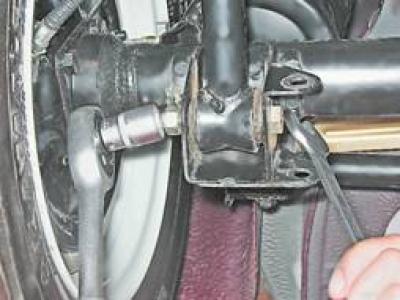
3. Remove the spring washer and take out the bolt, using a punch if necessary.
4. Similarly, using a 19 mm wrench, unscrew the self-locking nut of the bolt securing the rod to the body bracket.
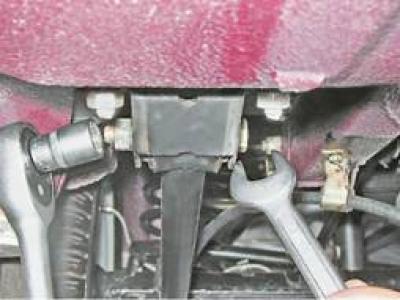
5. After removing the spring washer and taking out the bolt, remove the lower longitudinal reaction rod from the car.
Installation
The lower rod and shock absorber are installed in the reverse order. It is recommended to replace the self-locking nuts with new ones.
Attention! The left and right rods are not interchangeable. When installing, orient the rod so that the parking brake cable holder is directed upwards and located closer to the rear axle. In this case, the cable must pass on the inside of the holder.
Removal the crossbar
1. Using a 19 mm wrench, unscrew the nut of the bolt securing the rod to the rear axle bracket, holding the bolt from turning with a wrench of the same size.
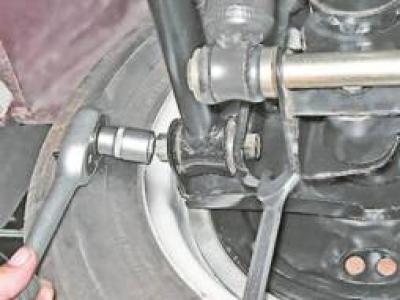
2. Remove the spring washer and take out the bolt, using a punch if necessary.
3. Using a 19 mm wrench, unscrew the nut of the bolt securing the rod to the body.
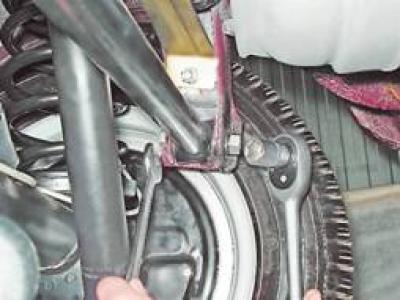
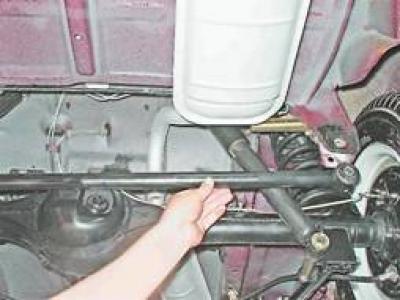
4. After removing the spring washer and taking out the bolt, remove the crossbar.
Installation
The installation of the crossbar is performed in the reverse order. It is recommended to replace the self-locking nuts with new ones.