




Removal the front supports
1. Place the vehicle on an inspection pit or overpass (see "Preparing a car for maintenance and repair").
2. Remove the mudguards (see "Mudguard - Removal and Installation").
3. Using a 17 mm socket wrench with a cardan shaft, unscrew the nut of the upper support mount on the left side of the power unit.
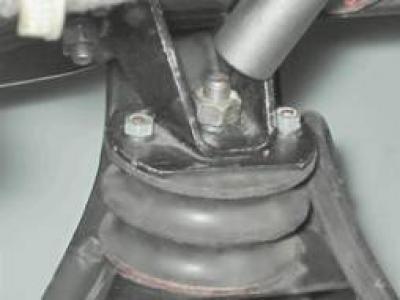
4. Using the same tool, unscrew the nut of the lower support mount through the hole in the crossbar.
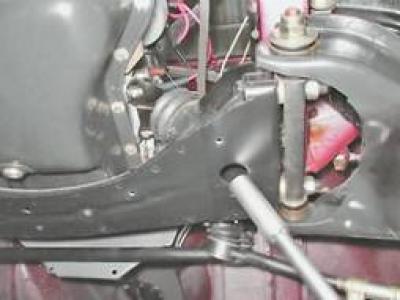
5. Raise the power unit with a jack and remove the support.
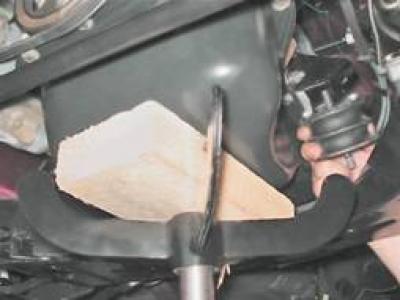
Installation
1. Installation of the support is performed in the reverse order.
2. Before installing the lower support mount nut, place the nut in a socket wrench and, having screwed it onto the stud, tighten it.
Similarly, we replace the support on the right side. To prevent the support from heating up with the intake pipe, a heat shield is installed between the crossbar and the right support.
The rear support of the power unit is attached to the rear cover and the gearbox crossmember.
Removal the rear support
1. Remove the gearbox crossmember from the body studs (see "Cardan transmission - removal and installation").
2. Using a 13 mm socket wrench, unscrew the two nuts securing the support to the rear cover of the gearbox.
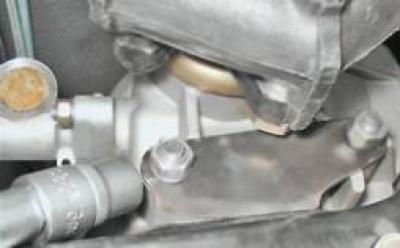
3. Remove the gearbox crossmember assembly with the support from the rear cover studs.
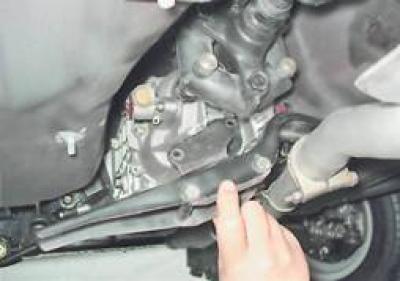
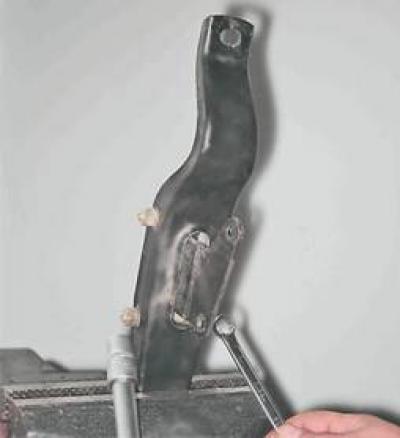
4. Using a 13 mm socket wrench, unscrew the two support mounting nuts, holding the bolts from turning with a wrench of the same size.
[The original is available on the online resource: VAZbook]
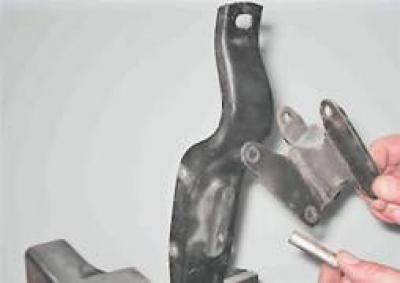
5. Remove the support. A spacer sleeve is installed between the support lugs.
Installation
The support is installed in the reverse order.