




Left engine mount
To complete the work you will need:
- height adjustable stop (for example, a screw jack);
- inspection pit or overpass.
Removal
1. Prepare the car for work (see points 1, 2b and 4 "Preparing a car for maintenance and repair").
2. Remove the protection (see "Engine protection - removal and installation").
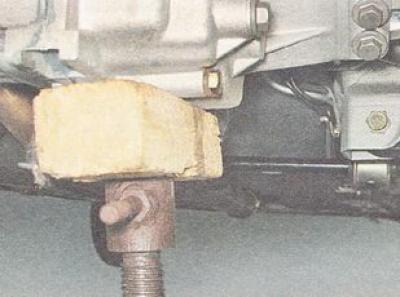
3. Place a height-adjustable support (jack) under the gearbox and lift the gearbox slightly, relieving the left support.
4. Using a 15 mm socket wrench with an extension, unscrew the nut of the left support stud.
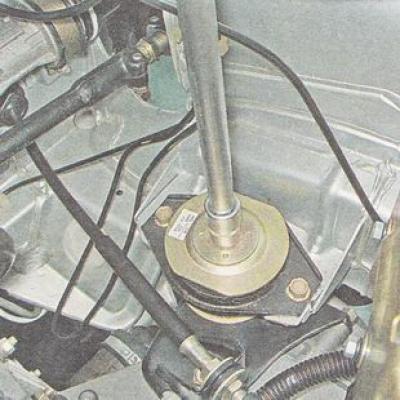
5. Remove the upper engine support limiter.
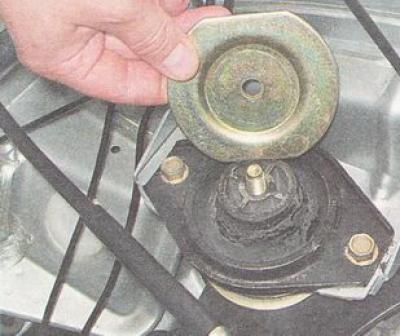
6. Lower the gearbox slightly using the jack.
7. Remove the engine support stud.
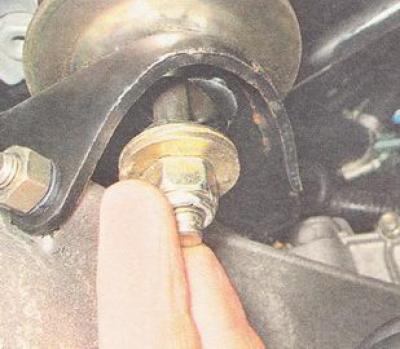
8. Using a 13 mm socket wrench, unscrew the two bolts securing the engine mount cushion to the body bracket.
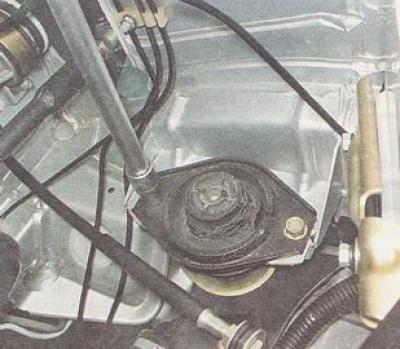
9. Slightly moving the cushion towards the engine, remove it from the bracket.
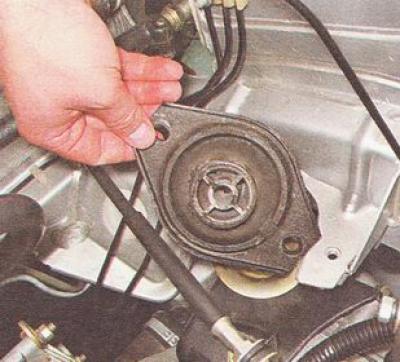
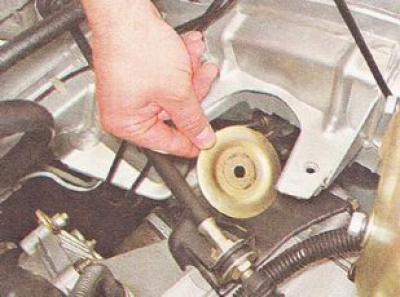
10. Remove the lower engine support limiter.
Installation
We install a new left support and all removed parts on the car in the reverse order of removal.
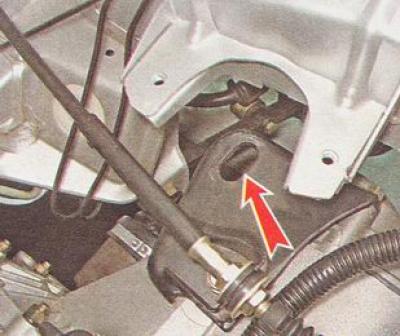
To prevent the stud from turning, its protrusions must enter the oval hole in the gearbox housing bracket.
Right engine mount
To complete the work you will need:
- inspection pit or overpass;
- height adjustable stop (for example, a screw jack).
Removal
1. Remove the protection (see "Engine protection - removal and installation").
2. Remove the alternator belt (see "Generator Drive Belt - Replacement")
3. Place a height-adjustable support (jack) under the engine and lift it slightly, relieving the right support of the power unit.
4. Using a 17 mm socket wrench, unscrew the upper nut of the right support cushion bolt.
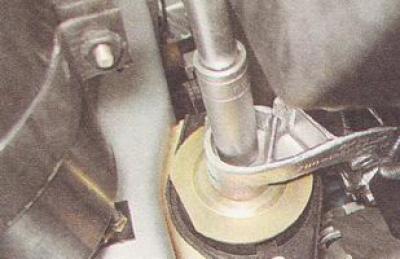
5. Using a 15 mm socket wrench, unscrew the bolt of the right powertrain support cushion.
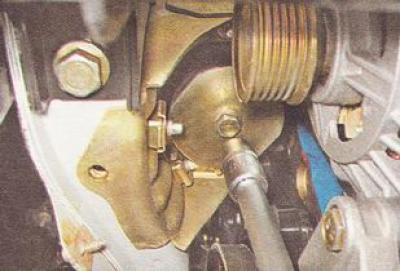
6. Remove the bolt of the right support cushion together with the lower limiter.
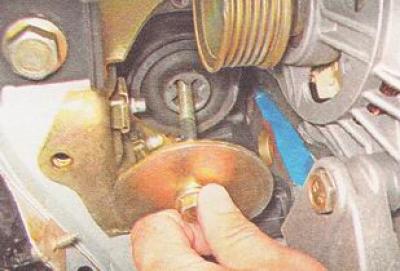
7. Having slightly raised the engine on the jack, we remove the shaped nut from under the bracket.
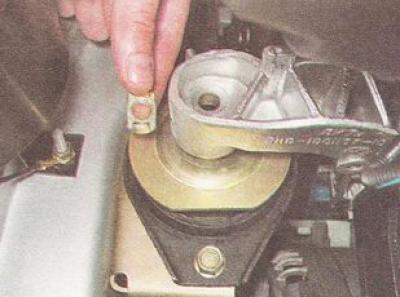
8. Remove the upper limiter of the right support cushion of the power unit.
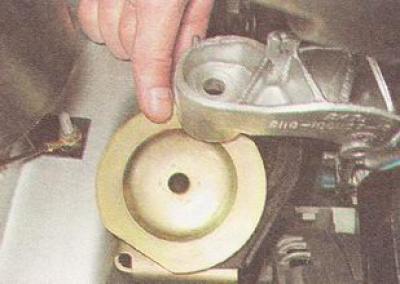
9. Using a 13 mm socket wrench, unscrew the two bolts securing the right support cushion to the body bracket.
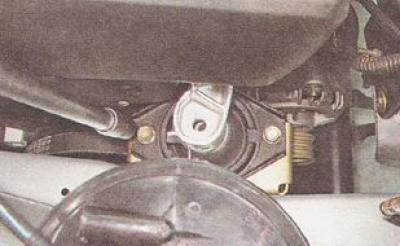
10. Remove the right powertrain support cushion.
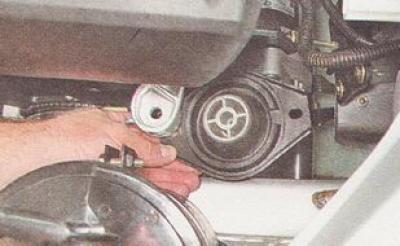
Installation
We install the right support of the power unit and all the removed parts on the car in the reverse order of removal, while the shaped nut of the bolt should be installed on the upper limiter with the protrusions facing up.
Lower engine rod
To carry out the work you will need an inspection pit or overpass.
Removal
1. Remove the protection (see "Engine protection - removal and installation").
2. Using a 15 mm wrench, unscrew the bolt securing the lower rod to the crossbar.
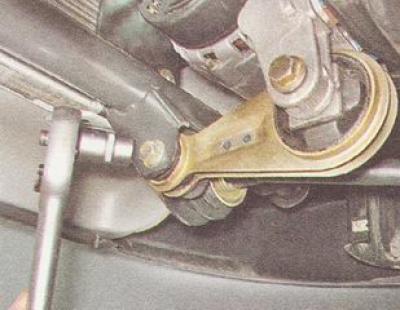
3. Using two 15 mm wrenches, unscrew the nut securing the lower rod to the engine.
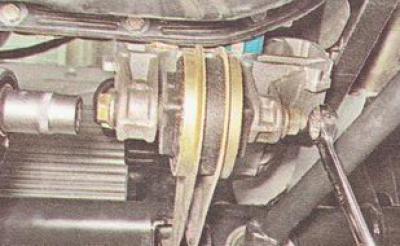
4. Slightly rocking the engine, remove the bolts securing the lower rod to the engine.
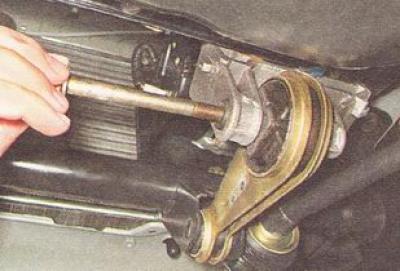
5. Remove the lower rod from the brackets.
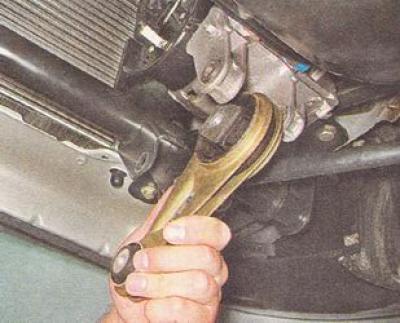
Installation
We install the lower rod and all removed parts on the car in the reverse order of removal.
Upper engine rod
Removal
1. Preparing the vehicle for work (see point 2 "Preparing a car for maintenance and repair").
2. Using two 15 mm wrenches, unscrew the nut of the bolt securing the upper rod to the engine.
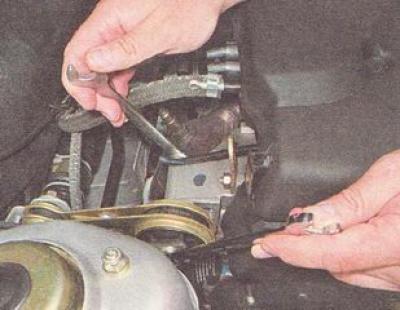
3. Slightly rocking the engine, remove the bolt securing the upper rod to the engine.
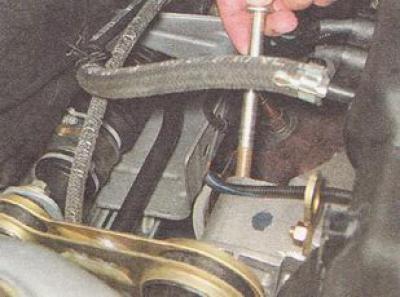
4. Using a 15 mm wrench, unscrew the bolt securing the upper rod to the body.
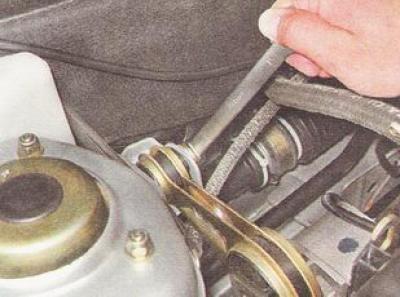
5. Remove the bolt securing the upper rod to the body.
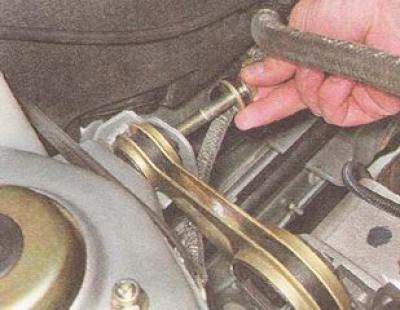
6. Remove the upper rod from the brackets and remove it.
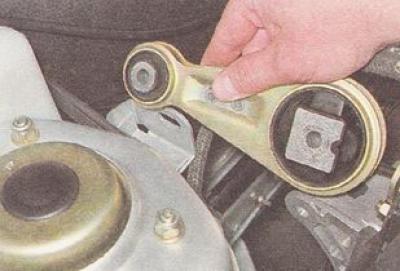
Installation
We install the upper rod and all removed parts on the car in the reverse order of removal.