




Contents: Removal ↓ Installation ↓
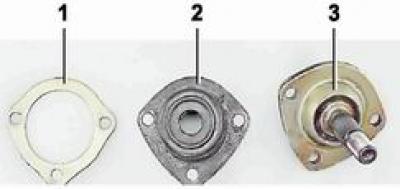
Upper ball joint parts: 1 - pressure plate (2101-2904078); 2 - ball joint cover (2101-2904070); 3 - upper ball pin (2101-2904192-01)
Removal
1. Prepare the vehicle for operations (see "Preparing a car for maintenance and repair").
2. Remove the wheel (see "Wheel - replacement").
3. Clean the fastening elements of the replaced ball joint from dirt and apply penetrating lubricant to them.
4. To remove the upper ball joint, place a jack under the lower suspension arm and load the suspension.
5. With an open-end wrench by 22 mm loosen the self-locking nut of the upper ball joint pin.
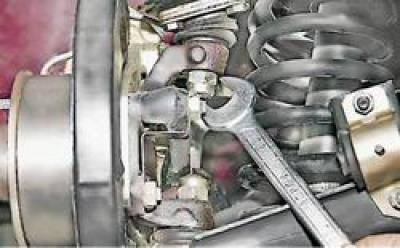
6. Using a puller, press the pin out of the steering knuckle.
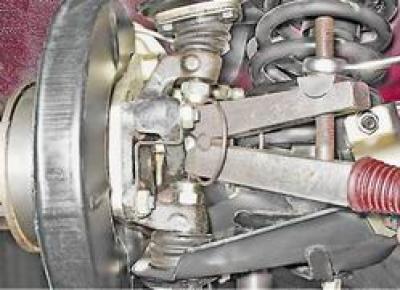
7. Unscrew the nut securing the ball pin of the upper support and remove it from the steering knuckle.
8. With a socket wrench by 13 mm we unscrew the three nuts securing the upper ball joint to the lever.
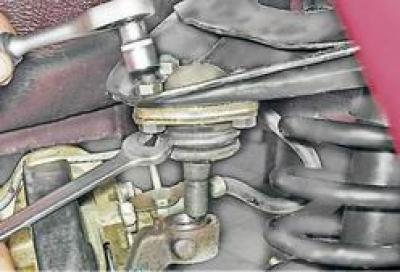
9. Remove the upper ball joint with the pressure plate and cover.
10. To remove the lower ball joint with an open-end wrench by 22 mm unscrew the ball joint mounting nut by 4-5 turns.
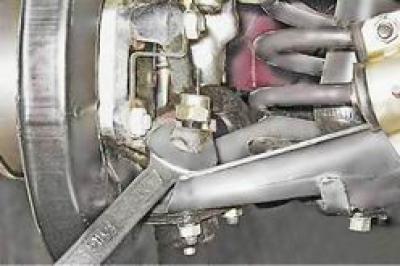
11. Using a puller, press the ball pin out of the steering knuckle.
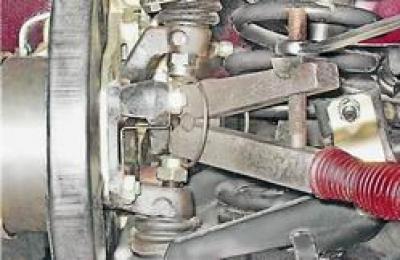
12. Unscrew the nut securing the lower ball joint.
13. Key by 13 mm we unscrew the three nuts securing the lower ball joint to the lever.
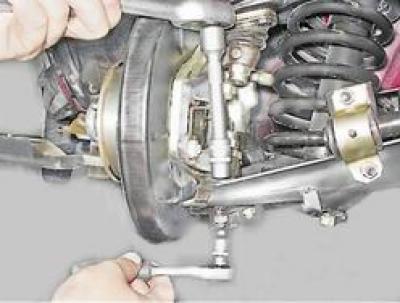
14. Remove the lower ball joint together with the cover.
Installation
1. Before installing the ball joints, check for grease in the boot. If necessary, apply grease to the ball pin and place it under the protective boot.
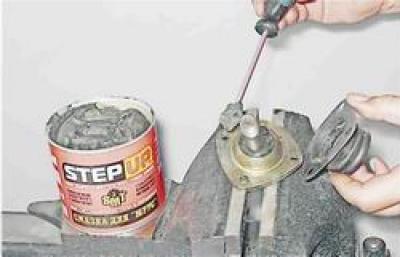
2. Installation of ball joints is performed in the reverse order.
3. Check the front wheel alignment angles (see "Wheel alignment angles - adjustment").