




Contents: Replacing the rear light bulbs ↓ Replacing the license plate light…↓ Removal the rear light ↓ Removal the license plate light ↓ Installation ↓
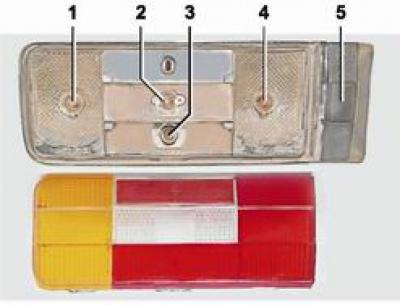
The arrangement of the lamps in the sections of the rear light and the license plate light: 1 - direction indicator lamp A12-21-3 (P21W); 2 - Reverse light bulb A12-21-3 (P21W); 3 - side light bulb A12-5 (T5W); 4 - Brake light lamp A12-21-3 (P21W); 5 - Number plate light, lamp A12-5 (T5W)
1. Prepare the car for work (see "Preparing a car for maintenance and repair").
2. Disconnect the wire from the negative terminal of the battery (see "Battery - Removal and Installation").
Replacing the rear light bulbs
3. To replace the bulbs of the left light on the trunk side, unscrew the plastic nut securing the diffuser.
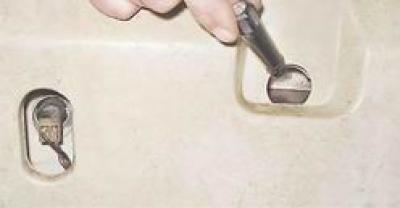
4. To access the nut of the right light, use a Phillips screwdriver to unscrew the screw securing the hatch in the fuel tank trim.
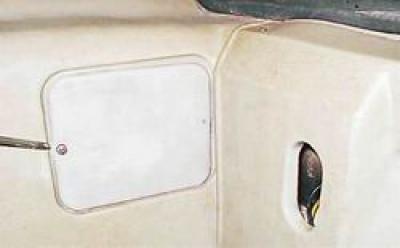
5. Remove the hatch and unscrew the nut.
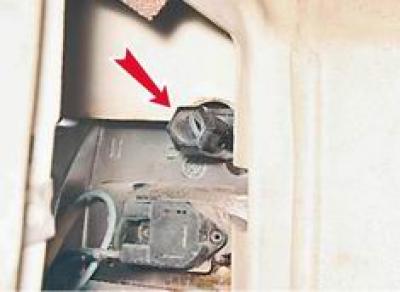
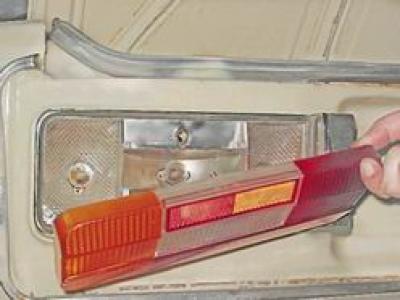
6. Remove the headlight diffuser.
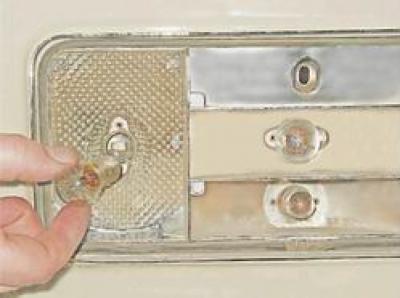
7. After pressing it in and turning it counterclockwise, remove the lamp from the socket.
Replacing the license plate light bulb
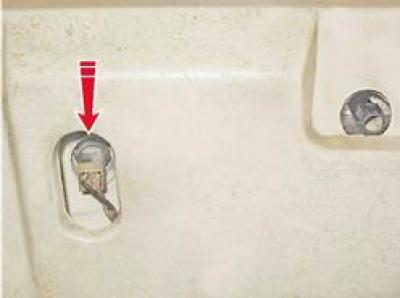
8. Press from above to release the cartridge and remove it from the flashlight holder.
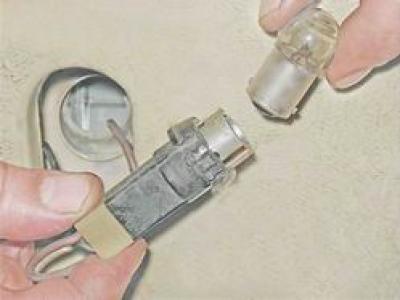
9. After pressing it in and turning it counterclockwise, remove the lamp from the socket.
(Original source is on the resource VAZbook.ru)
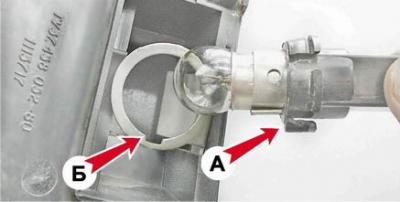
10. Install the cartridge into the flashlight, orienting its protrusion A vertically downwards so that the protrusion fits into the cutout B holder. By pressing, we fix the cartridge in the holder.
Removal the rear light
11. Remove the rear trim of the trunk (see "Rear bumper - removal and installation").
12. Having marked or remembered the location of the wires, disconnect them from the terminals of the lamp.
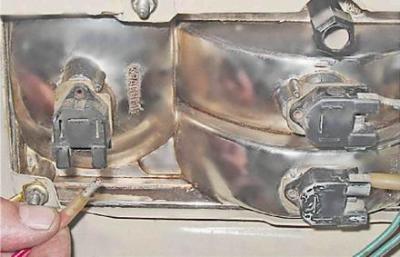
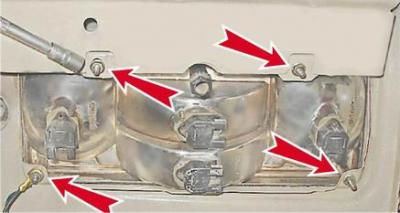
13. With a socket wrench by 8 mm unscrew the four nuts securing the lamp. There is a "ground" wire under the lower inner nut securing the lamp.
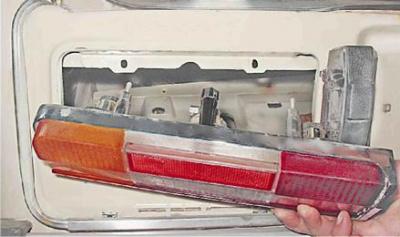
14. Remove the rear light.
Removal the license plate light
15. Disconnect the wiring block from the lamp socket.
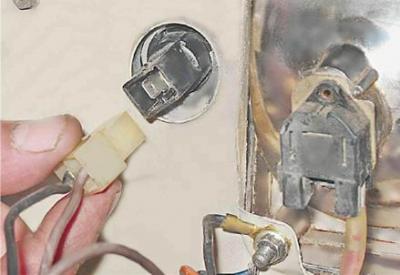
16. With a socket wrench by 8 mm we unscrew the two nuts securing the lantern.
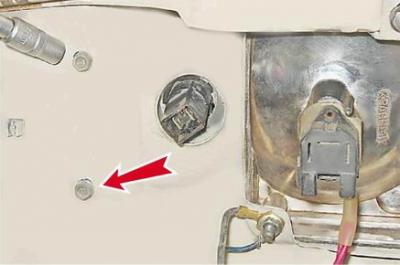
17. Remove the lamp with the rubber gasket.
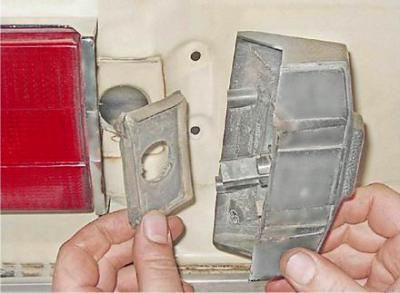
Installation
Installation of all removed parts is carried out in reverse order.