




Contents: Removal ↓ Installation ↓
We remove the door trim when replacing its internal elements.
Removal
1. Prepare the car for work (see "Preparing a car for maintenance and repair").
2. Using a thin slotted screwdriver, remove the decorative cap of the upper door armrest mounting screw.
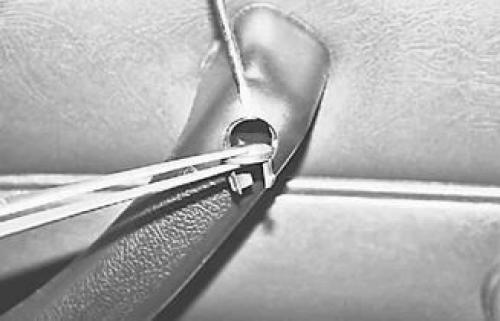
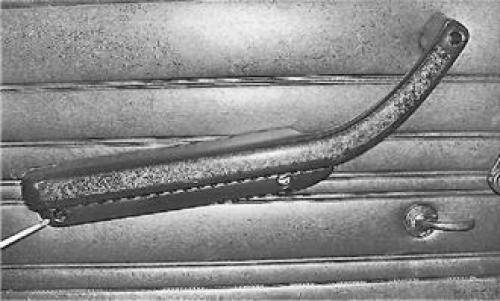
3. Using a Phillips screwdriver, unscrew the three mounting screws and remove the armrest.
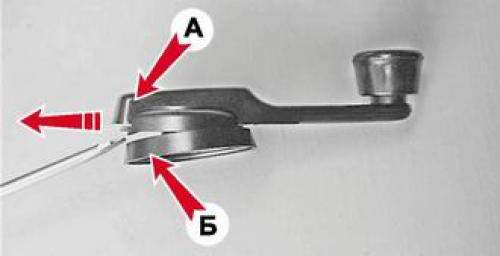
4. Insert the blade of a slotted screwdriver between the trim A with a lock and a socket B handles. We press the socket from the trim retainer and move it in the direction indicated by the arrow (for clarity, shown on removed parts).
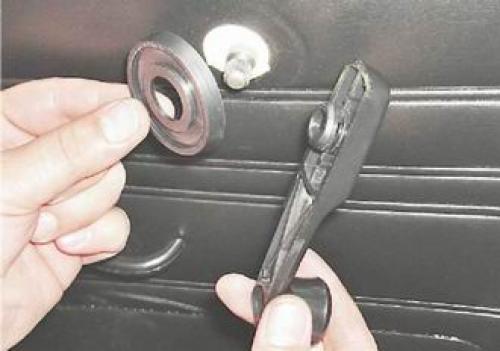
5. Remove the handle, trim and socket from the splines of the window lift mechanism shaft.
6. Using a slotted screwdriver, pry up the trim of the inner door lock handle and, removing the trim clips from the hole in the door trim, remove it.
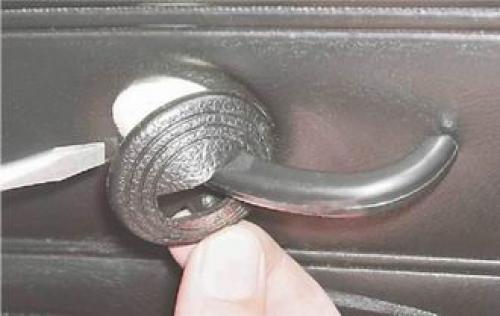
7. Using the same tool, pry up the upholstery along the perimeter, removing its seven fasteners ("tulips") from the holes in the door.
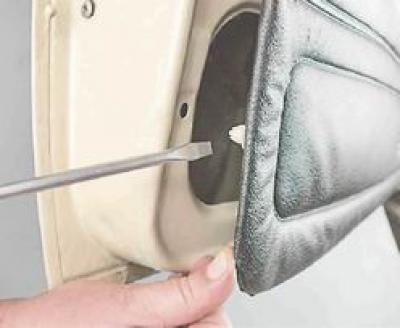
8. Remove the front door trim.
Installation
The upholstery is installed in the reverse order. If the retainer breaks when removing the upholstery, replace it.