
Note. Removal and installation of a covering is shown on the door equipped with a window lifter with the electric drive. The text indicates the features of removing the trim from a door equipped with a mechanical window regulator.
Removing
1. Remove the decorative overlay of the side rear-view mirror.
Helpful advice. If the casing has to be removed in order to further disassemble the door, then it is advisable to immediately remove the side rear-view mirror.
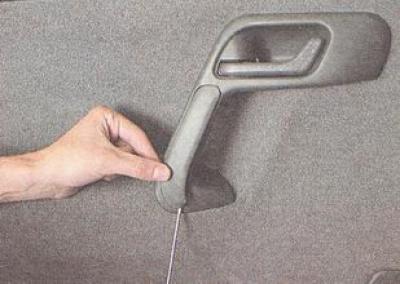
2. Using a thin slotted screwdriver, pry off the armrest handle cover and remove the cover.
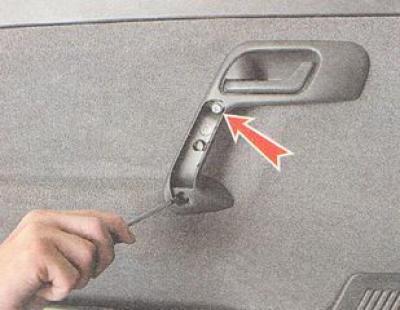
3. Using a Phillips screwdriver, unscrew the two screws securing the armrest handle.
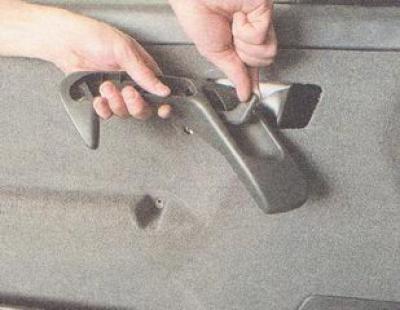
4. Remove the armrest handle (To do this, we pull the inner handle for opening the door and turn the armrest handle 90°clockwise).
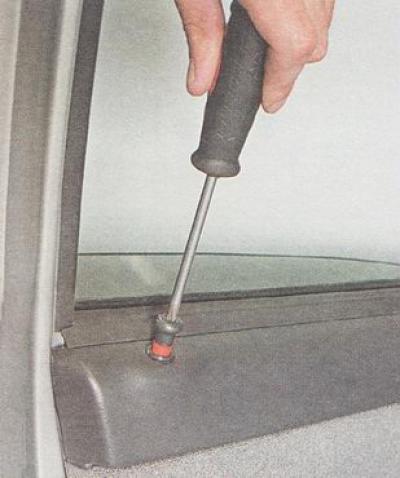
5. Using a Phillips screwdriver, unscrew the door lock button.
6. On a door equipped with a power window lifter, remove the power window drive handle.
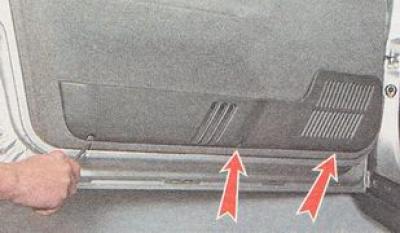
7. Using a Phillips screwdriver, unscrew the three screws securing the lower plastic lining of the skin lining.
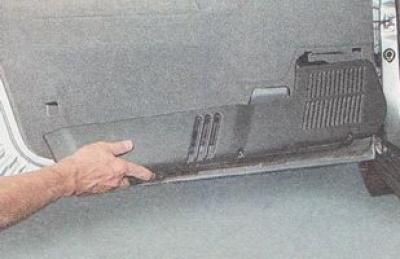
8. Remove the lining of the door trim.
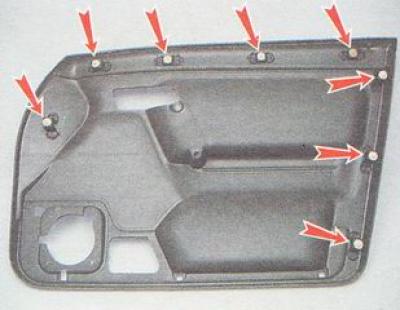
9. Slotted screwdriver with a wide blade (laying under it a fabric folded in several layers) we squeeze the skin from the door, while removing the eight holders for fastening the skin from the door holes.
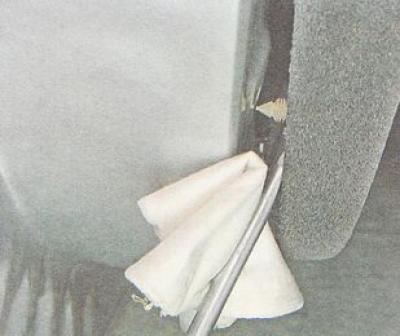
Note. You should try to remove the holders from the door openings. To avoid damaging the trim, position the screwdriver blade as close to the holders as possible.
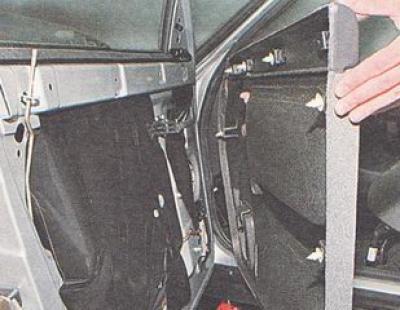
10. Remove the door trim.
Installation
We install the door trim and all previously removed parts on the car in reverse order.
Before installing the skin, we check the fastening holders - we replace deformed or damaged holders.
When installing the skin on the door, we combine the skin holders with the holes in the door panel and with light blows of the base of the palm we sink the holders into the holes.