
An assistant is required to complete the work.
Removing
1. We prepare the car for work (see "Vehicle preparation for maintenance and repair").
2. Open the hood.
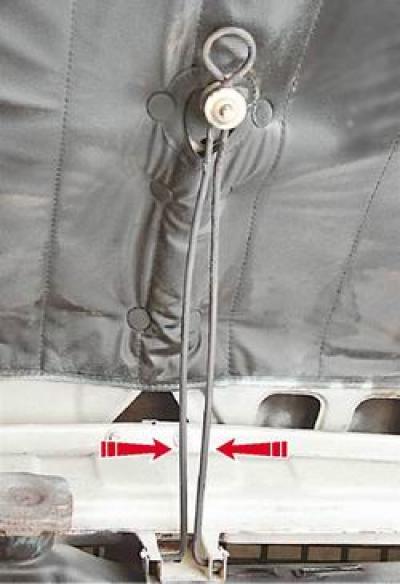
3. Squeezing the spring stop, we remove its two branches from the holes of the bracket located on the upper cross member of the radiator frame.
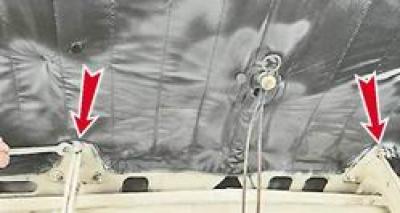
4. Key by 13 mm unscrew the two nuts of the upper fastening of the hood to the hinges of the body.
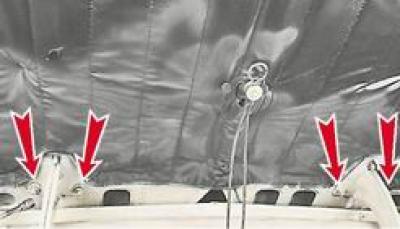
5. socket wrench by 13 mm we unscrew the remaining four nuts of the lower fastening, while the assistant holds the hood.
6. Remove the hood.
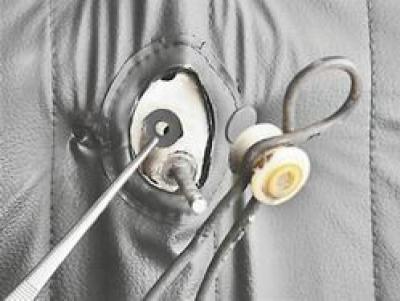
7. If we remove the hood for replacement, then unbend it with pliers and remove the cotter pin that fixes the stop roller and remove the washer with a rubber bushing.

8. Remove the roller from the hood rod along with the spring stop and the second rubber bushing.
9. Using a slotted screwdriver, remove 26 plastic holders and remove the hood upholstery.
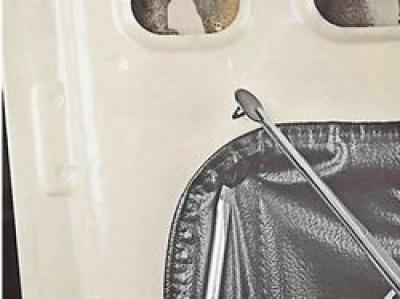
Note: The hood upholstery may not be installed on an optional vehicle.
10. Having squeezed eight clamps, we remove a decorative lattice of a cowl.
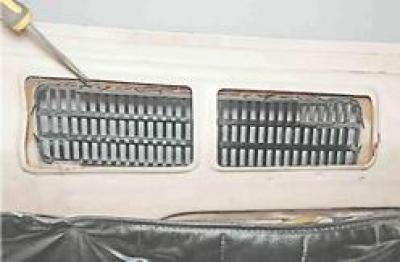
Similarly, we remove another lattice.
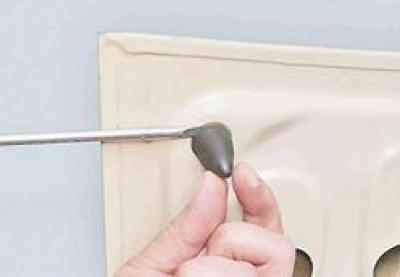
11. We remove two rubber buffers from the holes in the hood.
Attention! To prevent the development of corrosion, we recommend that before installing the hood, apply an anti-corrosion compound to the points of contact of the hinges with the hood.
Installation
1. We install the hood in the reverse order, focusing on the traces of the hinges.
2. With loose bolts, we adjust the position of the hood due to the enlarged holes in the hinges. The gaps on three sides of the hood should be the same.
3. After adjusting the position of the hood, slightly open it and finally tighten the hinge bolts.