

Removing
1. We prepare the car for work (see "Vehicle preparation for maintenance and repair").
2. Remove the instrument panel (see "Instrument panel - removal and installation").
3. Remove the storage shelf and radio panel (see "Dashboard - removal and installation").
4. Disconnect the wires from the heater fan mode switch (see "Dashboard - removal and installation").
5. socket wrench by 10 mm unscrew the nut securing the radiator shroud and tip "mass" fan wires located behind the instrument panel.
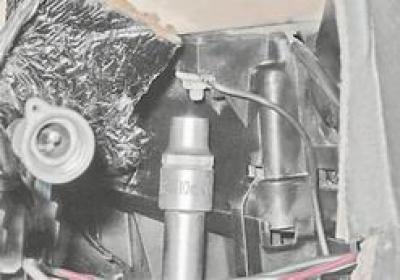
6. Remove the tip from the hairpin "mass" wires.
7. Using a Phillips screwdriver, unscrew the two screws securing the lower air duct located on the floor tunnel.
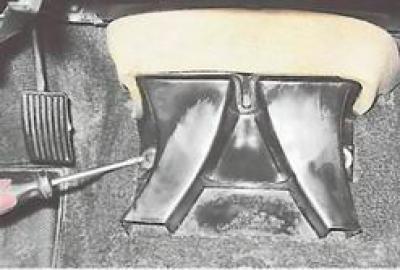
8. Remove the duct.
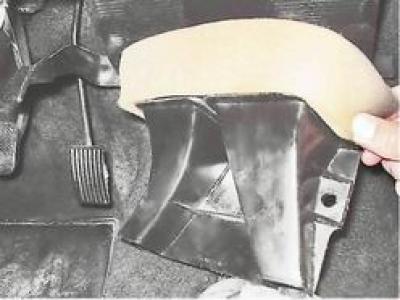
9. Using a slotted screwdriver, pry off and disconnect the four spring clips securing the fan shrouds to the radiator shroud.
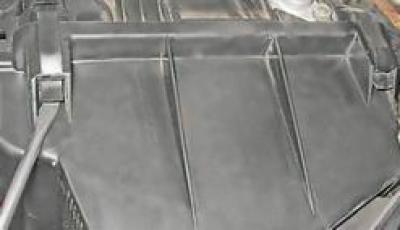
10. Remove the fan shroud and guide fan shroud assembly with the fan.
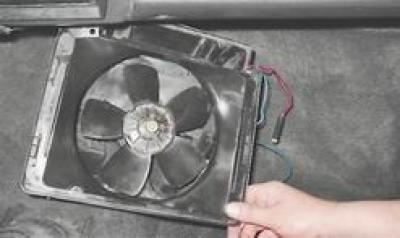
11. Remove the fan guide cover.
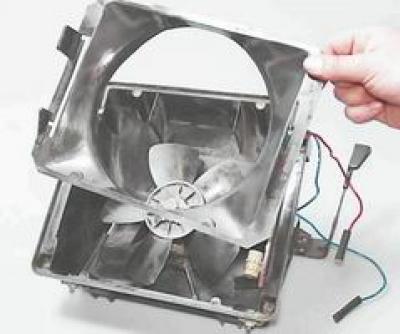
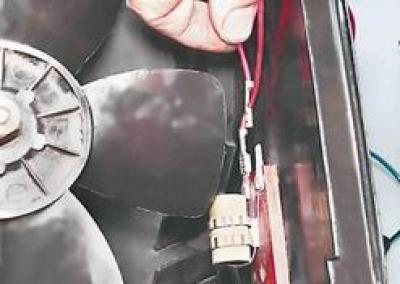
12. Disconnect the tip of the red wire going to the fan from the plug of the additional resistor.
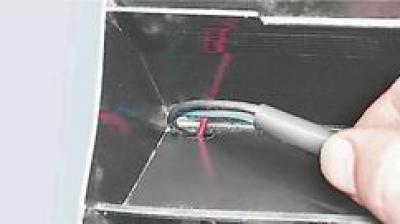
13. We turn over the casing and, having opened the cover, we pass the wires inside the casing.
14. Disconnect the two spring clips that mount the motor to the casing.
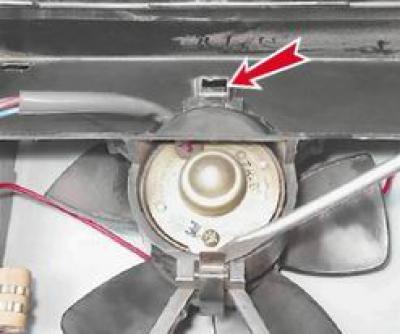
15. Remove the fan motor with the impeller.
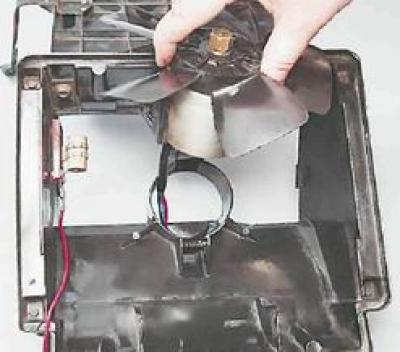
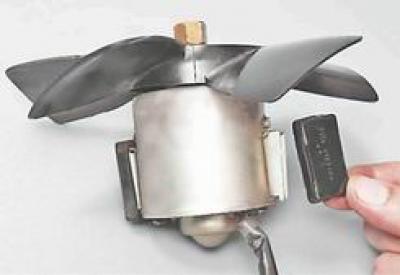
16. Remove two rubber pads from the motor.
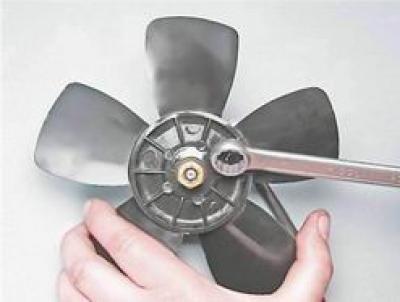
17. Key by 14 mm unscrew the fan mounting nut and remove it.
Installation
Install all removed parts in reverse order.