
Removing
1. We prepare the car for work (see "Vehicle preparation for maintenance and repair").
2. Disconnect the wire from the negative battery terminal (see "Battery - removal and installation").
3. Remove the instrument panel (see "Instrument panel - removal and installation").
4. Remove the radio panel (see above, "Radio receiver panel - removal and installation").
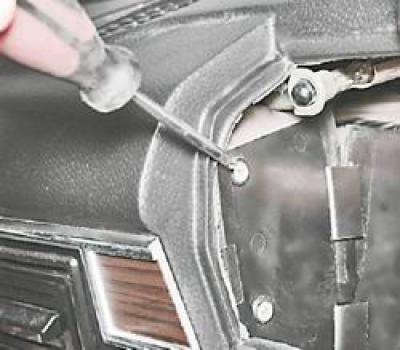
5. Having opened the cover, use a Phillips screwdriver to unscrew the two screws securing the glove box sidewall.
6. Remove the sidewall.
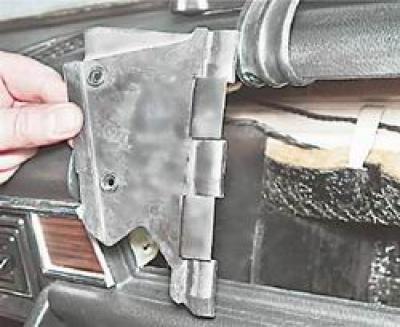
7. Using a Phillips screwdriver, unscrew the two screws of the bottom fastening of the base of the glove box.

8. Using the same tool, unscrew the three screws of the upper base mounting.

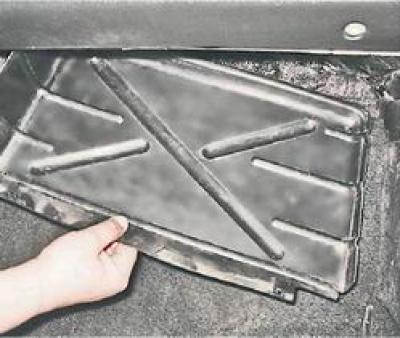
9. We take out the base of the glove box from the instrument panel.
10. Using a slotted screwdriver, pry off and remove the handles of the control levers for the ventilation and heating system.
11. Disconnect "mass" the wire A (shown with ashtray housing removed).
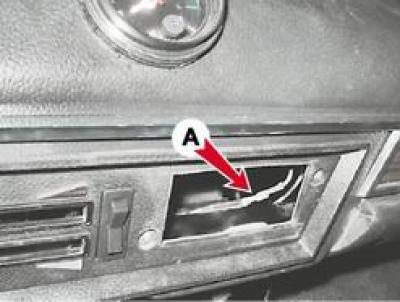
Advice. To connect the wire when installing the instrument panel, it is recommended to remove the ashtray and the housing by unscrewing the two self-tapping screws of its fastening.
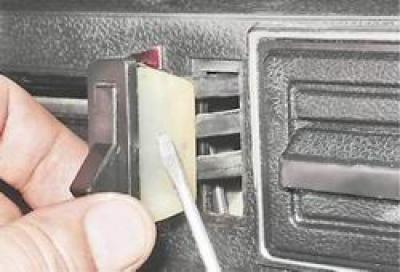
12. Disconnect the wire from the glove box light B.

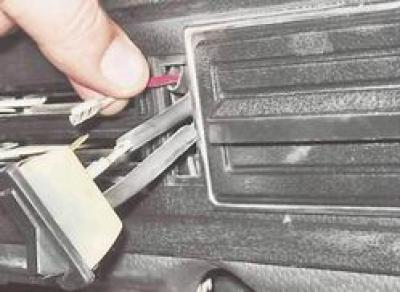
13. Prying with a slotted screwdriver, remove the heater fan operation mode switch from the instrument panel.
14. Remembering or marking the location of the wires, disconnect them from the switch.
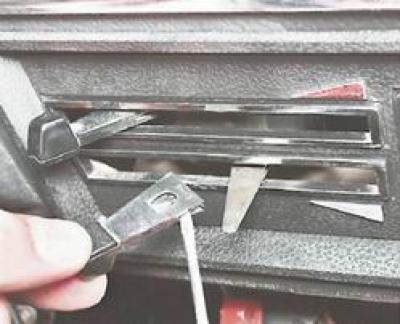
15. Take off the watch (see "Clock - removal and installation, lamp replacement").
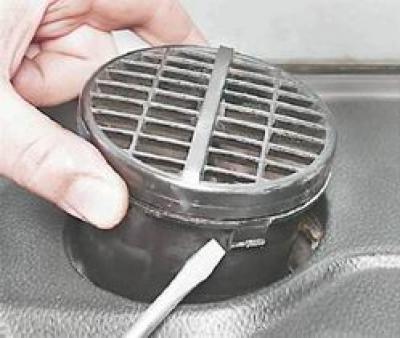
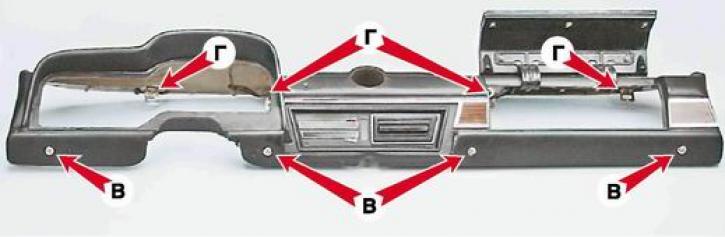
16. Prying with a slotted screwdriver, we remove two rotary deflectors from the holes in the instrument panel.
17. Using a Phillips screwdriver, unscrew four self-tapping screws IN lower fastening, and with a socket wrench by 10 mm with extension - four nuts G instrument panel top mount
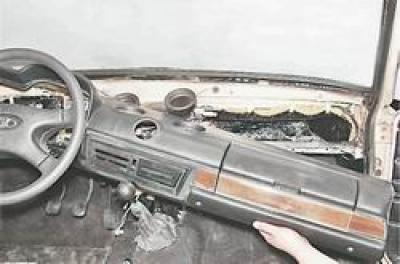
18. Remove the instrument panel.
Installation
Installation of the instrument panel is carried out in reverse order.