




Contents: Checking the rubber-to-metal joints…↓ Checking the condition of the upper…↓ Checking the condition of the lower…↓ Checking the condition of shock…↓
Periodically check the condition of the front suspension (see "Periodic maintenance").
Work related to checking or repairing suspension components is more conveniently performed in an inspection pit or overpass with an assistant.
We evaluate the condition of the rubber-metal hinges, protective covers of the ball joints, anti-roll bar cushions, the presence of deformations of the levers and their axles. It is recommended to replace ball joints with torn protective covers as a whole (see "Ball joints - replacement"). Torn, cracked or with broken holes stabilizer cushions - replace (see "Anti-roll bar cushions and rod - replacement"). We check the condition of the shock absorbers and springs, as well as the tightening of the threaded connections of the suspension parts.
Checking the rubber-to-metal joints of the suspension arms
If there is one-sided wear or tear, the rubber-metal hinges must be replaced. Wear of the hinges is one of the reasons why it is impossible to adjust the camber angle when all the washers are removed from under the lower arm axle.
1. Prepare the vehicle for operations (see "Preparing a car for maintenance and repair").
2. Measure the radial displacement A thrust washer of the hinge relative to the end face of the outer sleeve and the distance B between the inner ends of the thrust washer and the outer sleeve.
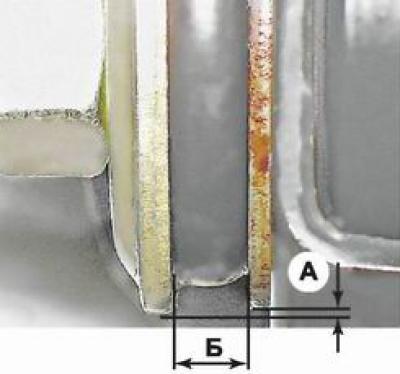
Size A should not exceed 2.5 mm for both levers, and the size B - 3-7.5 mm (for the bottom) and 1.5-5 mm (for upper arm). If the size B does not correspond to the tolerance specified above, then it is necessary to check the correctness of pressing the rubber-metal hinge into the lever.
Checking the condition of the upper ball joint
An assistant will be needed to complete the job.
1. The assistant presses the brake pedal and holds it during the check to eliminate the possible influence of clearance in the hub bearings.
2. Using sharp movements, swing the wheel by the upper part in a plane perpendicular to the longitudinal axis of the car.
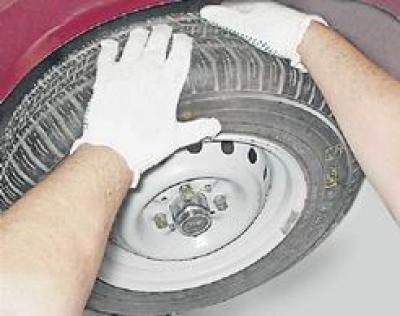
You can check the condition of the ball joint in another way.
1. Using a mounting blade, alternately rock the upper arm up and down and check for play between the pin and the ball joint housing.
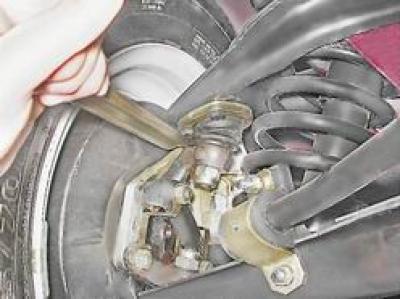
2. If play is detected, the upper ball joint must be replaced (see "Ball joints - replacement").
Checking the condition of the lower ball joint
1. Clean the lower part of the ball joint from dirt and use a wrench by 7 mm we unscrew the plug.
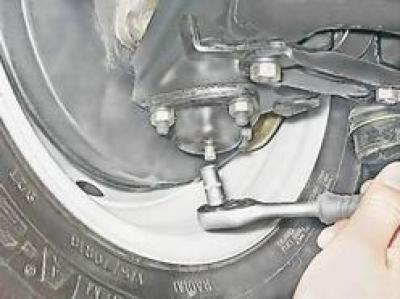
2. If the inspection is carried out in an inspection pit or overpass, then we measure the distance from the lower end of the support to the spherical surface of the ball pin using a depth gauge and a caliper.
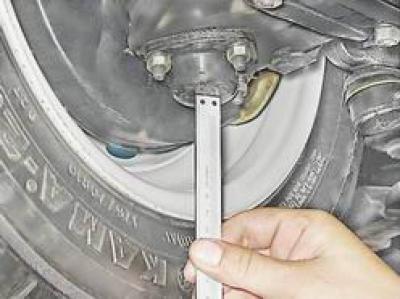
3. If the condition of the lower ball joint is checked on a flat horizontal surface and it is impossible to use a caliper because of its length, then, after unscrewing the plug, insert a piece of wire into the ball joint and make a mark on it flush with the end of the ball joint.
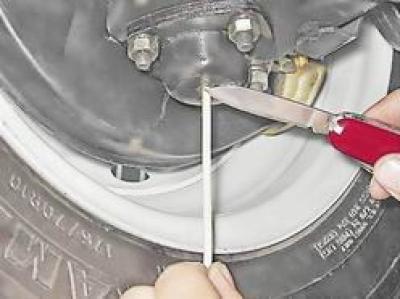
4. Using a caliper, measure the distance from the upper end of the wire to the mark.
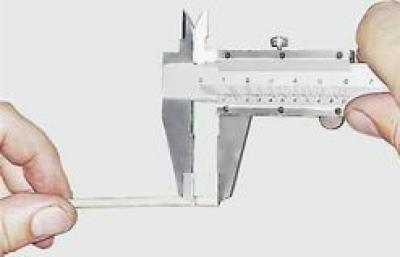
5. If this distance is more than 11.8 mm, replace the ball joint.
6. To lubricate the joint, screw the oiler into the ball joint and use the pump to supply lubricant into the cavity of the joint, making sure that the protective cover of the joint does not swell.
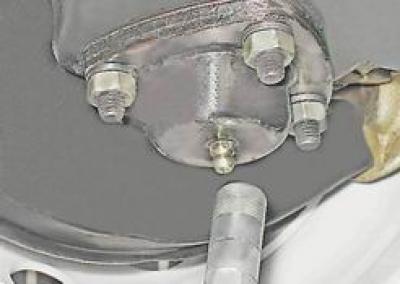
7. Check for axial play in the front wheel hub bearings. Hang the wheel and grasp it in a vertical plane, alternately with sharp movements of the upper part of the wheel towards you and the lower part away from you, determine the presence of play.
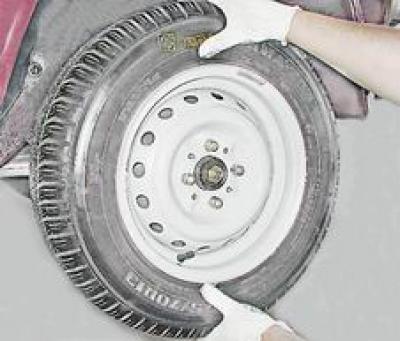
If there is noticeable play, adjust the clearance in the bearings (see "Front Wheel Hub Bearings - Adjustment").
Checking the condition of shock absorbers and springs
1. Apply force vigorously from top to bottom to the front wings of the car one by one. The body should return to its original position, making only one upward movement. Otherwise, both shock absorbers must be replaced. If there are fluid leaks, wear or cracking of rubber-metal hinges, deformation of the rod - the shock absorbers must be replaced, both at the same time.
2. Inspect the suspension springs. Sagging, deformed or cracked springs must also be replaced simultaneously on both sides.