
Sound signals are turned on by closing their negative terminals through the relay to "mass".
An assistant is required to complete the work.
Adjustment
1. To turn off one of the sound signals, remove the tip of the gray-black wire from its output.
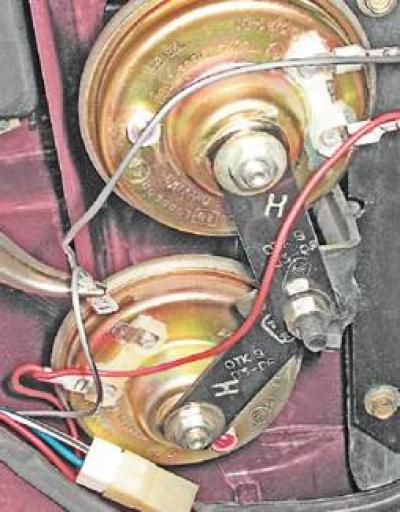
2. The assistant presses the horn switch and keeps it pressed. With a slotted screwdriver, smoothly turning the screw clockwise or counterclockwise, we adjust the sound signal, achieving the clearest, loudest sound.
3. In a similar way, adjust by disconnecting the corresponding wire, another sound signal. If the bad sound cannot be eliminated, we replace the signal.
Note: To adjust the single horn, remove the radiator grille (see "Facing of a radiator - removal and installation"). We remove the sound signal together with the bracket (see below, "Removing a single horn"). Having connected the wires to the sound signal, and holding the bracket with pliers, we adjust the signal by turning the screw.
Removing the double horn
1. To replace, disconnect the wire from the negative terminal of the battery (see "Battery - removal and installation").
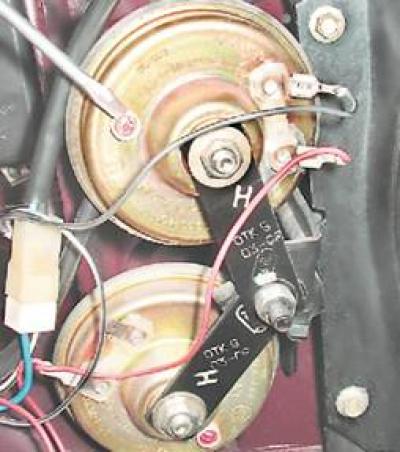
2. Disconnect the wire lugs from the audio signal output.
3. Using a 13 mm socket wrench, unscrew the sound signal mounting nut.

4. Remove the sound signal from the bracket.
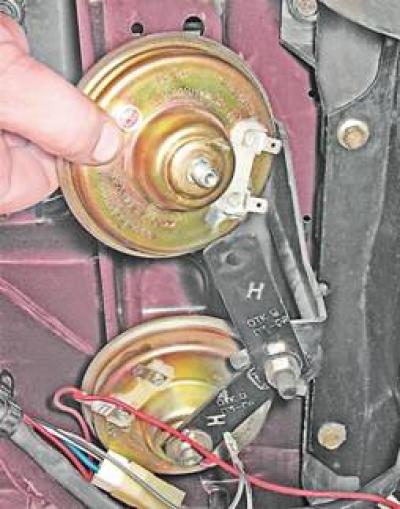
5. If necessary, similarly remove the second signal.
Removing a single horn
1. Disconnect the wire from the negative terminal of the battery (see "Battery - removal and installation").
2. Remove the radiator lining (see "Facing of a radiator - removal and installation").
3. Disconnect the wires from the signal leads.
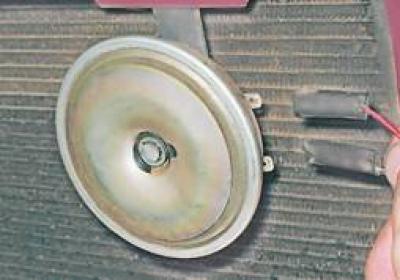
4. Using a 13 mm wrench, unscrew the nut securing the horn to the bracket.
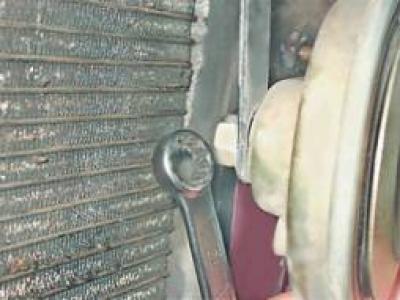
5. We remove the sound signal.
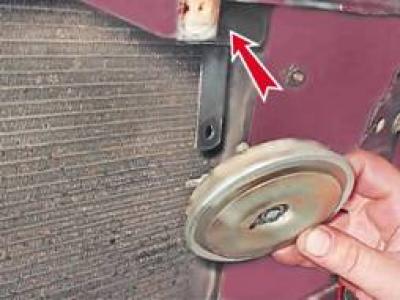
Note: The arrow shows where the horn bracket is attached to the body.
Installation
Install all removed parts in reverse order.