




Examination
To perform the work you will need a multimeter.
For clarity, we carry out the test on a removed coil.
1. Disconnect the wires from the coil terminals (see "Removal" below).
2. Clean the coil from dirt and rinse it with white spirit or kerosene.
3. Connect the ohmmeter probes to the terminals of the primary winding of the coil and measure the resistance.
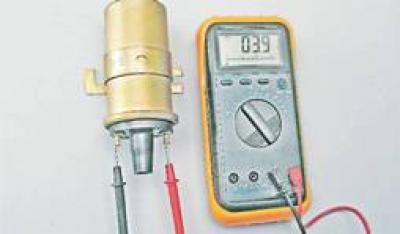
The resistance of the primary winding of the B-117A coil at a temperature of 20°C should be 3-3.5 Ohm (for coil type 27.3705 - 0.45-0.5 Ohm).
4. Having connected the ohmmeter probes to the high-voltage and "+B" terminal of the coil, we measure the resistance of the secondary winding.
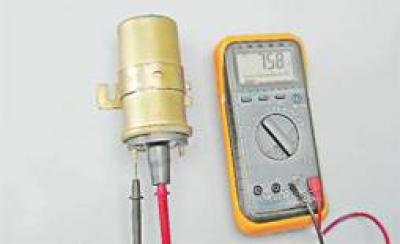
The resistance of the secondary winding of the B-117A coil at a temperature of 20°C should be 7.4-9.2 kOhm (for coil type 27.3705 - 5-0.5 kOhm).
Removal
1. Prepare the vehicle for operations (see "Preparing a car for maintenance and repair").
2. Disconnect the wire from the negative terminal of the battery (see "Battery - Removal and Installation").
3. Disconnect the wire from the high-voltage terminal of the coil.
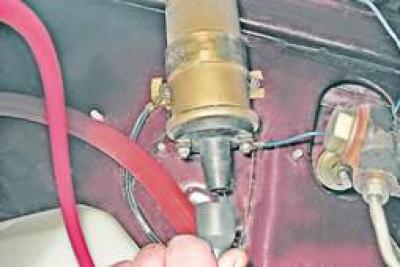
4. Using an 8 mm wrench, unscrew the nuts on the coil terminals and disconnect the wires. The red-blue wire is connected to the "+B" terminal of the coil.
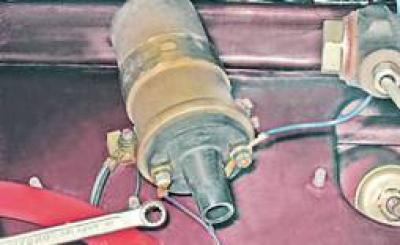
5. Using a 10 mm socket wrench, loosen, without completely unscrewing, the two nuts securing the coil to the mudguard studs.
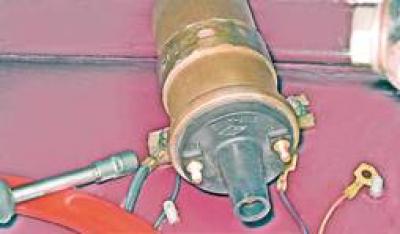
6. After moving the coil, remove it from the pins.
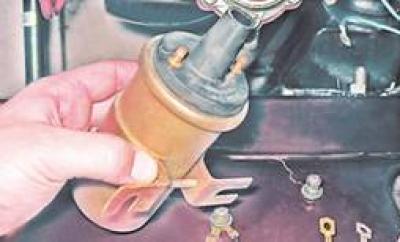
Installation
The installation of the coil is performed in the reverse order. In this case, the tip of the "ground" wire is installed between the eye of the coil and the washer.