




1. Prepare the vehicle for operations (see "Preparing a car for maintenance and repair").
Caution! When performing the following operation, do not pull on the high-voltage wire. Force should only be applied to the tip.
2. Remove the high-voltage wire tip from the spark plug.
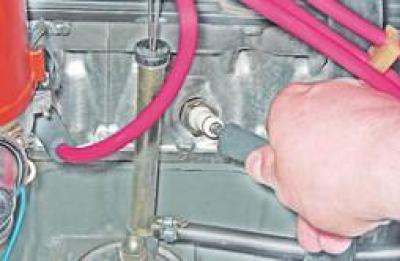
3. Clean the cylinder head around the spark plug from dirt and blow it with compressed air.
4. Using a 21 mm spark plug wrench or a deep-head socket wrench, unscrew the spark plug from the threaded hole in the cylinder head.
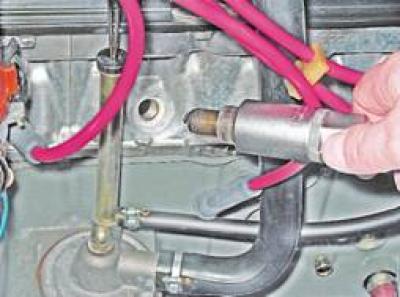
5. Visually assess the condition of the spark plug.
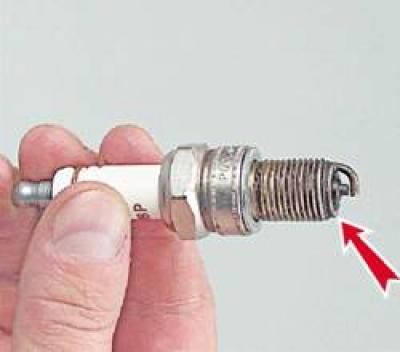
A properly functioning spark plug with an adjusted engine should have a carbon deposit on the insulator that is gray-yellow to gray-brown in color. If the carbon deposit is black, the spark plug may be faulty or the engine adjustments may be incorrect. If the spark plug insulator is cracked or damaged, it must be replaced.
6. Using a round feeler gauge, check the gap between the electrodes. If the gap is not within the norm, set it according to Table 13.3, bending or unbending the side electrode.
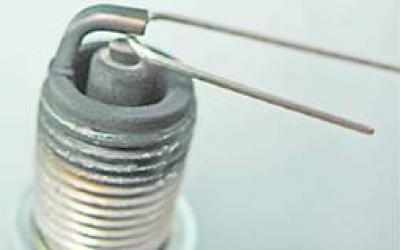
Table 13.3. Gaps between spark plug electrodes
(View the original on the internet resource: VAZBOOK.RU)
| Ignition system | Gap, mm | Type of candle |
| contact | 0,5-0,6 | A17DVR |
| contactless | 0,7-0,8 | A17DV-10 |
| injection engine | 1,0-1,1 | A17DVRM |
7. Install the spark plug by screwing it in by hand, and then tighten it with a wrench to a torque of 3-4 kgf·m.
Caution: Overtightening the spark plug may damage the threads in the cylinder head bore.
8. Similarly, replace the spark plugs of other cylinders.