




Contents: Removal ↓ Installation ↓
Removal
1. Prepare the car for work (see "Preparing the car for maintenance and repair").
Warning: When removing the pointer, do not apply excessive force to avoid breaking the pointer's spring clip, which is made of plastic.
2. Carefully move the side turn signal together with the sealing gasket forward by 2-3 mm, move the rear part of the signal away from the wing (at the same time we disengage the bracket-shaped protrusion of the indicator).
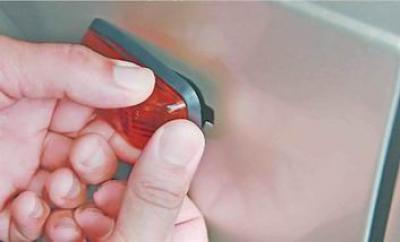
3. Remove the indicator and take out the rubber protective cover of the indicator from the hole in the front wing.
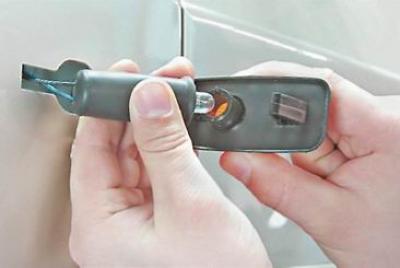
4. Remove the lamp holder together with the rubber protective cover from the indicator housing.
(The information is posted on the portal: vazbook)
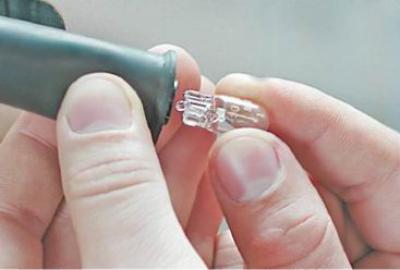
5. Remove the faulty lamp from the socket.
Installation
1. Install the new lamp and assemble the turn signal in the reverse order.
2. Insert the protective cover of the indicator into the hole in the wing. Place the bracket-shaped projection of the indicator behind the edge of the hole. Pressing the rear part of the indicator to the wing, press on its front part until the lock snaps into place.