




Contents: Removal ↓ Installation ↓
Note: To replace a faulty lamp, simply remove the lampshade diffuser.
Removal
1. Prepare the car for work (see "Preparing the car for maintenance and repair").
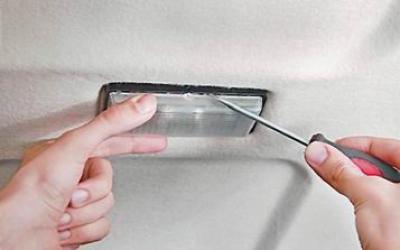
2. Using a slotted screwdriver, release the spherical protrusion in the center of the long side of the diffuser (swing axis) and remove the diffuser.
Note: The lampshade can be removed with the lamp installed, so perform the following operation if you need to replace a faulty lamp.
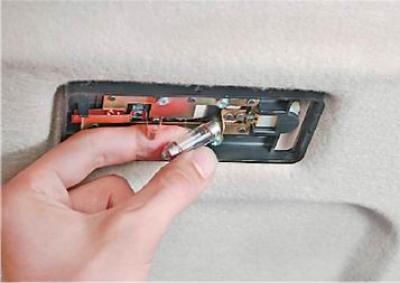
3. Use a screwdriver to press the spring contact and remove the faulty lamp.
(The original is available on the online resource VAZbook.ru)
4. Using a Phillips screwdriver, unscrew the four screws securing the lamp to the ceiling of the passenger compartment.
5. Disconnect the wiring harness connector and remove the lamp.
Installation
We install the lampshade in the reverse order. When installing a new lamp, make sure that its bases enter the contact holes. When installing the diffuser, insert its long side into the lampshade body, and then, pressing on the diffuser from the other side, fix the diffuser.