




Contents: Removal ↓ Installation ↓
An assistant will be needed to complete the job.
Removal
1. Prepare the vehicle for operations (see "Preparing a car for maintenance and repair").
2. Open the hood.
3. Using pliers, straighten the hood rod cotter pin.
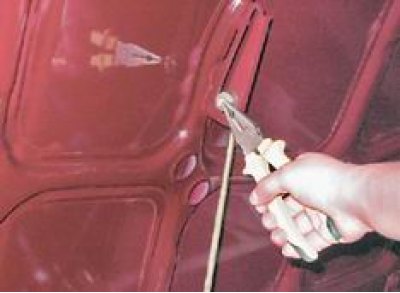
Note: Early production cars were equipped with a spring stop rather than a rod. To disconnect it, you need to squeeze the two branches of the stop and remove them from the plastic bushings of the bracket.
4. Remove the cotter pin from the rod that holds the hood in the open position.
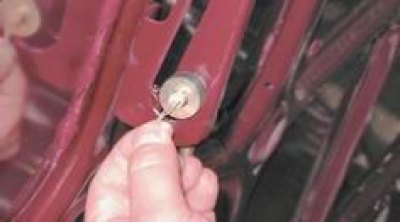
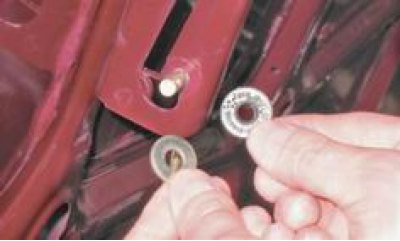
5. Remove the washer and rubber bushing from the rod.
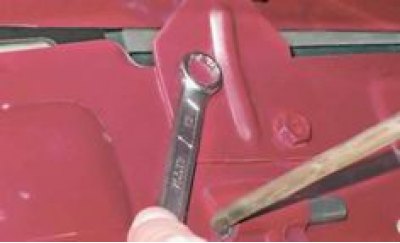
6. If we are removing the hood not for replacement, then use a key on 13 mm we unscrew the four bolts securing both hinges to the upper crossbar of the radiator frame, while the assistant holds the hood.
(The information is published on the website: «vazbook»)
Note: When replacing the hood, unscrew the four bolts securing the hinges to the hood, since the new hood is sold without hinges.
7. Remove the hood by removing the rod from the slot in the hood bracket.
8. If necessary, remove the rod together with the rubber tube from the bracket on the upper cross member of the radiator frame.
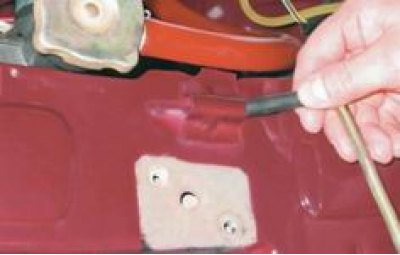
Attention! To prevent the development of corrosion, we recommend applying an anti-corrosion compound to the areas where the hinges are attached to the upper cross member of the radiator frame before installing the hood.
Installation
1. Install the hood in the reverse order, following the marks from the hinges on the body.
2. With the bolts loosened, adjust the position of the hood using the enlarged holes in the hinges. The gaps on the three sides of the hood should be the same.
3. After adjusting the position of the hood, open it slightly and finally tighten the hinge mounting bolts.