




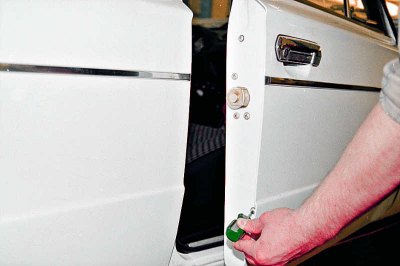
From the end side of the door, use a Phillips screwdriver to unscrew the two screws securing the rear groove...
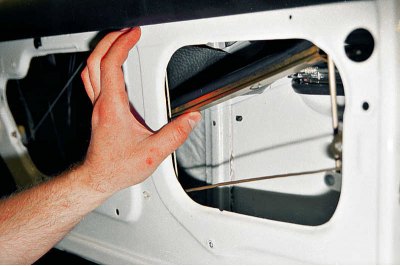
...and, lowering it slightly, we remove the tongue from the groove and move it to the side.
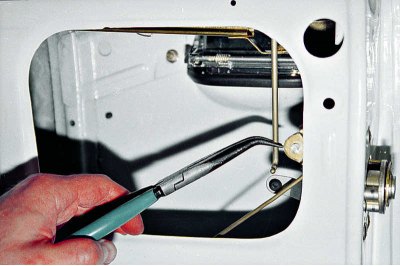
Using a slotted screwdriver or pliers, disconnect the lock release button rod.
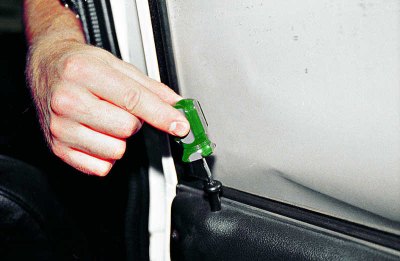
The lock can be removed with the rod by unscrewing the lock release button (see Replacing door trim).
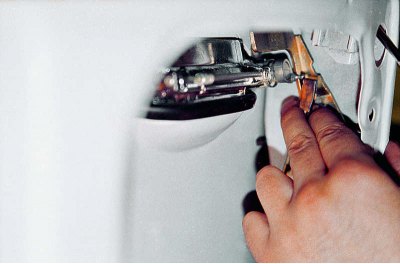
Disconnect the outer door handle lock switch rod.
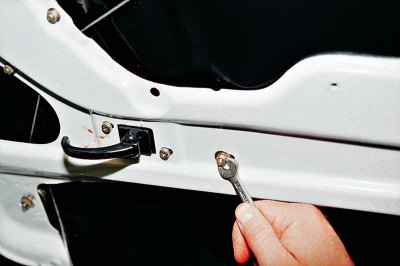
Using an 8 mm spanner, unscrew the nut securing the front groove, move the plastic apron aside and, lowering the groove, disengage it from the strut of the swivel glass frame.
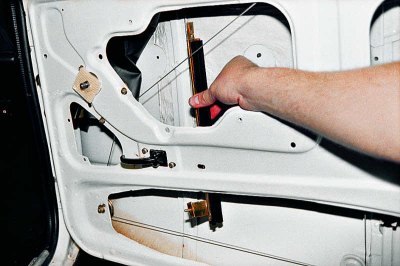
We take out the front groove from the door.
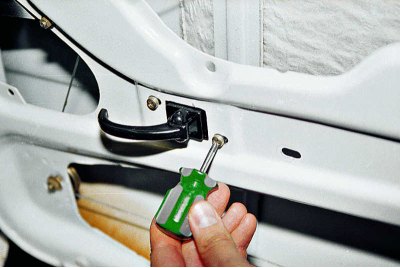
Using a Phillips screwdriver, unscrew the two screws securing the inner door handle...
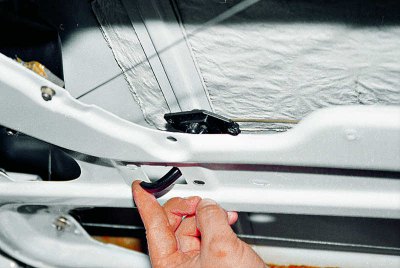
...and we push the handle inside the door.
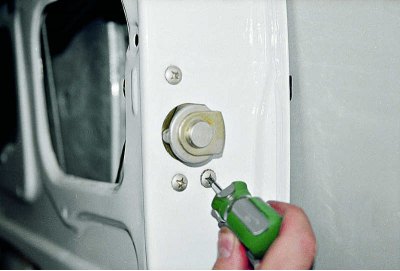
Using a Phillips screwdriver, unscrew the three screws securing the lock...
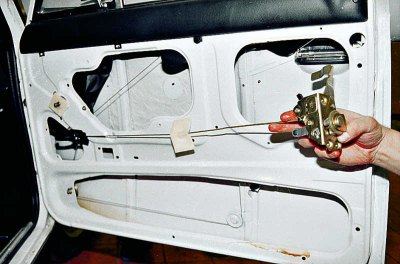
...and we take it out of the door together with the rod and the inner handle.
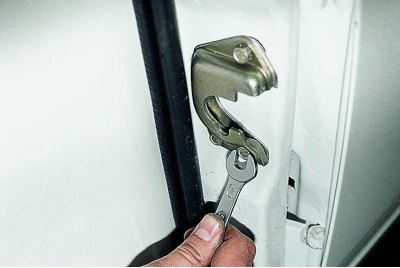
Having marked the position of the retainer on the rack with a felt-tip pen, we unscrew the three mounting bolts with a 10 mm wrench...
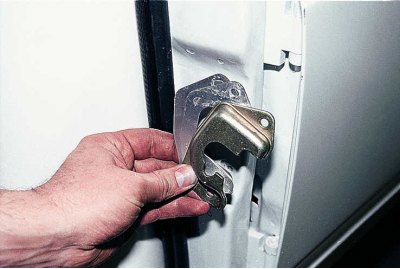
...and remove the door retainer from the rack along with the adjusting linings. (We save them when installing a new retainer).
Lubricate the new lock with Litol-24 grease or technical petroleum jelly, connect the rod with the handle to it and install it on the car in the reverse order of removal. Install the retainer. If necessary, loosen the retainer screws and move it along the rack within the slots for the screws. Achieve precise operation of the lock. If there are no comments on the operation of the lock, assemble the door.