
Removing
1. We prepare the car for operations (see "Vehicle preparation for maintenance and repair").
2. Disconnect the wire from the negative battery terminal (see "Battery - removal and installation").
3. Remove the instrument panel (see p. 2 1 4, "Instrument panel - removing and replacing lamps").
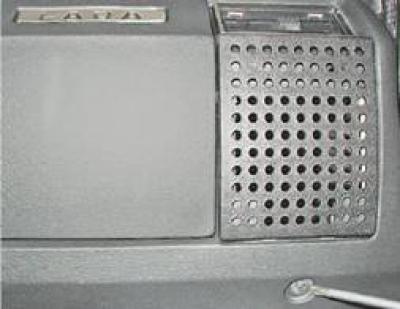
4. Remove the radio panel (see "Radio receiver panel - removal and installation").
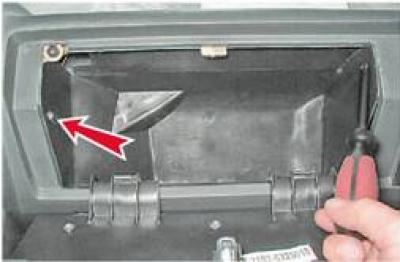
5. Having opened the cover, use a Phillips screwdriver to unscrew the two screws securing the glove box body.
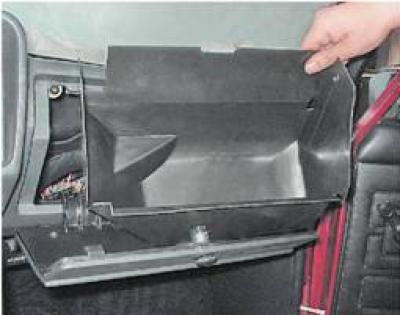
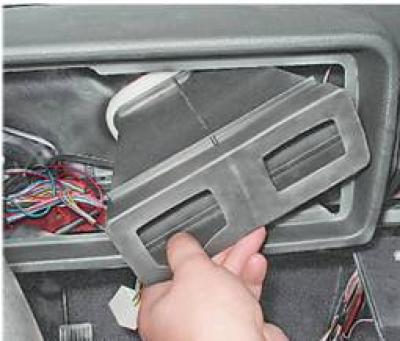
6. We take out the body of the glove box from the instrument panel.
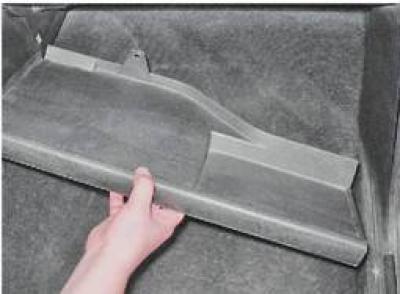
7. Unscrew the four self-tapping screws securing the storage shelf.

8. Remove the shelf.
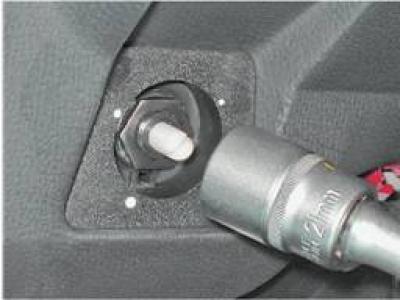
9. Pulling, remove the handle from the headlight hydraulic corrector.
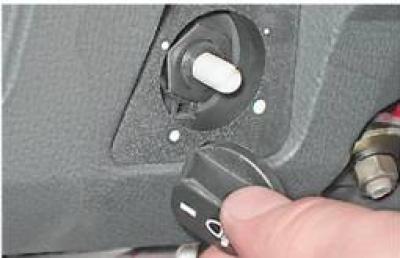
10. Using a 21 mm socket wrench, unscrew the hydraulic corrector fastening nut and push it inside the instrument panel.
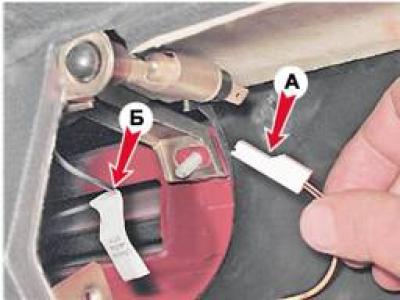
11. Disconnect the block of wires A from the ceiling light of the glove box and disconnect "mass" wire B.
12. Using a Phillips screwdriver, unscrew the two screws securing the heater control unit to the instrument panel.
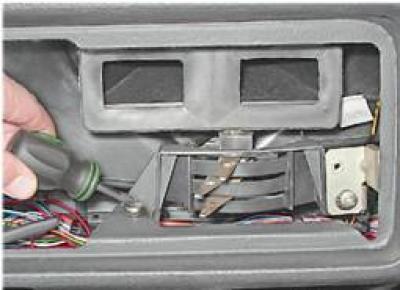
13. We remove the central air duct from the partition of the engine compartment.
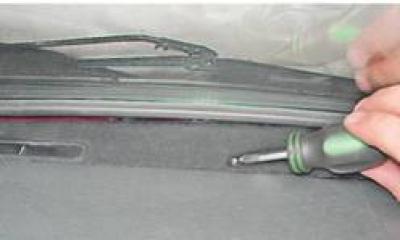
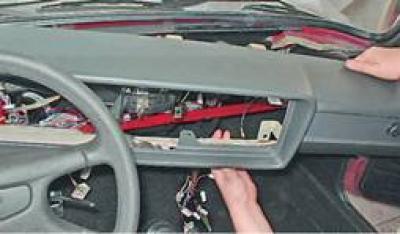
14. Using a Phillips screwdriver, unscrew the four screws of the lower fastening of the instrument panel to the body (The photo shows a right-hand screw).
15. Using a short Phillips screwdriver, unscrew the three screws securing the instrument panel insert (the photo shows a self-tapping screw of the right fastening of the insert).
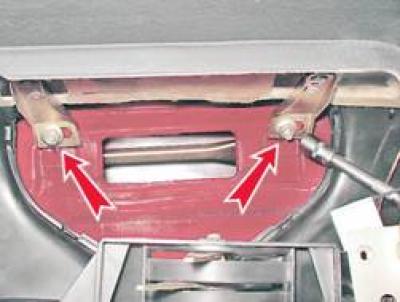
16. Using a 10 mm socket wrench, unscrew the nut of the upper fastening of the instrument panel on the left side.
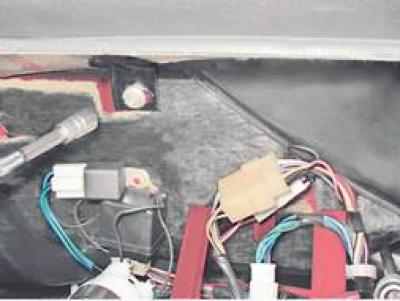
17. With the same tool, unscrew the nut of the upper fastening of the instrument panel on the right side.
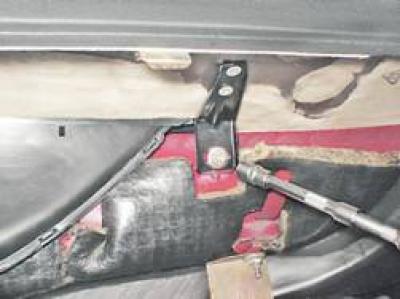
18. We unscrew the two nuts of the upper fastening of the instrument panel located in its middle part.
19. Remove the instrument panel.
Installation
Installation of the instrument panel is carried out in reverse order.