




Contents: Removal ↓ Installation ↓
To perform the work you will need an assistant, as well as a caliper, a special 10 mm wrench for brake pipes, a transparent vinyl tube of a suitable diameter, a container for draining the brake fluid, and fresh brake fluid (see "Operating fluids").
Removal
1. Prepare the vehicle for operations (see "Preparing a car for maintenance and repair").
2. Remove the master brake cylinder (see "Master Brake Cylinder - Removal and Installation").
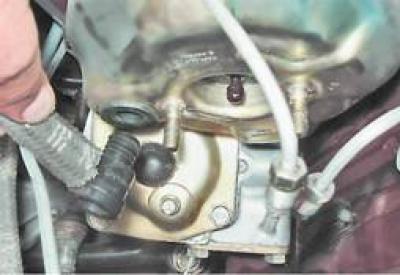
3. Remove the check valve with the hose from the amplifier body.
4. Using round-nose pliers or a screwdriver, remove the locking clip from the pin connecting the pusher to the brake pedal.
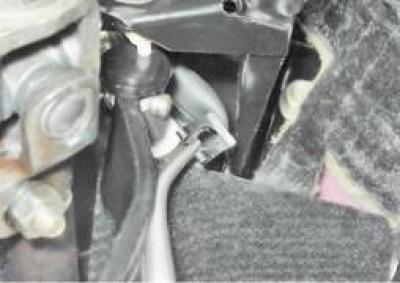
5. After removing the pin, disconnect the pedal from the booster pusher.
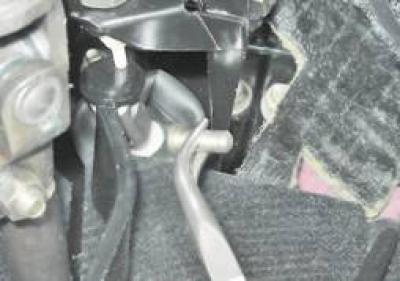
6. Using a 13 mm socket wrench with an extension, unscrew the four nuts securing the amplifier to the engine compartment bulkhead.
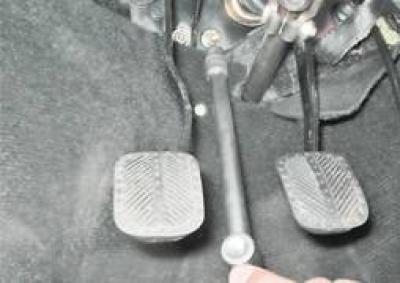
7. Remove the amplifier with the sealing gasket.
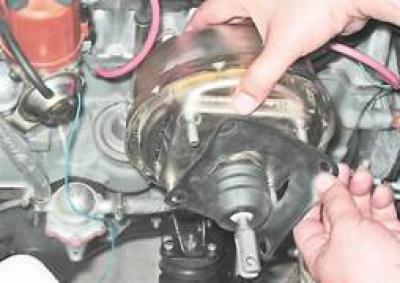
Installation
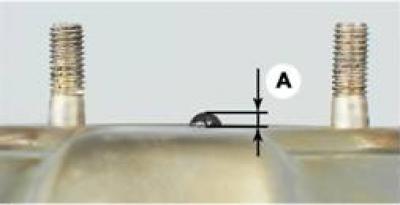
1. Before installing a new vacuum booster, it is recommended to check the amount of protrusion of the rod head relative to the plane on the body with a caliper. The value A should be within 1.05-1.25 mm.
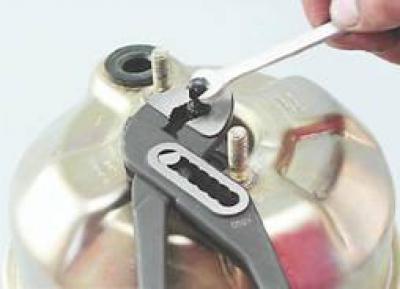
2. If the protrusion value does not correspond to the value given above, adjust it by rotating the rod head with a 7 mm key. Hold the rod with pliers to prevent it from turning.
3. Installation of the vacuum booster is performed in the reverse order.
4. Bleed the brake hydraulic system (see "Hydraulic brake drive - bleeding and replacing brake fluid").