




Contents: Removal ↓ Installation ↓
To complete the work you will need a pit or overpass.
Removal
1. Prepare the car for work (see "Preparing the car for maintenance and repair").
2. Remove the front wheel arch liners (see "Front fender liner - removal and installation").
3. Remove the radiator grille and headlight grilles (see "Radiator Trim - Removal and Installation").
4. Key by 10 mm we unscrew the two nuts securing the left edge of the bumper.
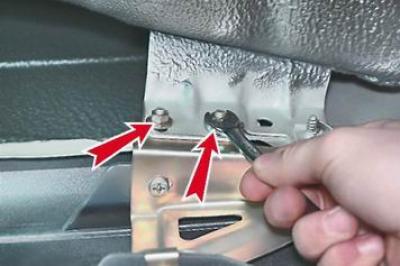
5. Slightly pull the edge of the bumper to the side, removing its mounting pins from the holes in the body bracket.
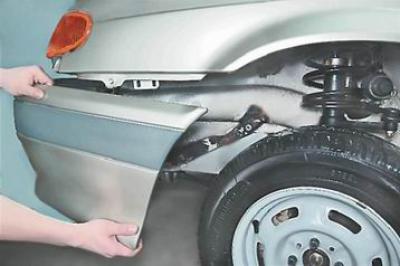
6. In the same way, unscrew the nuts securing the right edge of the bumper.
7. Disconnect the wiring harness from the fog lights [Installed on some vehicles.] (see "Fog light - removal and installation").
Note: The nuts securing the bumper brackets can be unscrewed without removing the fog lights, but for ease of work it is better to remove the fog lights together with the housings.
8. Remove the cover, overcoming the force of the clamps.
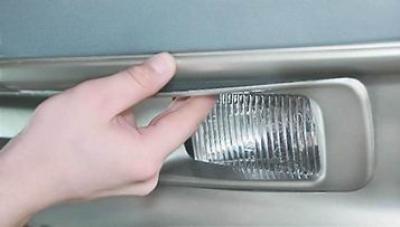
9. Using a Phillips screwdriver, unscrew the three screws securing the fog light housing.
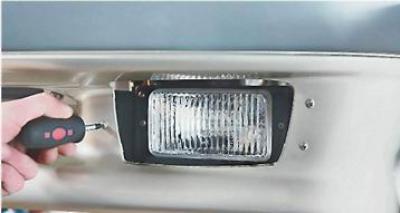
10. Remove the headlight assembly with the casing.
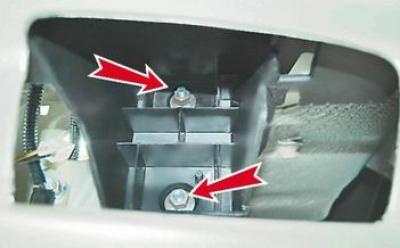
11. Through the openings of the fog lights with a socket wrench by 13 mm we unscrew two nuts securing the left and right bumper brackets to the body.
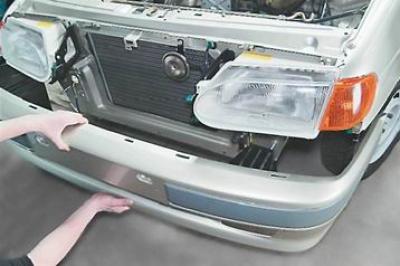
12. Remove the bumper.
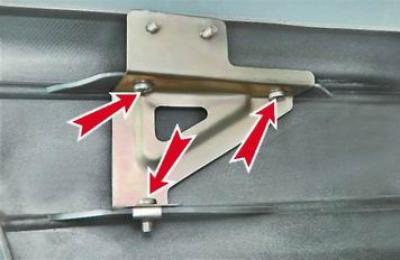
13. If it is necessary to replace the brackets or the bumper reinforcement beam, use a Phillips screwdriver to unscrew the three screws securing the side bumper bracket and remove it.
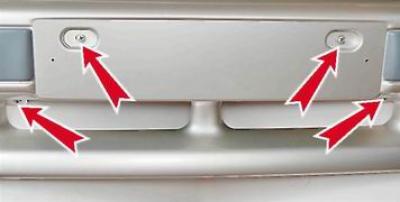
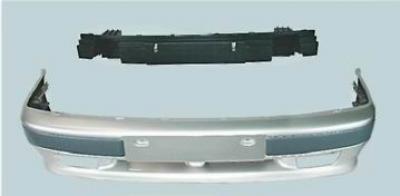
14. Using a Phillips screwdriver, unscrew the four screws securing the bumper beam.
15. Remove the beam from the bumper.
Installation
We assemble and install the bumper in the reverse order. Before tightening the nuts that secure the bumper to the body, we move the bumper in the vertical direction to set a uniform gap.