




Removal
1. Prepare the car for work (see "Preparing the car for maintenance and repair").
2. By any available means (marker, felt-tip pen) we mark the position of the latch on the hood.
3. Hold the hood latch with a screwdriver and use the key by 17 mm we loosen the tightening of its lock nut.
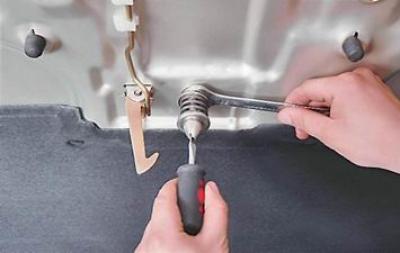
4. Unscrew the retainer with the lock nut and washer.
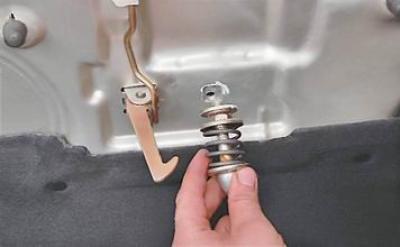
5. Using a screwdriver, remove the lock washer from the safety hook axis.
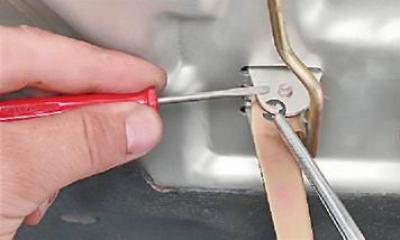
6. Remove the axle and take the drive lever out of the two plastic holders.
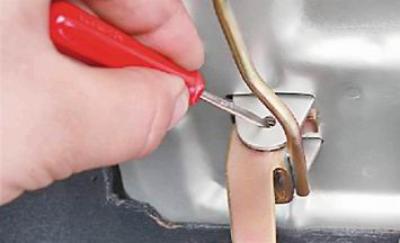
7. Remove the safety hook assembly with the drive lever from the hood.
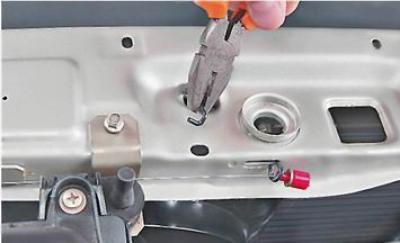
8. Using pliers or a screwdriver, remove the upper end of the hood lock spring from the panel hole (shown from the engine compartment).
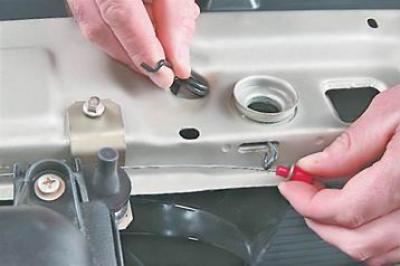
9. Disconnect the drive rod from the spring and, turning it, remove the spring from the body panel.
Installation
We install the removed parts in the reverse order.
Adjustment
Note: The lock is adjusted by changing the position of the lock retainer.
1. To move the retainer to the side, loosen the tightening of its lock nut and, by moving the retainer within the hole in the hood reinforcement, we achieve precise placement of the retainer in the corresponding hole in the front panel when closing the hood.
2. To adjust the amount of protrusion of the lock retainer, unscrew its lock nut and use a slotted screwdriver to screw in or unscrew the retainer. Having achieved the desired amount of protrusion of the retainer, fix it with a lock nut.
3. Check the operation of the lock and, if necessary, repeat the adjustment until it operates smoothly.