




Contents: Removal ↓ Installation ↓
Removal
1. Place the vehicle on an inspection pit or overpass (see "Preparing a car for maintenance and repair") and move the gear shift lever to neutral position.
2. Hang the rear wheel
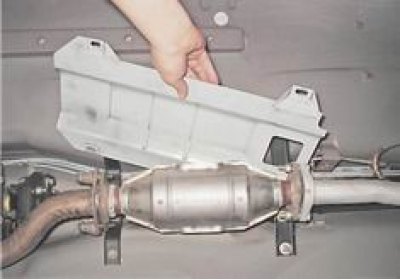
3. On a car with a fuel injection system, use a socket wrench by 13 mm we unscrew the four nuts securing the heat shield located above the catalytic converter.
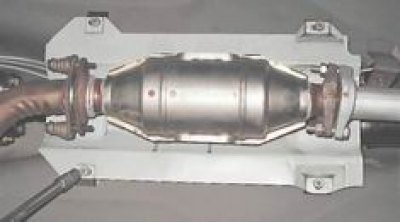
4. Remove the screen.
5. Using paint or a center punch, mark the position of the cardan joint flange fork relative to the flange of the main transmission drive gear.
6. With an open-end wrench by 13 mm unscrew the four self-locking nuts, holding the cardan shaft from turning with a large screwdriver or other suitable tool. In case of corrosion of the bolt threads, you should "soak" the connection with penetrating lubricant and use a special open-end wrench by 13 mm with wide jaws from the valve drive clearance adjustment kit. If the bolts start to turn, press their heads against the fork flange with a screwdriver.
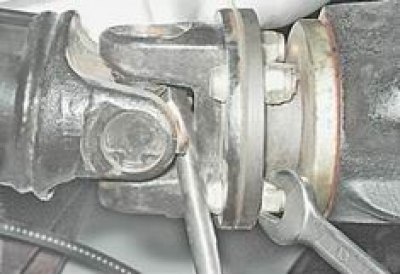
7. Remove the bolts and separate the flanges by moving the cardan transmission forward. If the flanges are "glued" together due to corrosion, you can hit the flange fork of the cardan shaft with a hammer several times.
8. We hang the rear propeller shaft by tying it by the hinge to the upper reaction rods of the rear axle so that the shaft does not touch the parking brake drive cables.
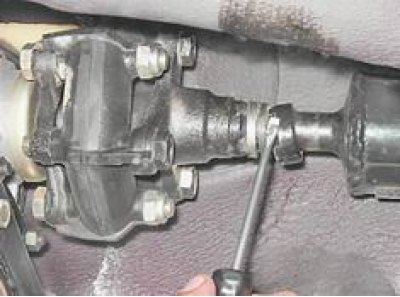
9. Using a slotted screwdriver, bend back the four retaining tabs of the front propeller shaft oil seal cage.
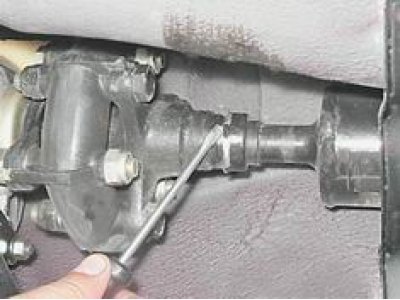
10. Move the collar along the end of the cardan shaft.
11. With a socket wrench by 13 mm using an extension, unscrew the two bolts securing the intermediate support to the crossbar.
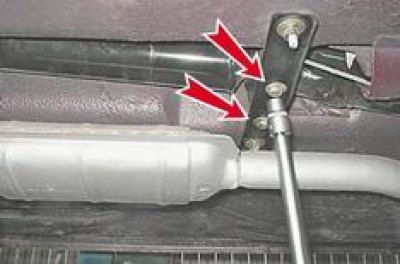
12. We remove the cardan shaft from the splined connection with the flange of the elastic coupling and, having untied the cardan transmission, we remove it in the direction of the rear axle.
Installation
1. After cleaning the splines of the flexible coupling flange and the cardan shaft, apply grease to them (Fiol-2U, SHRUS-4 or similar), after assembling the connection, we install the gland collar in place and bend its fixing tabs.
2. It is recommended to replace the self-locking nuts securing the flange fork of the cardan joint to the flange of the main gear drive pinion with new ones.
3. Apply a thin layer of any plastic lubricant to the contact surfaces of the flange connection to protect against corrosion.
4. Install the cardan transmission in the reverse order, aligning the flanges according to the previously applied marks.
The original is posted on Internet resource [VAZbook.ru]