




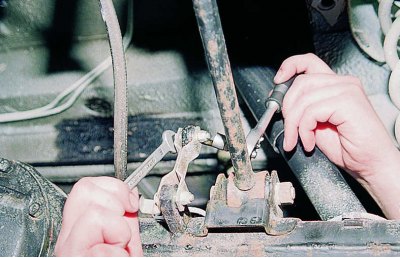
Using two 10 mm wrenches, disconnect the pressure regulator drive lever from the rod connected to the rear axle beam bracket.
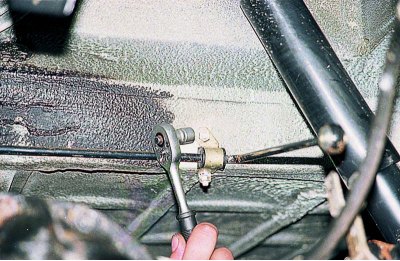
Using a 10 mm socket, unscrew the two nuts on the bracket that secures the lever to the body.
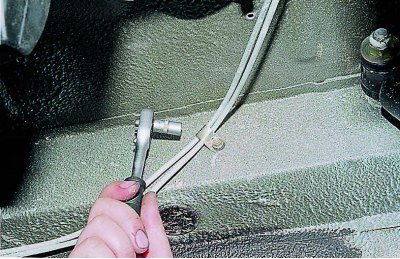
Using a 10 mm socket, unscrew the brake pipe clamp fastening.
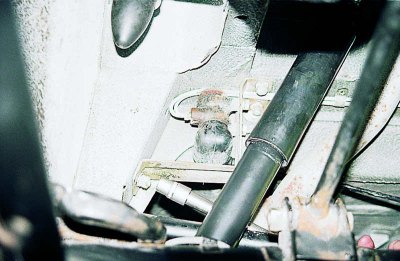
Using a 13 mm head, unscrew the three nuts securing the bracket to the body and the two bolts securing the pressure regulator to the bracket.
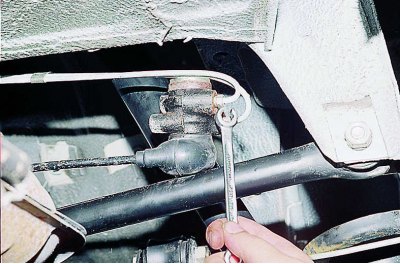
Using a 10 mm socket, unscrew the fittings of the two brake pipes.
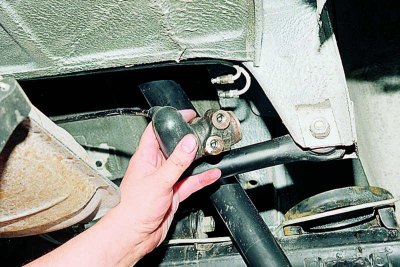
We remove the pressure regulator with the lever.
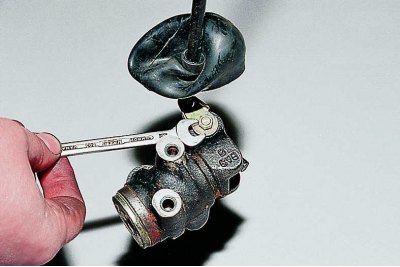
Using an 8 mm spanner, slide the protective cover and unscrew the bolt securing the lever bracket to the regulator body.
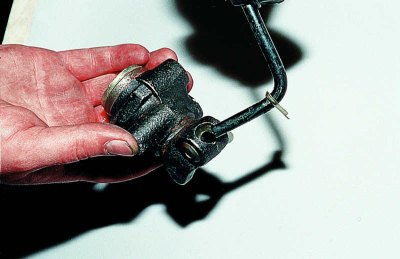
We remove the lever.
Install the pressure regulator in the reverse order of removal. After installation, bleed the brake system (see Replacing brake fluid and bleeding the brake system) and adjust it:
- we hang up the rear part of the car. We set the distance of 140±5 mm from the end of the regulator lever to the longitudinal beam of the body. On cars produced before mid-1976, this distance is 200±5 mm;
- having lifted the rubber cap and loosened the two mounting bolts, we turn the regulator until the opposite end of the lever lightly touches the piston protruding from the regulator. Holding the regulator in this position, we tighten the mounting bolts. Having covered the end of the lever and the protruding part of the piston with a layer of grease, we install the rubber cap in place.
We perform similar work if the regulator's fastening to the bracket has become loose.
The original is on the portal [vazbook]