




- unstable engine operation;
- engine stalls at idle;
- increased or decreased idle speed of the crankshaft;
- engine does not develop full power, insufficient engine response;
- jerks and dips in engine operation when the car is moving;
- increased fuel consumption;
- increased content of CO and CH in exhaust gases.
You will need: a 5 mm Allen key, a 24 mm wrench, and a pressure gauge (you can use a tire).
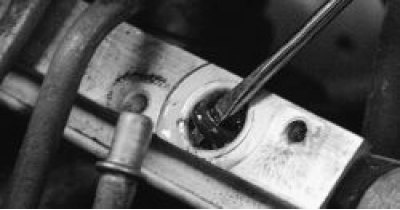
1. Unscrew the fuel pressure control nipple plug at the end of the rail. Note that there is a sealing ring installed in the fuel pressure control nipple plug. If the ring is torn or has lost elasticity, replace it or the entire plug.
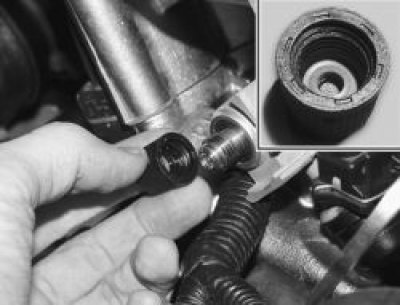
2. Using the metal protective cap of the tire valve, unscrew the valve core from the nipple (the same as in the tire).
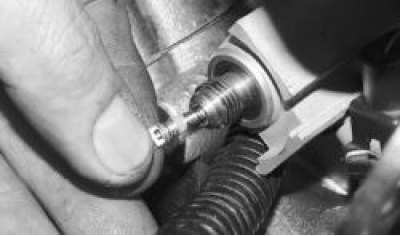
3. Connect a hose with a pressure gauge to the fitting (you can use a tire pressure gauge). Secure the hose to the fitting with a clamp. Start the engine and check the pressure on the pressure gauge. It should be 284–325 kPa (2.9–3.3 kgf/cm²).
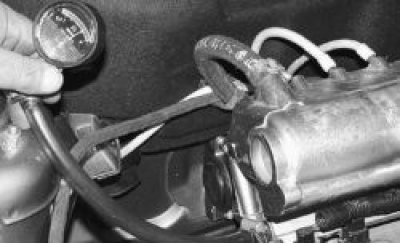
4. Disconnect the vacuum hose from the pressure regulator - the pressure on the pressure gauge should increase by 20-70 kPa (0.2-0.7 kgf/cm²). Otherwise, replace the pressure regulator.
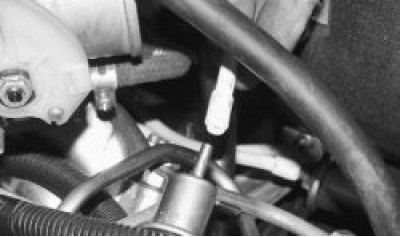
5. Reduce the pressure in the fuel system (see "Reducing pressure in the fuel system" in the subsection "Power supply system").
6. Remove the vacuum hose from the fuel pressure regulator.
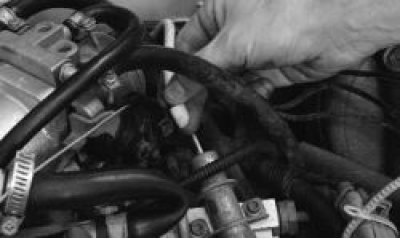
7. Unscrew the nut securing the fuel drain pipe to the fuel pressure regulator.
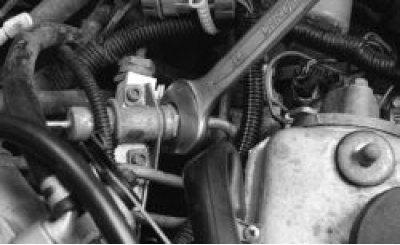
8. Remove the two bolts securing the pressure regulator to the fuel rail.
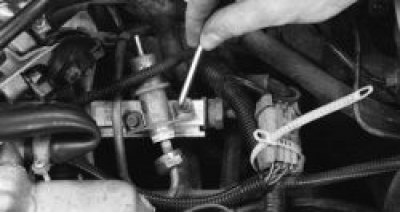
9. Remove the regulator nipple from the hole in the fuel rail…
10. …and remove the regulator from the fuel drain pipe.
Original source is on the resource [vazbook.ru]
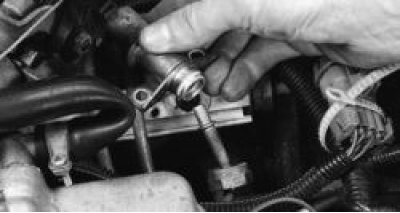
11. If the fuel pressure regulator sealing ring remains in the rail, remove it…
12. …and put it on the regulator before installation. Replace the sealing ring that has lost elasticity or is torn.
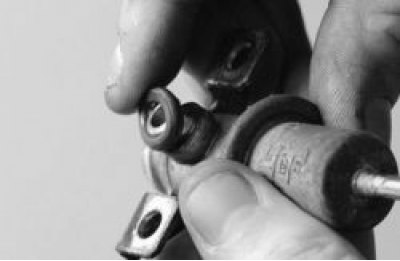
13. Install the regulator in the reverse order of removal.