




Contents: Removal ↓ Installation ↓
The heater tap is replaced if its tightness is compromised. A sign of a tap leak is the formation of puddles of coolant on the carpet at the front passenger's feet.
To complete the job, you will need two new rubber heater tap gaskets, a worm clamp with a diameter of 16-23 mm and coolant.
We carry out the work with a cold engine.
Removal
1. Prepare the vehicle for operations (see "Preparing a car for maintenance and repair").
2. In the engine compartment, use a screwdriver to loosen the clamp securing the supply hose and remove the hose from the tap branch pipe (lower branch pipe) (cm. "Heater Radiator - Replacement").
3. Set the lower lever of the ventilation system control unit to the extreme right position, closing the air flaps of the side air ducts.
4. Remove the storage shelf and the storage box body (see "Instrument panel model 2105 (2107) - removal and installation").
5. With a socket wrench by 10 mm we unscrew the nut securing the right air duct to the body and remove the air duct from the stud and disconnect it from the side deflector of the instrument panel.
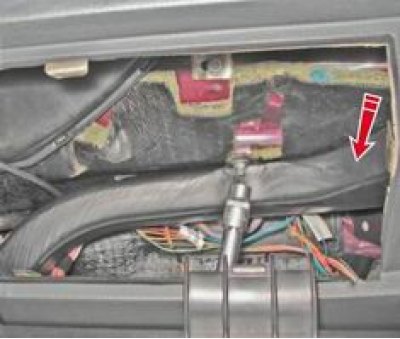
6. Disconnect the right air duct from the radiator casing (see "Heater Fan Motor - Replacement").
7. With a socket wrench by 7 mm loosen the bolt securing the heater tap drive rod.
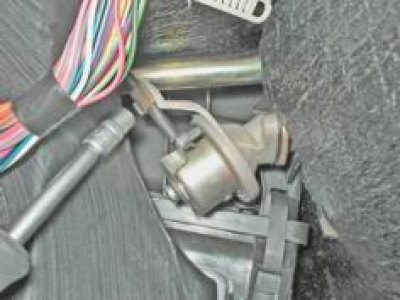
8. Having released the rod casing from under the bracket, we remove the rod end from the crane lever.
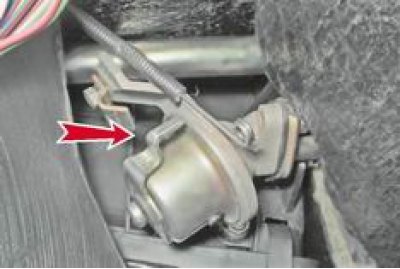
9. With a spanner by 10 mm unscrew the two bolts that secure the tap to the radiator. To prevent the lower nut from falling out of its socket, secure it with plasticine.
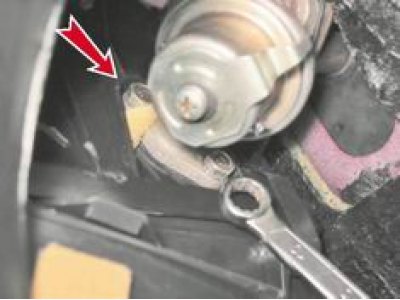
10. Remove the tap by taking its pipe out of the seal located in the bulkhead of the engine compartment (see "Heater Radiator - Replacement"). The junction of the flanges of the tap and the radiator is sealed with a rubber gasket. At the same time, a small amount of coolant may leak from the heating radiator; to collect it, you need to put a rag underneath.
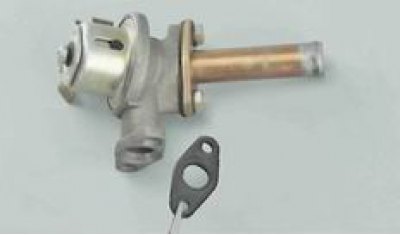
11. Key by 10 mm we unscrew the two bolts that secure the pipe to the tap.
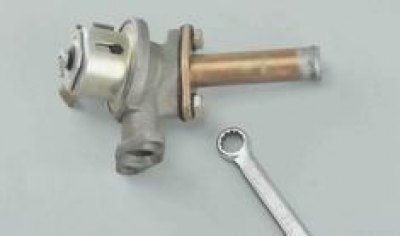
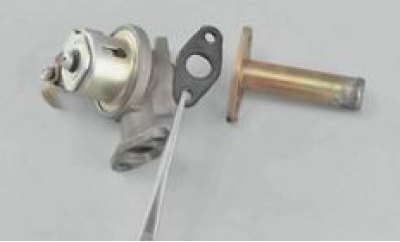
12. Remove the branch pipe. The junction of the flanges of the tap and the branch pipe is sealed with a rubber gasket.
Installation
1. Replace the rubber gaskets with new ones.
2. Install the heater tap in the reverse order.
3. Move the heater valve control lever to the far right position.
4. Add coolant (see "Coolant - Checking Level and Replacing").
5. After filling the system with coolant, check the tightness of the connections of the tap with the radiator and the hose. If necessary, tighten them.
6. Installation of the remaining parts is carried out in reverse order.
[The article is copied from the website: VazBook]