




If the fuel pump screen often becomes clogged, remove and flush the tank.
If a leak is detected along the junction line of the upper and lower parts of the tank, these areas can be soldered (it is recommended to perform this in specialized workshops). To do this, pour out the remaining gasoline, rinse and dry the tank thoroughly. Then solder the leak with soft solder.
Warnings! You can only solder a thoroughly washed and dried tank that does not contain gasoline vapors, otherwise they may ignite during soldering.
To wash the fuel tank, use detergents "Lobomid", MS or ML. Then, to remove the detergent residue, rinse and steam the tank with a stream of hot water. Dry the tank thoroughly.
You will need: a screwdriver, a 13 mm socket head, a ratchet, and a 17 mm wrench.
1. Disconnect the wire from the "–" terminal of the battery.
2. Reduce the pressure in the fuel system (see "Reducing pressure in the fuel system").
3. Place the vehicle on a lift.
4. Remove the rear seat (see "Removal and installation the rear seat").
5. Remove the two screws securing the hatch cover.
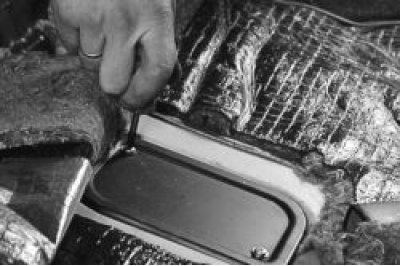
6. Bend back the fasteners and disconnect the wiring harness connector of the electric fuel pump and fuel level sensor.
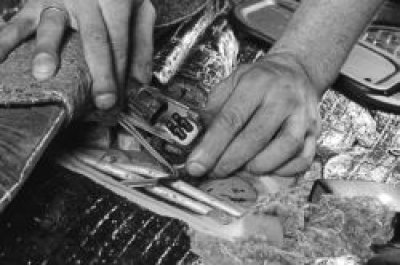
7. Unscrew the fuel supply pipe nut and move the pipe to the side.
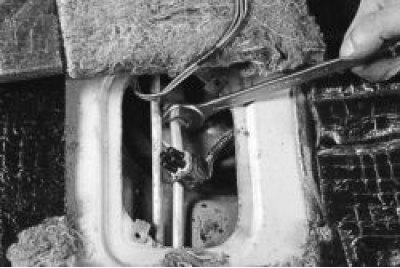
8. Unscrew the fuel drain pipe fitting and disconnect the fuel line.
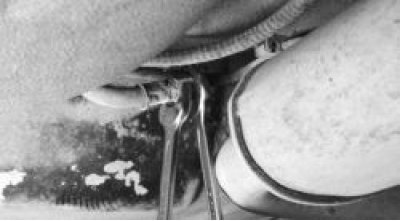
Note.
Replace cracked or loose sealing rings.
9. Loosen the clamp and disconnect the filler pipe hose.
(The information is published on the website: «VAZBOOK»)
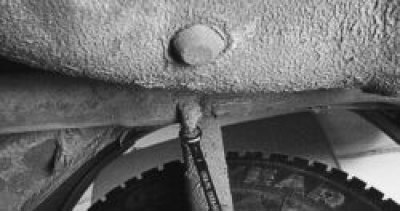
10. Loosen the clamp…
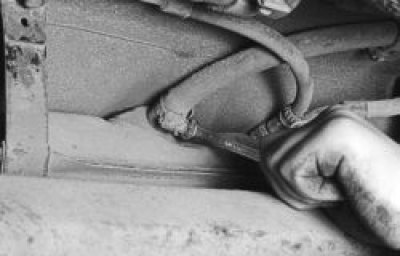
11. …and disconnect the fuel tank air bleed pipe hose from the fitting.
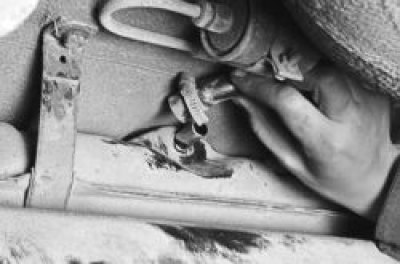
12. Loosen the clamp and disconnect the separator hose.
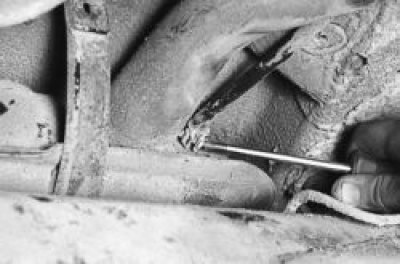
13. Holding the fuel tank, unscrew the two bolts securing the pressure bands…
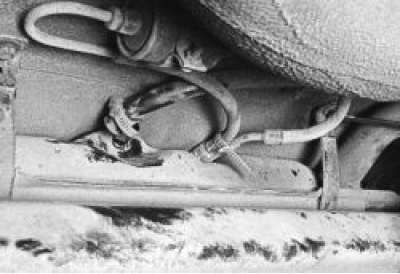
14. …and remove the tank.
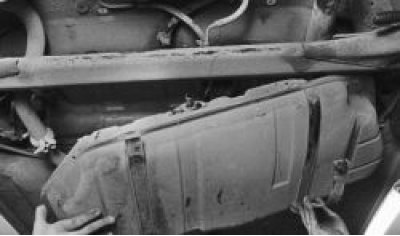
15. Install the fuel tank in the reverse order of removal. Start the engine and check the fuel lines for leaks.