
English Русский
Български
Беларускі
Український
Српски
Hrvatski
Română
Polski
Slovenský
Magyar
| Articles | Contacts | Sitemap |   
Repair and maintenance Lada Repair and maintenance Mazda Repair and maintenance Mitsubishi Repair and maintenance Toyota Repair and maintenance Land Rover Repair and maintenance Hyundai Repair and maintenance Nissan
VAZbook.ru


Main     1111   2101   2105   2106   2107   2109   2110   2115   2121  
VAZ-2114 (2004-2013) VAZ-2115 (1997-2012)
  • Main
  • «Samara-2»
  • VAZ-2115
  • Body
  • Interior
  • Removal and installation the instrument panel shield

Removal and installation the instrument panel shield (VAZ-2115)

            0

You will need a screwdriver.

1. Disconnect the wire from the "–" terminal of the battery.

2. Remove the five screws securing the right console panel to the instrument panel, to the instrument panel panel and to the floor tunnel trim…
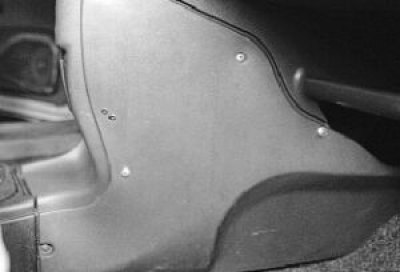
3. …and remove the shield.
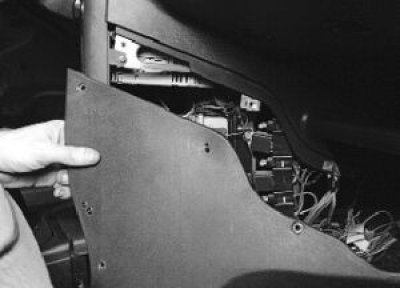

3. …and remove the shield.

4. Remove the left console shield in the same way.


4. Remove the left console shield in the same way.

[The original can be seen on the website VAZbook]

5. Remove the screws securing the instrument panel shield to the right…
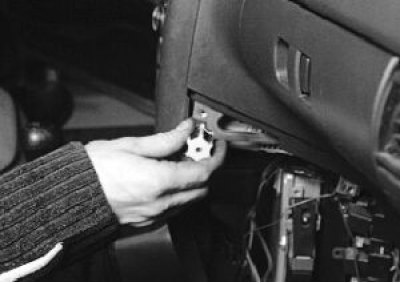
6. …and the left brackets.
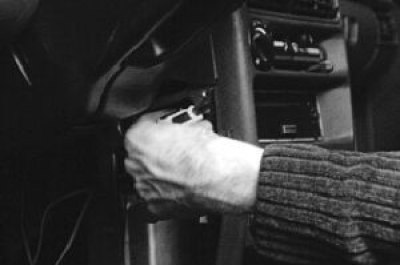

6. …and the left brackets.


7. Using a screwdriver, remove the decorative cover of the screw that secures the dashboard to the…


7. Using a screwdriver, remove the decorative cover of the screw that secures the dashboard to the instrument panel…
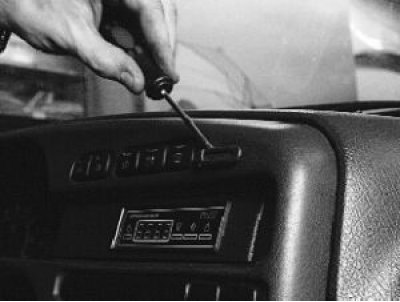
8. …and remove the screw.
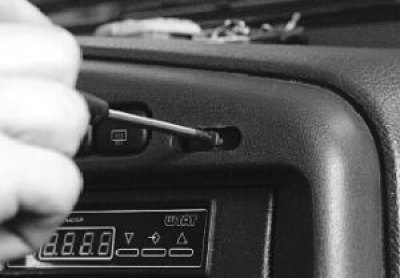

8. …and remove the screw.

9. Remove the two screws securing the shield to the instrument panel under the instrument cluster…
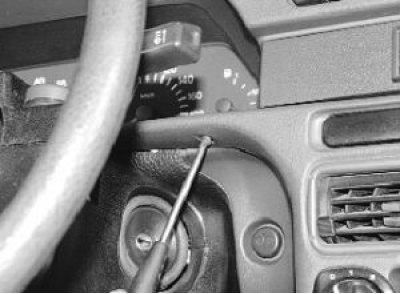

9. Remove the two screws securing the shield to the instrument panel under the instrument cluster…

10. …and two screws securing the shield at the top of the instrument cluster.
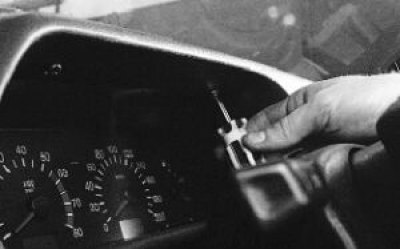

10. …and two screws securing the shield at the top of the instrument cluster.


11. Press the plastic clips and remove the handles from the heater control levers.
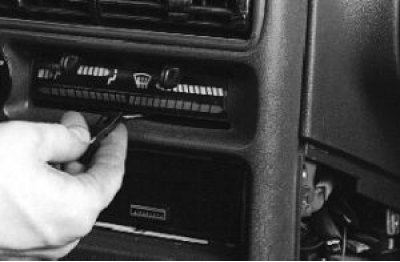

11. Press the plastic clips and remove the handles from the heater control levers.

12. Remove the heater fan control handle by pulling it towards you.
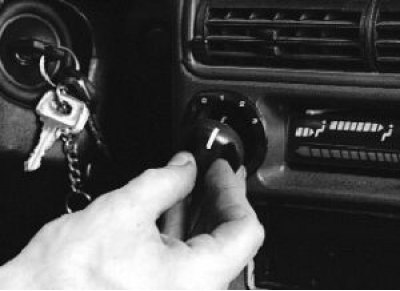

12. Remove the heater fan control handle by pulling it towards you.

13. Move the instrument panel panel to the side to disconnect the wiring harness connectors from…


13. Move the instrument panel panel to the side to disconnect the wiring harness connectors from the switches, cigarette lighter, diagnostic connector of the controller, trip computer and on-board monitoring system.
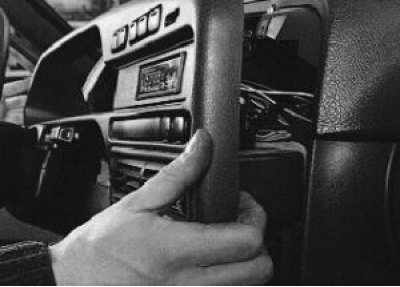
14. Disconnect the wiring harness connectors from the switches located on the dashboard.
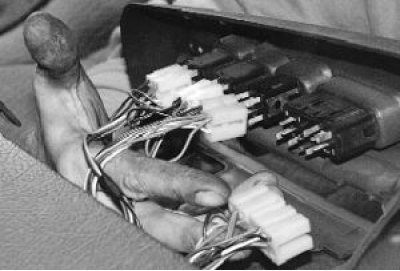

14. Disconnect the wiring harness connectors from the switches located on the dashboard.

15. Remove the trip computer from the instrument panel…
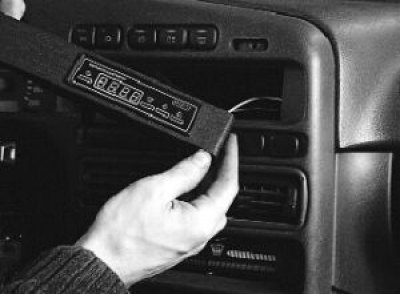

15. Remove the trip computer from the instrument panel…

16. …and disconnect the wiring harness connector from the on-board computer.
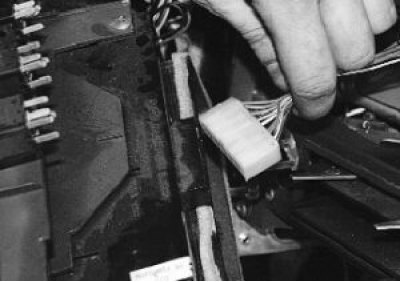

16. …and disconnect the wiring harness connector from the on-board computer.

17. Disconnect the wiring harness connector from the on-board monitoring system.


17. Disconnect the wiring harness connector from the on-board monitoring system.

18. Disconnect the wiring harness connector from the cigarette lighter contacts.
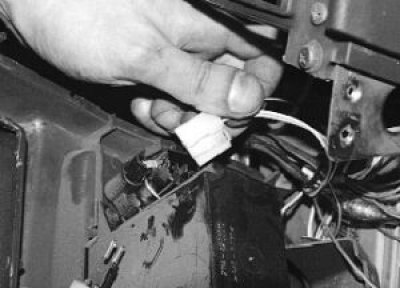
19. Press the two plastic clips and remove the engine management system diagnostic connector cover.
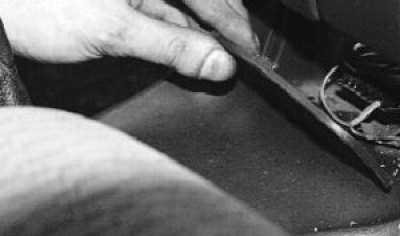

19. Press the two plastic clips and remove the engine management system diagnostic connector cover.

20. Remove the two screws securing the diagnostic connector to the instrument panel…
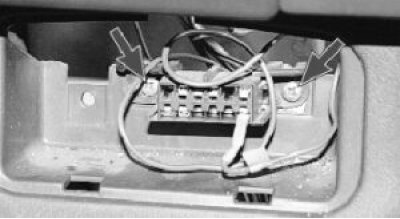

20. Remove the two screws securing the diagnostic connector to the instrument panel…

21. …push the diagnostic connector into the hole in the dashboard…
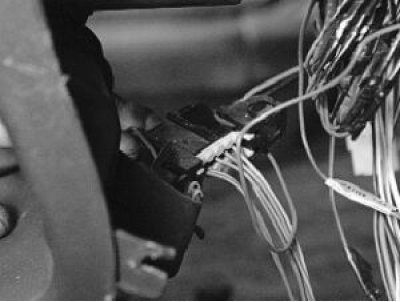

21. …push the diagnostic connector into the hole in the dashboard…

22. …and remove the instrument panel shield.
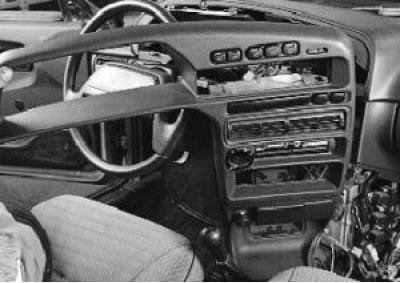

22. …and remove the instrument panel shield.

23. Install the instrument panel shield and all removed parts in the reverse order of removal.


23. Install the instrument panel shield and all removed parts in the reverse order of removal.


This article is available at russian, bulgarian, belarusian, ukrainian, serbian, croatian, romanian, polish, slovak, hungarian
The text was reviewed by the specialist: Grigory Vologodtsev

Share with friends:

Previous articles
VAZ-2115: Interior
Next articles

Removal and installation the floor tunnel lining
Removal and installation steering column trims
Replacing handrails
Replacing sun visors
Replacing the interior rearview mirror
Removal and installation the instrument panel
Disassembly and assembly of the instrument panel
Removal and installation the heater radiator
Removal and installation the heater
Gluing the mounting bracket for the interior rear view mirror

More articles from other manuals on VAZ cars:
➠ Removal and installation the instrument panel shield VAZ-2110 (1995-2007)
➠ Removal and installation the instrument panel VAZ-1111 (1988-1996)
➠ Instrument panel — device and removal VAZ-2101 (1970-1983)
➠ Instrument panel VAZ-2105 (1979-2010)
➠ Instrument panel VAZ-2106 (1976-2006)
Link in different formats to this page


Visitor comments

No comments yet


How much will 50 + 36 ?


VAZ-2114 (2004-2013) 
  • General information
  • Operation and maintenance
  • Power unit
  • Engine repair
  • Cooling system
  • Supply system
  • Control system
  • Exhaust system
  • Transmission
  • Clutch
  • Car gearbox
  • Front wheel drives
  • Chassis
  • Wheels and tires
  • Front suspension
  • Rear suspension
  • Steering
  • Brake system
  • Body
  • Exterior
  • Interior
  • Doors and glass
  • Tailgate
  • Ventilation and heating
  • Electrical equipment
  • Equipment and devices
  • Headlights and lighting
  • Engine electrics
  • Electrical circuits


VAZ-2115 (1997-2012) 
  • General information
  • Vehicle device
  • Operation manual
  • Vehicle malfunctions
  • Car care
  • Power unit
  • Engine repair
  • Cooling system
  • Supply system
  • Control system
  • Exhaust system
  • Transmission
  • Clutch
  • Car gearbox
  • Front wheel drives
  • Chassis
  • Front suspension
  • Rear suspension
  • Steering
  • Brake system
  • Body
  • Exterior
  • Interior
  • Doors, covers and windows
  • Electrical equipment
  • Equipment and devices
  • Headlights and lighting
  • Engine electrics
  • Anti-theft system


VAZbook.ru © 2017 · Mobile version · Contact with administration · Sitemap: EN BG BY UA RS HR RO PL SK HU · Site search · News and articles VAZ-1111 · VAZ-11113 · VAZ-2101 · VAZ-21011 · VAZ-2104 · VAZ-2105 · VAZ-21051 · VAZ-2106 · VAZ-21061 · VAZ-2107 · VAZ-21099 · VAZ-2109 · VAZ-2108 · VAZ-2110 · VAZ-2112 · VAZ-2114 · VAZ-2115 · VAZ-2121 · VAZ-21213 · VAZ-21214 ·
The site stores technical data using cookies to improve the service.