




- difficult engine starting;
- unstable engine operation;
- engine stalls at idle;
- increased crankshaft speed at idle;
- the engine does not develop full power;
- jerks and dips in engine operation when the car is moving;
- increased fuel consumption;
- increased content of CO and CH in exhaust gases;
- pre-ignition due to leaky injectors.
You will need: a 5 mm Allen key, a screwdriver, and a 17 mm wrench.
1. Remove the wire from the "–" terminal of the battery.
2. Remove the receiver from the intake pipe (see "Replacing the intake manifold and exhaust manifold gaskets" in the subsection "Replacing engine sealing parts").
3. Drain the coolant from the engine cooling system (see "Replacing the coolant").
4. Reduce the pressure in the fuel system (see "Reducing pressure in the fuel system" in the subsection "Power supply system").
5. Disconnect the injector wire harness connector.
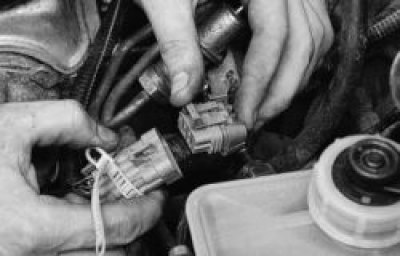
6. Disconnect the vacuum hose from the fuel pressure regulator.
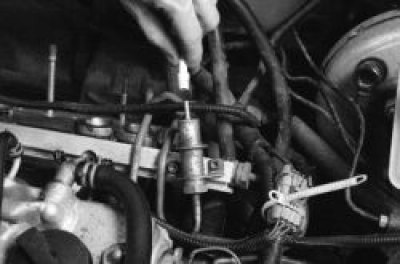
7. Remove the two screws securing the fuel pressure regulator to the fuel rail…
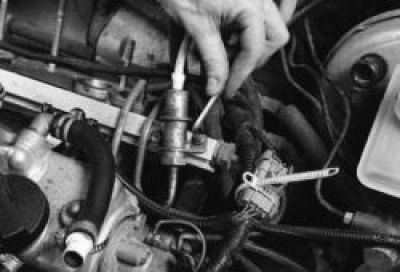
8. …and take him aside.
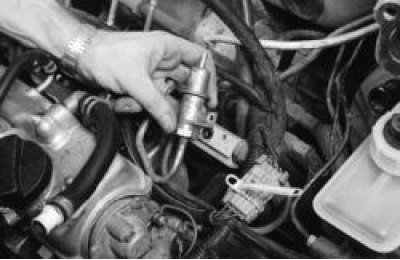
Note: If the fuel pressure regulator sealing ring remains in the rail, remove it. Replace any sealing ring that has lost elasticity or is torn.
9. Unscrew the fuel supply pipe nut…
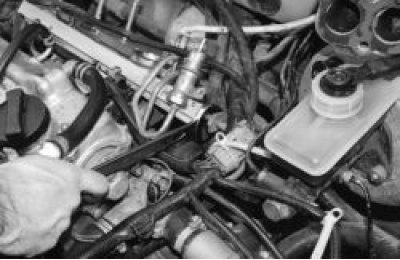
10. …and disconnect the pipe from the fuel rail. Replace the sealing ring on the pipe tip that has lost its elasticity or is torn.
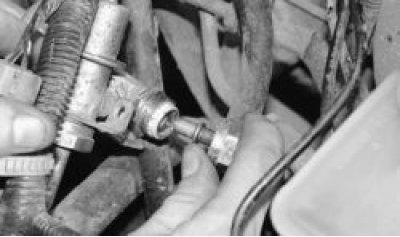
11. Remove the two fuel rail mounting bolts…
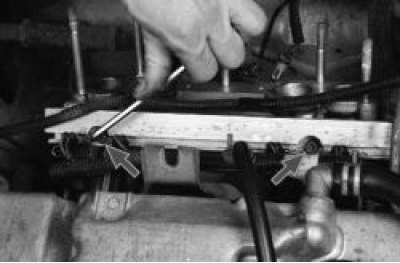
12. …remove the bolts together with the washers…
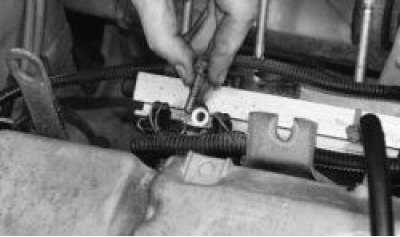
13. …and remove the fuel rail together with the injector wiring harness and injectors.
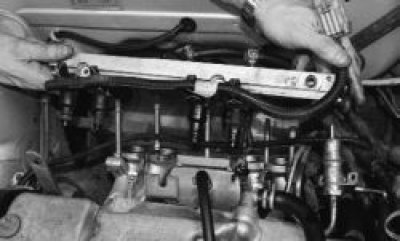
Warning: If any injector remains in the engine intake manifold when removing the fuel rail, replace its sealing rings and retainer.
14. To check the injectors, connect the fuel line to the rail and install the fuel pressure regulator. Connect the injector wiring harness connector.
15. Place the injectors in transparent containers. It is more convenient to hang the latter on the fuel rail. Check the fuel atomization by the injectors. To do this, turn on the starter. The injectors should spray fuel in a correct cone. Each injector should have four jets…
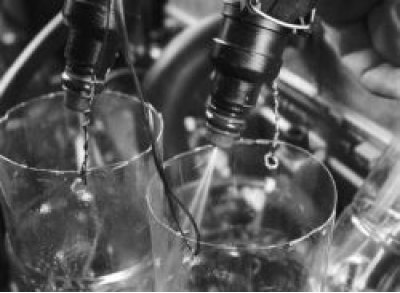
16. …the amount of fuel supplied through the injectors in all four tanks must be the same (check with a measuring cup). If any injector does not meet these conditions, replace it.
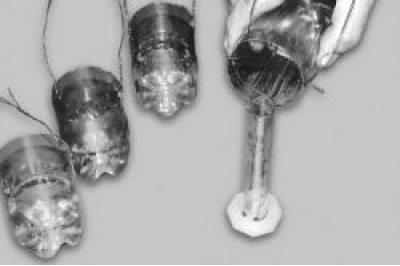
17. Immediately after turning off the ignition, carefully inspect the injectors. If fuel is leaking from the nozzle of any injector, then the injector is not sealed and must be replaced.
18. If the injector does not spray fuel, check whether it is supplied with power. To do this, disconnect the connector with wires from it, connect the battery directly to the injector contacts and turn on the ignition. If in this case the injector sprays fuel, then there is a malfunction in the injector electrical circuit.
19. It is recommended to check the resistance of the injector windings. To do this, disconnect the connector with wires from the injector (after disconnecting the wire from the "-" terminal of the battery) and connect an ohmmeter to the injector contacts. It should show a resistance of 11-15 Ohms. Otherwise, replace the injector.
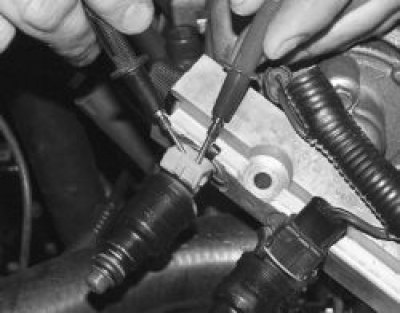
20. Before replacing injectors reduce the pressure in the fuel system (see "Reducing pressure in the fuel system").
21. Press the spring clip and disconnect the wiring harness connector from the injector being replaced.
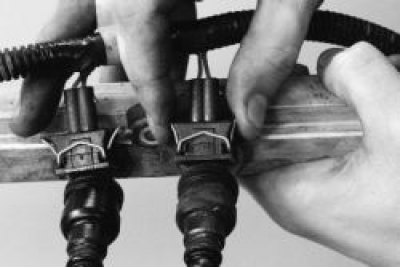
22. Move the injector retainer to the side…
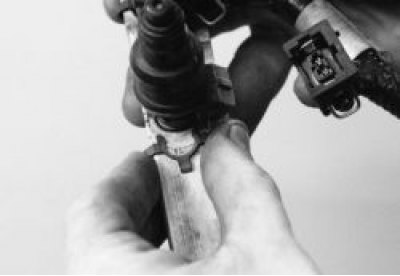
23. …and remove the injector from the fuel rail. Replace the remaining faulty injectors in the same way.
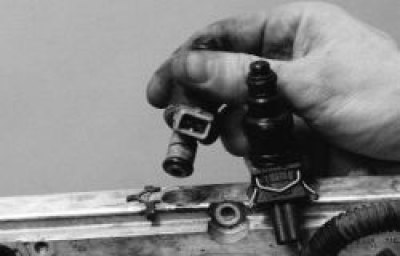
Note: Check the O-rings on all injectors on the rail side…
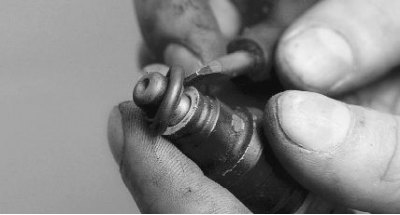
…and the intake pipe. Replace cracked or loose rings.
Helpful Hint: We recommend replacing the injector seals each time the fuel rail is removed, as in many cases engine malfunction is caused by leaky injector seals.
24. Install the injectors and fuel rail in the reverse order of removal. Before installation, lubricate the injector sealing rings with gasoline.
25. To replace the retainers that do not hold the injectors well, move them to the recess under the ramp mounting bolt or to the edge of the ramp.