
English Русский
Български
Беларускі
Український
Српски
Hrvatski
Română
Polski
Slovenský
Magyar
| Articles | Contacts | Sitemap |   
Repair and maintenance Lada Repair and maintenance Mazda Repair and maintenance Mitsubishi Repair and maintenance Toyota Repair and maintenance Land Rover Repair and maintenance Hyundai Repair and maintenance Nissan
VAZbook.ru


Main     1111   2101   2105   2106   2107   2109   2110   2115   2121  
VAZ-2114 (2004-2013) VAZ-2115 (1997-2012)
  • Main
  • «Samara-2»
  • VAZ-2115
  • Power unit
  • Supply system
  • Removal, repair and installation of the fuel pump

Removal, repair and installation of the fuel pump (VAZ-2115)

            0

If the engine power drops, increased noise is heard, or periodic "howling" is heard when the fuel pump is operating, then most likely the fuel pump has failed. First, check the pressure in the fuel supply system by connecting a pressure gauge to the fitting on the fuel rail in the engine compartment (see "Checking and replacing the fuel pressure regulator").

If the pressure in the system is less than 250 kPa (2.5 kgf/cm²), replace the fuel filter (see "Replacing the fuel filter").

If this does not help, try removing the pump and washing the mesh of its receiver. If the pressure does not increase in this case, the fuel pump must be replaced. The fuel pump consists of a fuel level sensor, a fuel filter and the electric pump itself. All these elements are installed in the bracket and the body of the fuel pump.
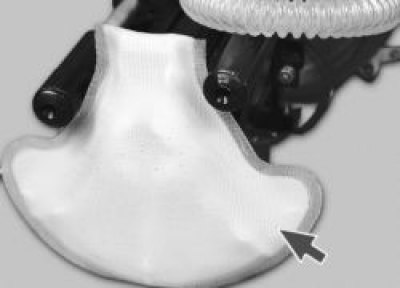
Main faults of the fuel pump:


Main faults of the fuel pump:
  • failure or incorrect operation of the fuel level indicator sensor;
  • clogged or damaged fuel pump filter;
  • failure of the electric pump.

In most cases, malfunction of the fuel level sensor is caused by contamination or oxidation of its contact group.

You will need: a screwdriver, 17 and 13 keys.


1. Disconnect the wire from the "–" terminal of the battery.

2. Reduce the pressure in the fuel system (see "Reducing pressure in the fuel system").

3. Remove the fuel tank (see "Removal and installation the fuel tank").

4. Unscrew the fuel drain line tip nut…
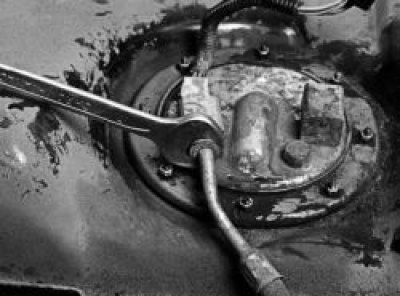
5. …and disconnect the fuel line from the fuel pump.
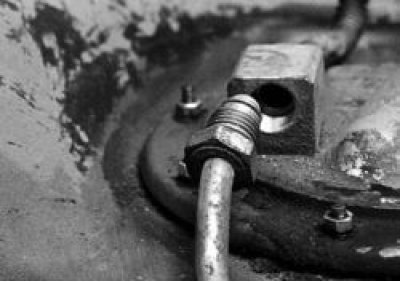

5. …and disconnect the fuel line from the fuel pump.

Note: The fuel feed line and wiring harness connector were disconnected when the fuel tank was…


Note: The fuel feed line and wiring harness connector were disconnected when the fuel tank was removed.


6. Unscrew the pump mounting nuts…
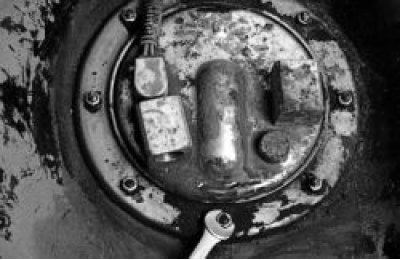
7. …and remove the pressure ring.
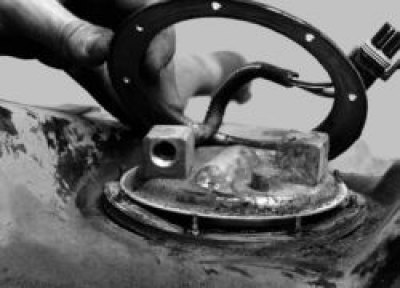

7. …and remove the pressure ring.


8. Remove the fuel pump with the fuel level sensor from the tank.
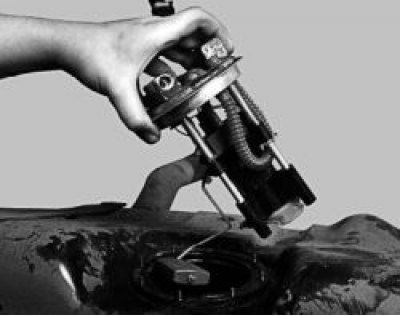

8. Remove the fuel pump with the fuel level sensor from the tank.

9. Remove the rubber sealing ring of the fuel pump. A cracked or loosened ring must be replaced.
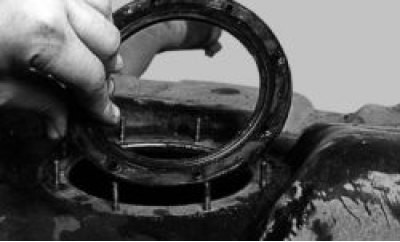

9. Remove the rubber sealing ring of the fuel pump. A cracked or loosened ring must be replaced.

10. If the collection cup remains in the fuel tank when removing the pump, remove it.
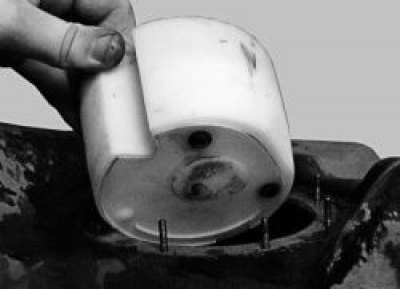

10. If the collection cup remains in the fuel tank when removing the pump, remove it.

Note: Before reinstalling the pump, secure the accumulator to the housing with plastic pins.


Note: Before reinstalling the pump, secure the accumulator to the housing with plastic pins.


11. Remove the screws securing the fuel level indicator sensor…
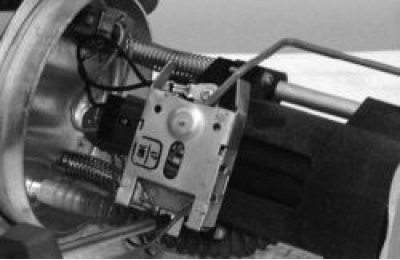
12. …and disconnect the sensor.
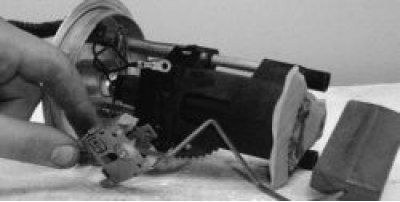

12. …and disconnect the sensor.

13. Disconnect the wiring harness from the bracket…
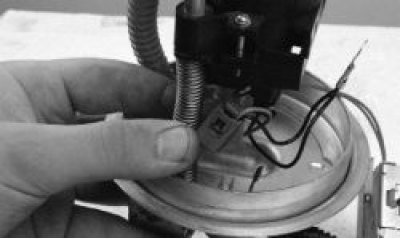

13. Disconnect the wiring harness from the bracket…

14. …and from the fuel pump electric motor.
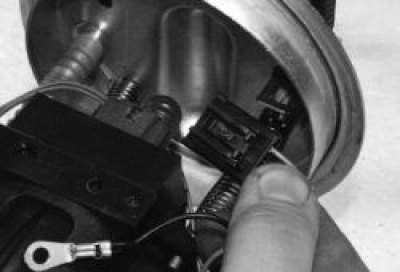

14. …and from the fuel pump electric motor.

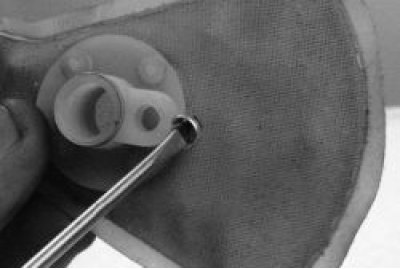
15. To replace or clean the fuel filter, pry its base with a pointed tool and remove it from the…


15. To replace or clean the fuel filter, pry its base with a pointed tool and remove it from the pump body. Remove the lock washer.
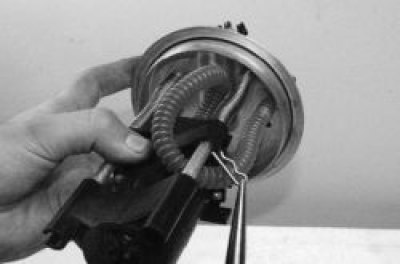
16. Overcoming the force of the spring, press the pump body down along the guides, remove the…


16. Overcoming the force of the spring, press the pump body down along the guides, remove the locking pin..
17. …and remove the housing together with the electric motor from the bracket guides.
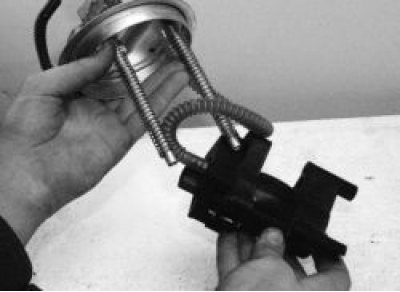

17. …and remove the housing together with the electric motor from the bracket guides.

18. Remove two screws and remove…
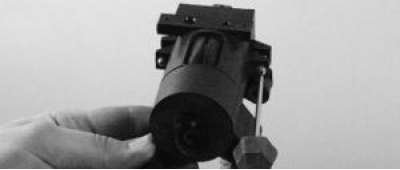

18. Remove two screws and remove…

19. …the lid…
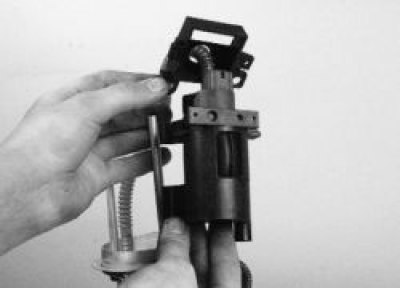

19. …the lid…

20. …and a rubber bushing.
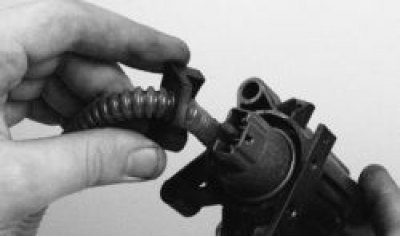

20. …and a rubber bushing.

21. Remove the fuel pump from the housing.
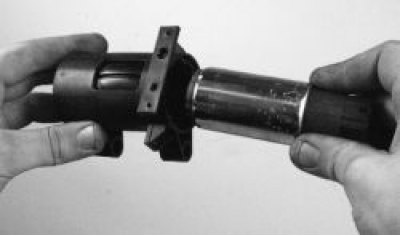

21. Remove the fuel pump from the housing.

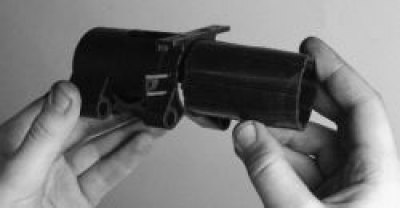
22. Remove the rubber sealing bushing from the housing; if there are signs of cracking or tears on…


22. Remove the rubber sealing bushing from the housing; if there are signs of cracking or tears on the bushing, replace it.
23. Install the electric pump and all removed parts in the reverse order of removal.


23. Install the electric pump and all removed parts in the reverse order of removal.

24. Before installing the hatch cover, start the engine and check the fuel line connections for leaks.

Note: When installing the fuel pump into the fuel tank, the arrow on the flange of the fuel pump cover must point towards the rear of the vehicle.


This article is available at russian, bulgarian, belarusian, ukrainian, serbian, croatian, romanian, polish, slovak, hungarian
The text was reviewed by the specialist: Grigory Vologodtsev

Share with friends:

Previous articles
VAZ-2115: Supply system
Next articles

Removal and installation the fuel tank
Replacing the fuel filter
Removal and installation the air filter
Replacing the air filter element
Reducing pressure in the fuel system
Checking and replacing injectors
Checking and replacing the fuel pressure regulator
Replacing the throttle cable
Adjusting the throttle actuator
Removal and installation the throttle assembly

More articles from other manuals on VAZ cars:
➠ Fuel pump repair VAZ-11113 (1996-2003)
➠ Fuel pump — removal, installation and repair VAZ-21051 (1979-2010)
➠ Fuel pump repair VAZ-21061 (1976-2006)
➠ Fuel pump — inspection and repair VAZ-2108 (1984-2003)
➠ Coolant pump — inspection and repair VAZ-2101 (1970-1983)
Link in different formats to this page


Visitor comments

No comments yet


How much will 38 + 36 ?


VAZ-2114 (2004-2013) 
  • General information
  • Operation and maintenance
  • Power unit
  • Engine repair
  • Cooling system
  • Supply system
  • Control system
  • Exhaust system
  • Transmission
  • Clutch
  • Car gearbox
  • Front wheel drives
  • Chassis
  • Wheels and tires
  • Front suspension
  • Rear suspension
  • Steering
  • Brake system
  • Body
  • Exterior
  • Interior
  • Doors and glass
  • Tailgate
  • Ventilation and heating
  • Electrical equipment
  • Equipment and devices
  • Headlights and lighting
  • Engine electrics
  • Electrical circuits


VAZ-2115 (1997-2012) 
  • General information
  • Vehicle device
  • Operation manual
  • Vehicle malfunctions
  • Car care
  • Power unit
  • Engine repair
  • Cooling system
  • Supply system
  • Control system
  • Exhaust system
  • Transmission
  • Clutch
  • Car gearbox
  • Front wheel drives
  • Chassis
  • Front suspension
  • Rear suspension
  • Steering
  • Brake system
  • Body
  • Exterior
  • Interior
  • Doors, covers and windows
  • Electrical equipment
  • Equipment and devices
  • Headlights and lighting
  • Engine electrics
  • Anti-theft system


VAZbook.ru © 2017 · Mobile version · Contact with administration · Sitemap: EN BG BY UA RS HR RO PL SK HU · Site search · News and articles VAZ-1111 · VAZ-11113 · VAZ-2101 · VAZ-21011 · VAZ-2104 · VAZ-2105 · VAZ-21051 · VAZ-2106 · VAZ-21061 · VAZ-2107 · VAZ-21099 · VAZ-2109 · VAZ-2108 · VAZ-2110 · VAZ-2112 · VAZ-2114 · VAZ-2115 · VAZ-2121 · VAZ-21213 · VAZ-21214 ·
The site stores technical data using cookies to improve the service.