




Contents: Removal ↓ Installation ↓
Removal
1. Prepare the vehicle for operations (see "Preparing a car for maintenance and repair").
2. Remove the door trim (see "Front door trim - removal and installation").
3. Unscrew the door lock button.
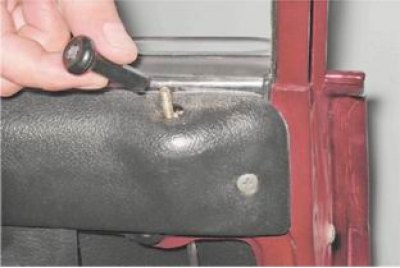
4. Using a Phillips screwdriver, unscrew the screw that secures the trim.
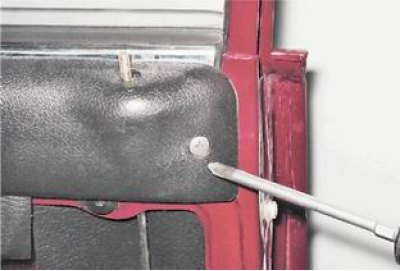
5. Using a slotted screwdriver, pry up and disconnect the three plastic fasteners of the door trim (the photo shows one clamp).
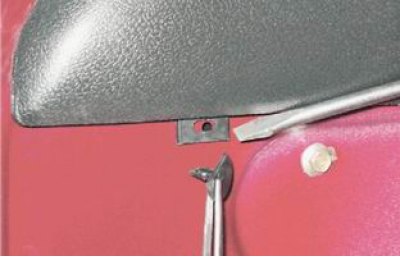
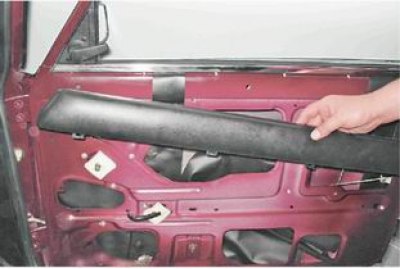
6. Remove the cover.
7. Remove the outside rearview mirror (see "Outside rear view mirror - removal and installation").
8. Remove the seal from the front and upper parts of the door frame.
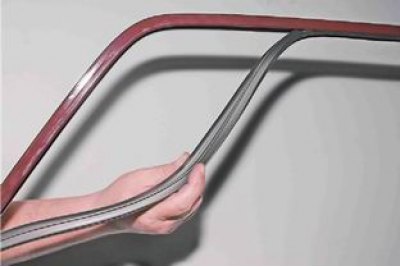
9. With a socket wrench on 8 mm unscrew the bolt of the upper fastening of the front glass guide.
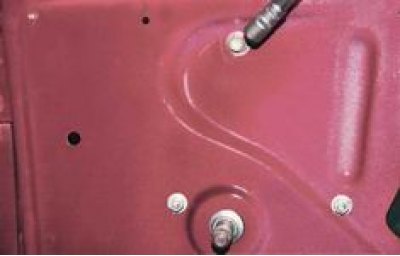
10. Using the same tool, unscrew the nut of the lower guide mount.
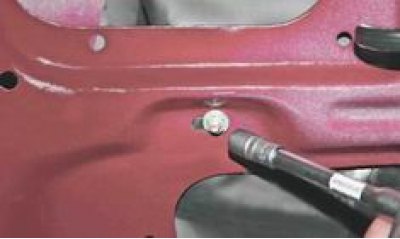
11. To access the front guide of the drop-down glass, remove the protective film.
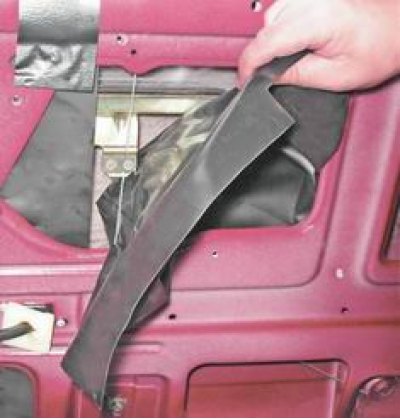
12. Remove the guide with the seal from the technological hole in the inner door panel.
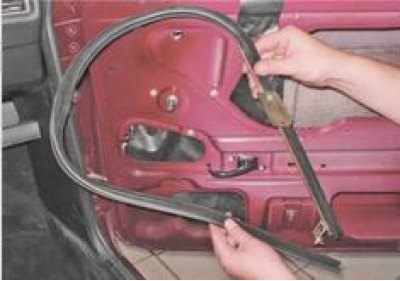
Caution: Before performing the following operation, it is recommended to mark the position of the cables relative to their pressure plates with a marker or a knot of thread.
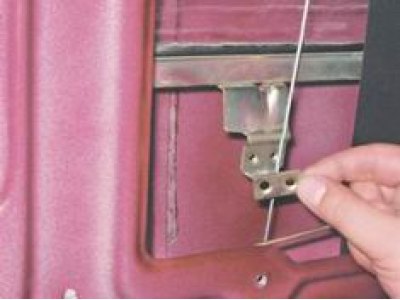
13. Using a Phillips screwdriver, unscrew the four screws securing the cable pressure plates to the glass brackets.
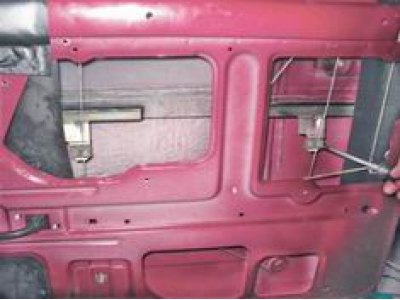
14. Remove the plates and lower the glass until it stops.
15. Using a slotted screwdriver, pry up and remove the inner and outer chrome trim.
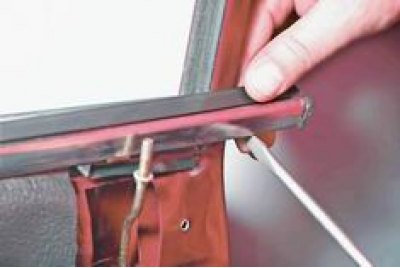
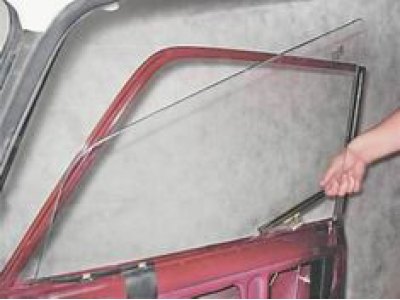
16. Remove the glass with brackets from the door, lifting it and tilting it inward.
Installation
The installation of the front door glass is carried out in the reverse order, using the previously applied marks on the cables as a guide.