




Contents: Removal ↓ Installation ↓
Removal
1. Prepare the vehicle for operations (see "Preparing a car for maintenance and repair").
2. Remove the rear door trim in the same way as the front door (see "Front door trim - removal and installation").
3. Remove the protective film from the door.
4. Move the door lock button to the lower position.
5. By squeezing the petals, we remove the lock lock rod holder from the hole in the rear guide.
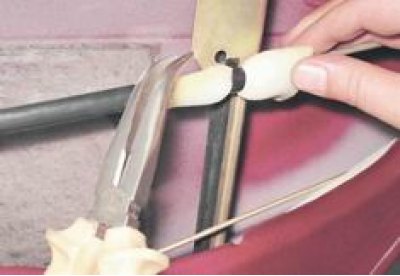
6. Using a slotted screwdriver, disconnect the lock rod end from the lock lever.
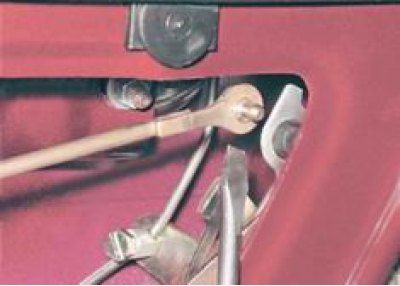
7. If it is necessary to remove the lock drive, unscrew its lock button (see "Front door glass - removal and installation").
8. With a socket wrench by 13 mm unscrew the drive bracket mounting nut.
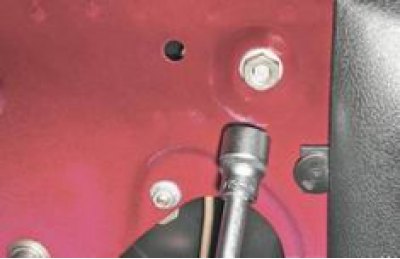
9. Remove the drive from the technological hole in the door.
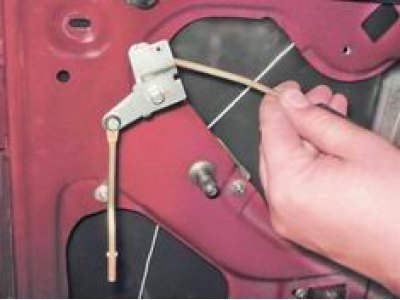
10. To remove the outer handle of the rear door, use a slotted screwdriver to loosen the screw securing the handle rod.
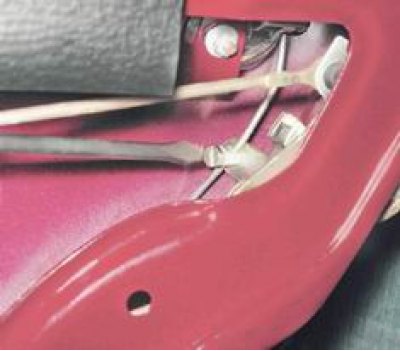
11. With a socket wrench by 8 mm unscrew the two nuts securing the outer handle and remove it together with the rod (see "Lock, cylinder and outer handle of the front door - removal and installation").
12. To remove the lock, disconnect the outer handle and lock rods from its levers (see above pp. 6, 10).
13. Using a Phillips screwdriver, unscrew the three screws securing the lock.
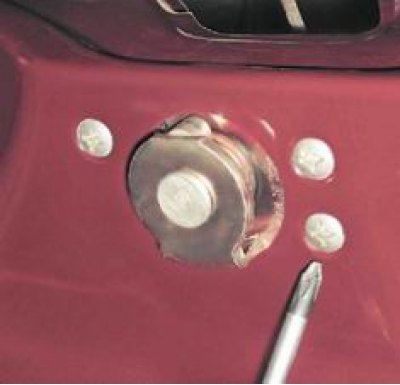
14. Using the same tool, unscrew the two screws securing the inner door handle.
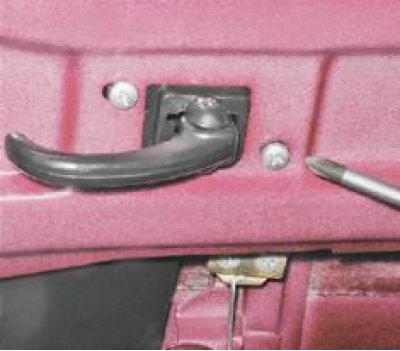
15. Remove the lock together with the rod and the inner handle from the technological hole in the door.
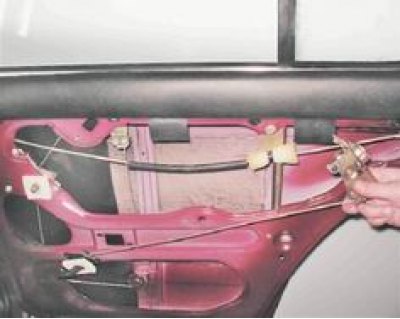
Installation
1. Clean off dirt and lubricate the rubbing surfaces with aerosol or plastic lubricant.
[The source is on the website: vazbook.ru]
2. Installation of removed parts is performed in reverse order.