




Contents: Removal on VAZ 2110 cars ↓ Installation ↓ Removal on VAZ 2112 and VAZ 2111 cars ↓ Installation ↓
Note: On VAZ 2110 cars with a sedan body, the rear seat consists of a cushion, a two-section backrest with a built-in armrest and two removable headrests.
Removal on VAZ 2110 cars
1. Prepare the car for repair work.
2. After opening the rear door of the car, use your finger to push the handle of the right rear seat cushion lock back...
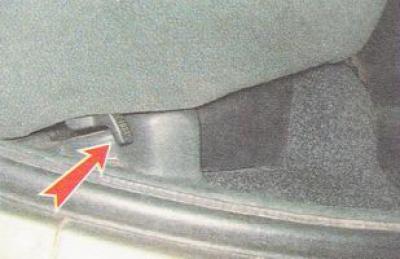
...and lift the right edge of the pillow up a little.
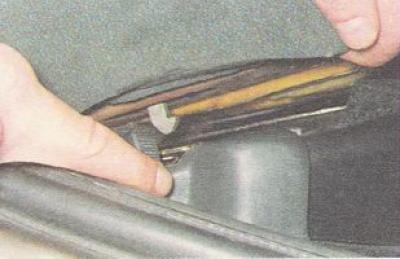
3. Similarly, we release the left edge of the seat cushion.
4. Move the cushion forward a little, bringing its rear edge out from under the seat back and remove the cushion.
5. Press the buttons of the two headrest locks, lift it up and remove it from the back section.
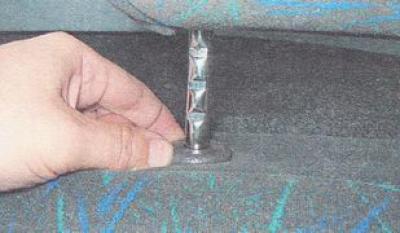
6. Pull the loop to release the upper part of the back section and move it forward as far as the trunk trim allows.
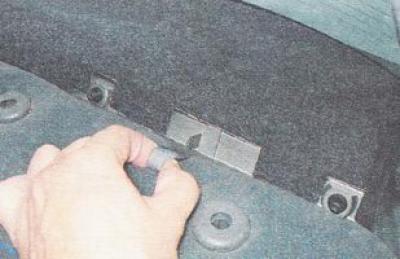
7. Disconnect the trunk trim from the rear seat back section.
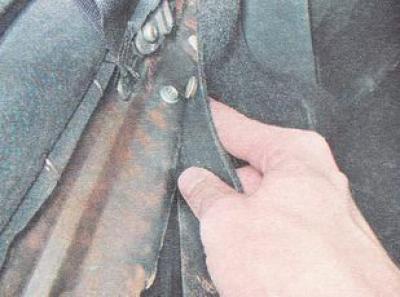
8. Having lifted the back section upwards, we remove its loops from engagement with the floor hooks...
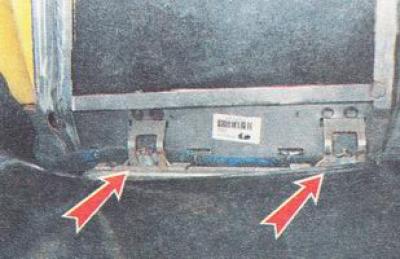
...and remove the rear seat back section from the car.
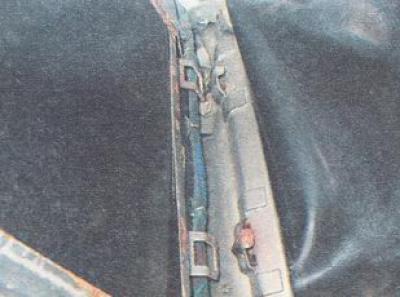
9. Remove the right section of the seat back in the same way as the left one.
10. Using a 10 mm socket wrench, unscrew the two nuts securing the armrest hinges to the body.
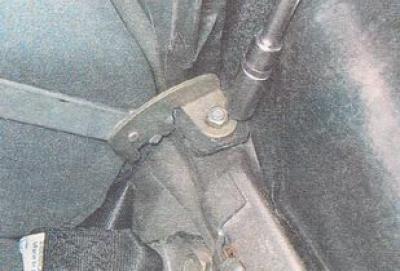
11. Remove the armrest.
Installation
We install the armrest, rear seat and all previously removed parts on the car in the reverse order.
Removal on VAZ 2112 and VAZ 2111 cars
On VAZ 2112 hatchback and VAZ 2111 station wagon cars, the cushion and backrest of the rear seat are divided into two parts in a ratio of 1/2. Any part of the cushion or backrest can be folded independently of the second part. Both parts of the backrest of the rear seat are equipped with headrests. All elements of the rear seat can be removed independently of each other.
1. Prepare the car for repair work.
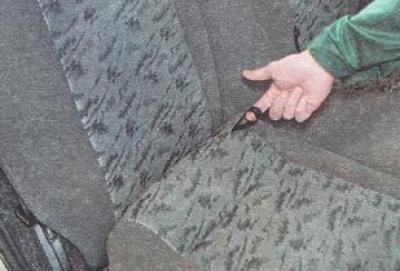
2. Pull the loop and fold the right side of the seat cushion forward.
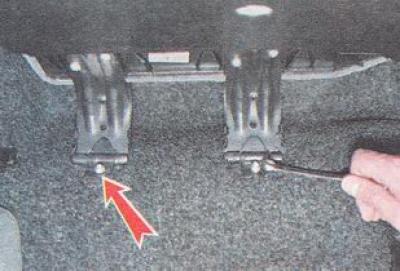
3. Using a 10 mm open-end wrench, unscrew the two nuts securing the hinges of the right side of the cushion to the floor and remove it.
4. Similarly, remove the left part of the seat cushion.
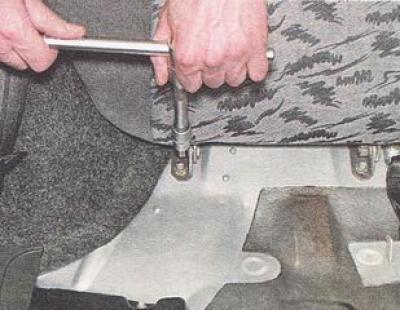
5. Using a 13 mm socket wrench, unscrew the two lower nuts securing the hinges on the right side of the back.
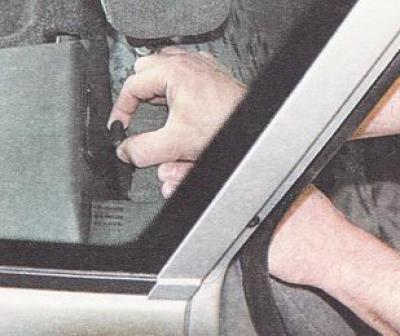
6. Raise the lever of the right part of the backrest lock upwards.
7. Fold the seat back forward.
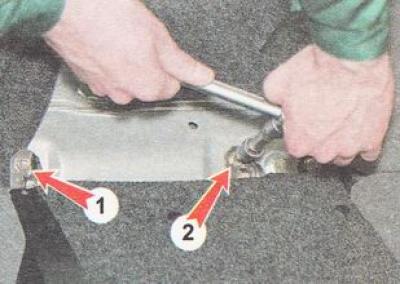
8. Using a 13 mm socket wrench, unscrew the nut (1) and bolt (2) of the upper fastening of the hinges of the right side of the seat back.
9. Remove the right side of the rear seat back.
10. Remove the left part of the back in the same way.
Installation
We install the rear seat and all previously removed parts on the car in the reverse order.