
Removing
1. We prepare the car for work (see "Preparing the car for maintenance and repair").
2. Remove the left overlay of the instrument panel console (see "Dashboard - removal and installation").
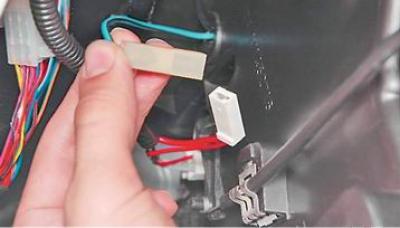
3. Disconnect the electric fan wiring harness pads.
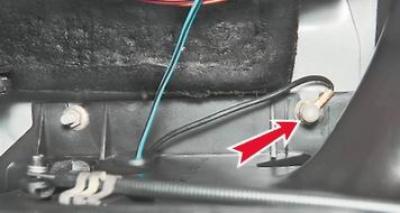
4. Key by 10 mm unscrew the cap nut securing the wire end "masses" fan motor and remove the tip from the stud.
5. In order not to damage, remove the filter of the ventilation and heating system (see "Ventilation and heating system filter - replacement").
6. Using a Phillips screwdriver, unscrew the five fastening screws and remove the left and right parts of the air intake grille.
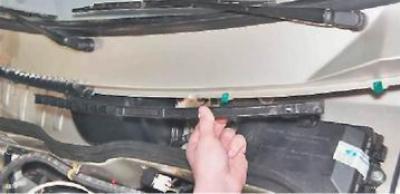
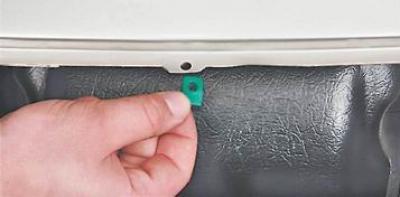
7. Remove the central holder of the air intake grille so that it does not accidentally fall into the heater.
8. Using a Phillips screwdriver, unscrew the four screws securing the protective cover of the electric fan.
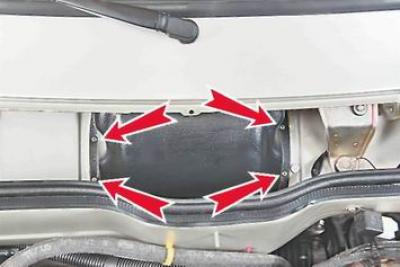
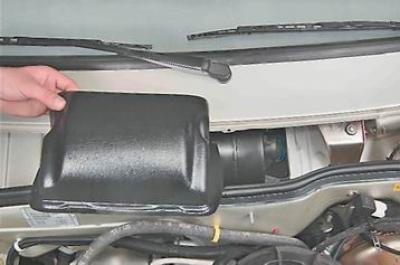
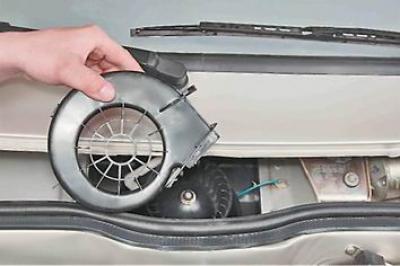
9. Move the casing to the right and remove it from the air intake box.
10. Using a Phillips screwdriver, unscrew the two screws securing the heater electric fan.
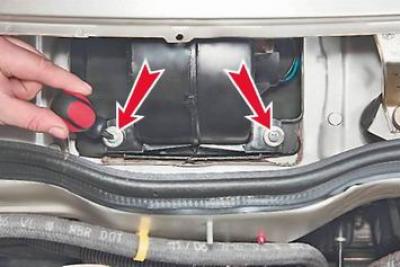
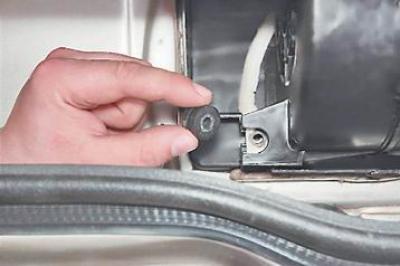
11. Remove the two rubber pads for mounting the electric fan.
Note: For clarity, further operations are shown on the removed electric fan.
12. Carefully peel off the seal from one of the parts of the casing.
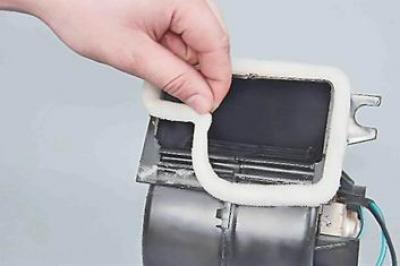
13. Remove the casing cushion.
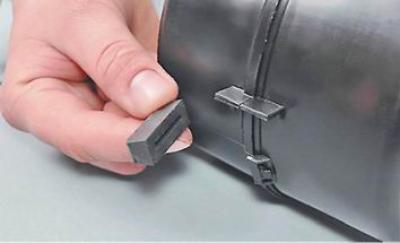
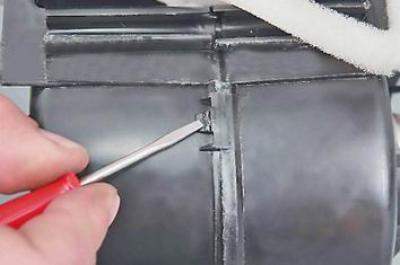
14. With a slotted screwdriver, alternately pressing on the five fixing protrusions, we separate the parts of the casing.
15. Remove the electric fan wiring harness from the heater housing.
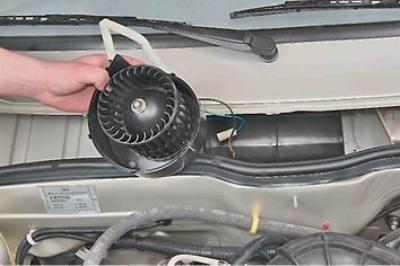
16. We first remove the left side of the casing...
... and then the right one, complete with an electric fan from the air intake box.
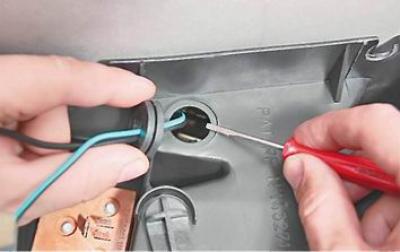
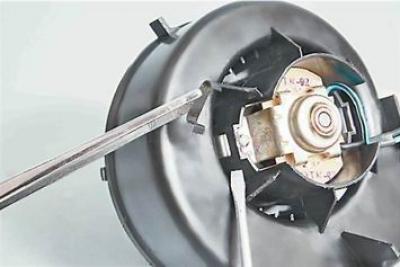
17. We pry off with a screwdriver and remove the two spring holders of the electric motor in the casing.
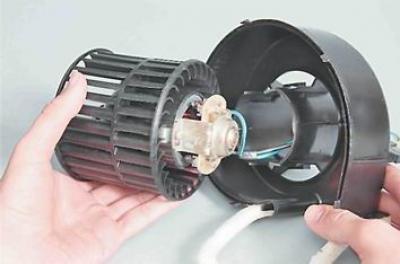
18. We take out the electric motor assembly with the impeller from the casing.
Installation
1. We install the electric motor in the casing and connect the parts of the casing.
2. Glue the sealing foam pad to the second part of the casing.
3. Next, install the electric fan in reverse order.