




Contents: Removal ↓ Installation ↓
Recommendation: To remove the door, you can unscrew the bolts that attach the hinges to it (access to the bolts is difficult, but they can be unscrewed with a spanner). However, the door will have to be held in the air, with the risk of dropping it, damaging the paintwork of the body. It will be even more difficult to tighten the bolts when installing the door. Therefore, the work should be done by disconnecting the hinges from the body (as shown below).
To complete the work you will need an assistant, as well as a piece of thin steel wire about 1.5 m long.
Removal
1. Prepare the car for work (see "Preparing the car for maintenance and repair").
2. Remove the door trim (see "Trunk door trim - removal and installation").
3. On the connecting blocks of the wire harness laid in the door, we mark the color of the insulation of each wire connected to it.
4. Disconnect the wiring harness connector from the windshield wiper motor-reducer connector (see "Rear Window Wiper - Removal and Installation"). In the block that supplies voltage to the motor-reducer block, use a slotted screwdriver with a thin blade or an awl to press the locking antennae of the wire tips. Disconnect the wires from the block.
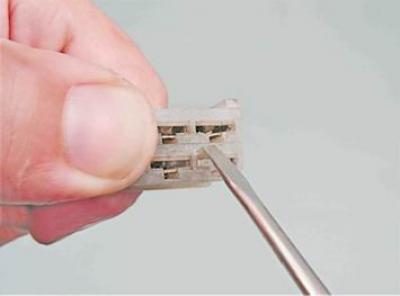
5. In a similar manner, release the tip of the wire that supplies power to the additional brake signal from the block (see "Spoiler - removal and installation").
6. Remove the "ground" wires from the door lock mounting pin (see "Tailgate lock - removal, installation and adjustment").
7. Disconnect the door glass heating element wire (see "Tailgate glass - removal and installation").
8. Pull the wires out of the trunk door.
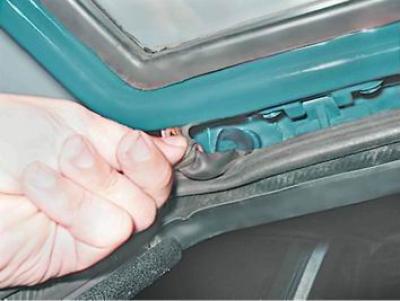
9. In the car interior, remove the decorative trim with a socket wrench by 17 mm unscrew the bolt of the upper seat belt mount.
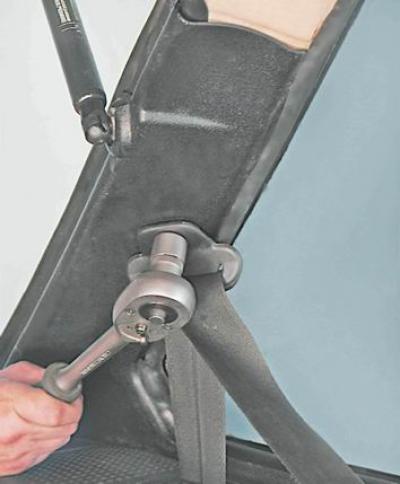
Warning: Do not lose the spacer sleeve installed under the bolt.
10. Using a Phillips screwdriver, unscrew the two screws securing the rear body pillar trim.
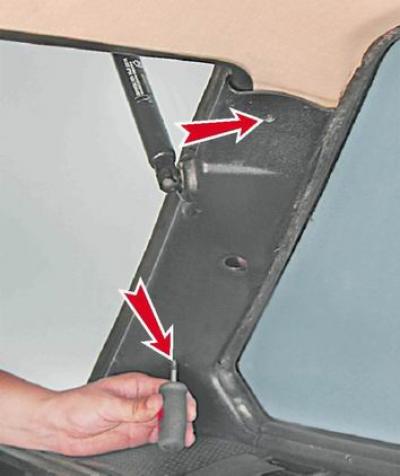
11. Release the trim from under the glass seal and move the upper part of the trim away from the pillar. Similarly, move the trim away from the other side of the car.
12. Remove the rear handrail cover. Use a Phillips screwdriver to unscrew the rear handrail mounting screw.
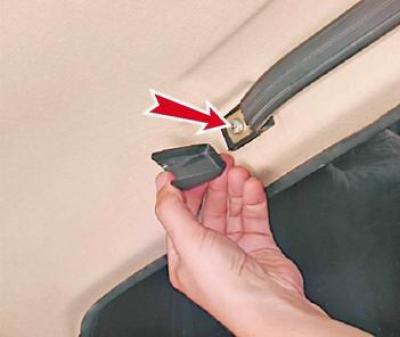
13. Remove the handrail support plate.
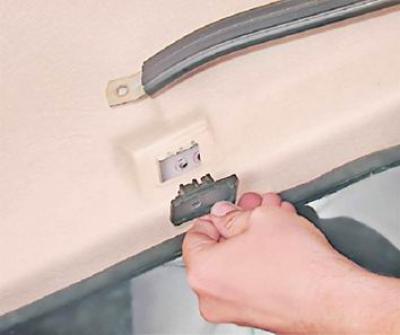
14. Similarly, we disconnect the rear fastening of the handrail on the opposite side of the ceiling.
15. Using a puller or a slotted screwdriver, remove the fasteners of the three holders of the rear part of the ceiling trim.
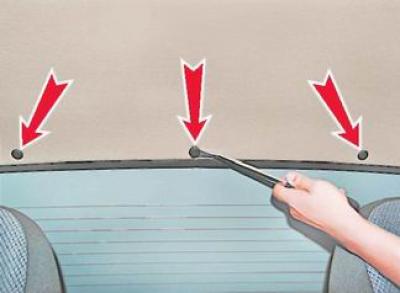
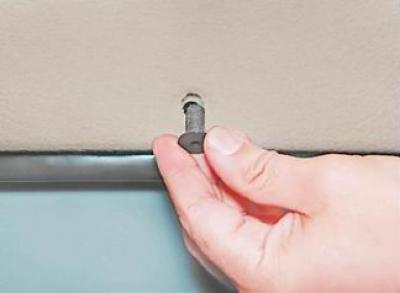
16. Remove the holders.
17. Remove the gas struts (see "Gas door stop - removal and installation").
18. We bring the edges of the upholstery out from under the glass seal and move the back part of the upholstery away from the ceiling by a distance of 5-7 cm.
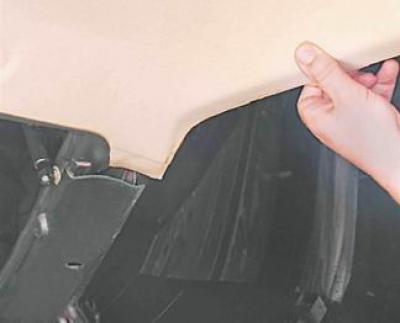
Warning: To avoid bending the headliner, do not apply force.
19. Under the headlining with a socket wrench by 10 mm using a ratchet, unscrew the two nuts securing the door hinges to the car body and remove the trunk door.
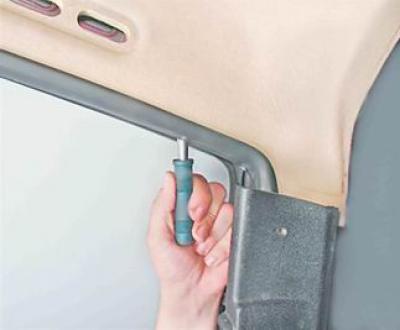
Warning! One of the nuts on the left hinge secures the tip of the "ground" wires. When installing the door, do not forget to connect them!
20. If necessary, use a socket wrench by 10 mm we unscrew two bolts securing the hinges to the door frame and remove the hinges.
Installation
1. Before installing the door, pass a wire bent into a loop through the left side of its frame. Pull the end of the loop out of the hole for the wire harness.
[Information taken from the website VAZbook]
2. Install the hinges on the door.
3. Install the door into the body opening. Put the tip of the "ground" wires on the left hinge pin and tighten the hinge mounting nuts (without tightening them).
4. If there is a lock on the door, remove the lock retainer (see "Tailgate lock - removal, installation and adjustment").
5. Close the door and make sure that it is correctly positioned in the opening and that the gaps around its perimeter are uniform.
Advice: The design of the hinge mount does not provide for adjustment of the door position, so if the door is crooked in the opening, contact a service station (you may need the help of a tinsmith).
6. Tighten the hinge fastening nuts and install the lock retainer.
7. Using wire, pull the wire harness through the door frame.
8. Using a thin-bladed slotted screwdriver, insert the outer end of the wire harness protective tube into the door opening.
9. We put the connecting blocks on the ends of the wires in accordance with the markings made and connect the blocks to the windshield wiper and additional brake light.
10. We fasten the ceiling trim with holders.
11. Install the rear body pillar pads and secure them with self-tapping screws.
12. Using a slotted screwdriver, adjust the edges of the side window seals (the edges of the seals should be located on top of the trims and headlining).
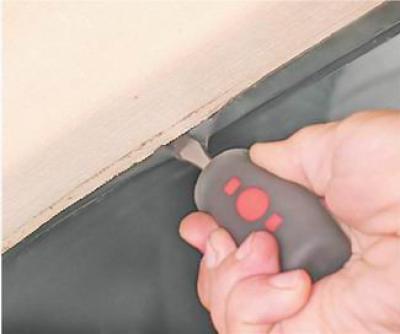
13. Check the functionality of the windshield wiper and additional brake light.
14. After making sure that the windshield wiper and additional brake light are working, install the luggage compartment door trim (see "Trunk door trim - removal and installation").