




Contents: Removal ↓ Installation ↓
We remove the cylinder head without disconnecting the carburetor, intake manifold and exhaust manifold from it.
To complete the work you will need a torque wrench.
Removal
1. Place the vehicle on an inspection pit or overpass (see "Preparing a car for maintenance and repair").
2. For ease of work, remove the battery (see "Battery - Removal and Installation").
3. Drain the coolant (see "Coolant - Checking Level and Replacing").
4. Disconnect the wire tip from the coolant temperature gauge sensor (see "Coolant Temperature Gauge Sensor - Replacement").
5. Remove the intake pipe from the exhaust manifold studs (see "Intake pipe - removal and installation").
6. Remove the air filter housing (see "Air filter housing - removal and installation").
7. Disconnect the air damper drive rod, fuel hose, crankcase ventilation hoses, vacuum ignition timing regulator hoses and the wiring block from the electromagnetic valve from the carburetor (see "Carburetor - removal and installation").
8. Set the piston of the 4th cylinder to the BMT position of the compression stroke (see "Clearance between valve levers and camshaft cams - adjustment").
9. Remove the housing assembly with the camshaft. Mark the position of the valve drive levers and remove the levers with springs (see "Camshaft and valve levers - replacement").
10. Tie the chain with wire and pass it through the window in the cylinder head.
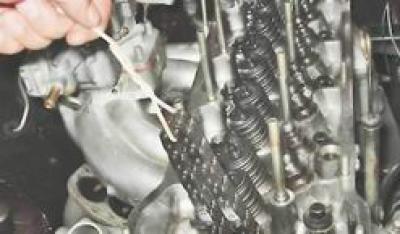
11. Remove the ignition distributor (see "Ignition distributor - removal and installation") with high-voltage wires.
12. Unscrew the spark plugs from the cylinder head (see "Spark plugs - checking condition and replacement").
13. Remove the warm air intake (see "Intake Manifold and Exhaust Manifold Gaskets - Replacement").
14. Unscrew the nut of the upper fastening of the starter heat shield (see "Starter - removal and installation").
15. Remove the ground wire tip from the exhaust manifold stud (see "Intake Manifold and Exhaust Manifold Gaskets - Replacement").
16. Disconnect the heating hose from the inlet manifold fitting.
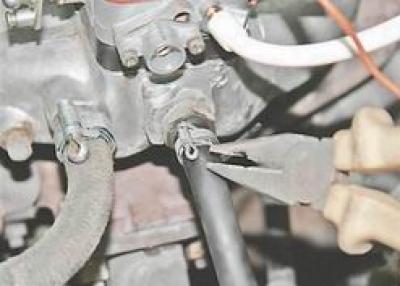
17. Disconnect the brake booster hose from the intake manifold fitting.
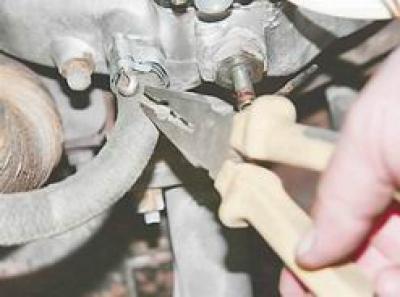
18. After loosening the clamps, remove the thermostat bypass hose and the radiator supply hose.
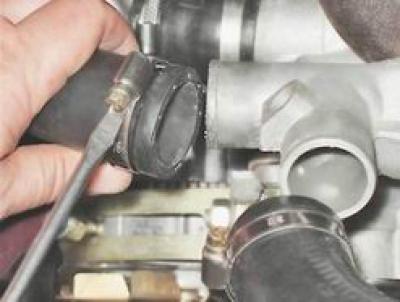
19. After loosening the clamp, remove the hose supplying coolant to the heater radiator from the branch pipe.
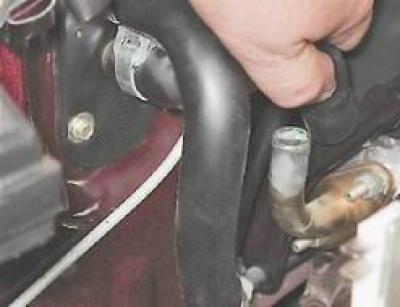
20. With a socket wrench by 12 mm using an extension, unscrew the ten bolts that secure the internal mounting of the head to the cylinder block.
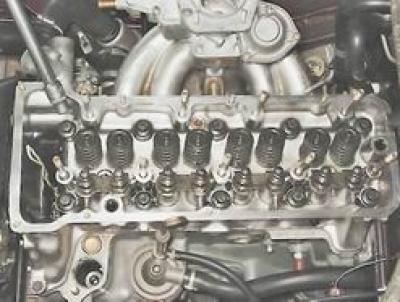
21. With a socket wrench by 13 mm we unscrew the bolt of the outer fastening of the head to the cylinder block.
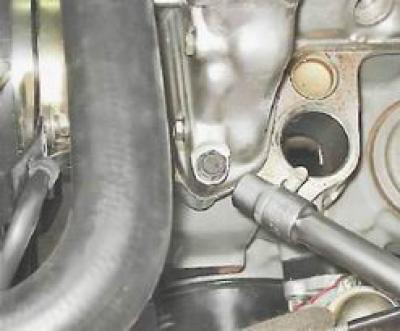
22. Remove the cylinder head together with the intake manifold, exhaust manifold and carburetor.
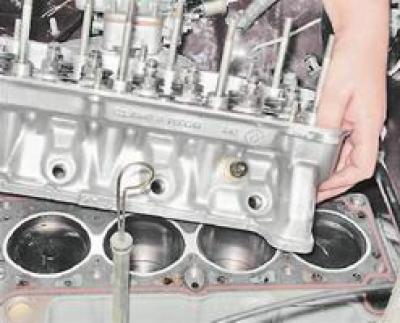
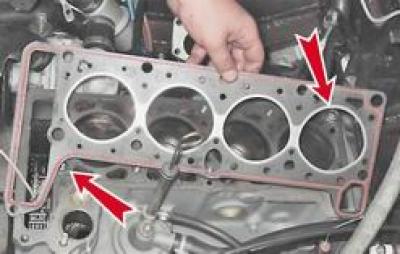
23. Remove the gasket from the two centering bushings of the cylinder block.
Installation
1. Install the new gasket and cylinder head in the reverse order, passing the wire with the chain through their windows.
2. Check the coincidence of the previously applied marks.
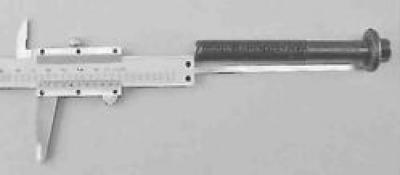
3. Before installing the cylinder head, it is necessary to lubricate its mounting bolts with engine oil in advance and allow excess oil to drain, holding the bolts for at least 30 minutes.
Attention! Cylinder head mounting bolts may only be reused if they have stretched to a length of no more than 115.5 mm. If the length is greater, the bolt must be replaced.
4. Tighten the cylinder head mounting bolts in four steps:
- pre-tighten ten internal head mounting bolts to 20 Nm;
- we tighten them with a torque of 69.4-85.7 N·m.
- we turn the bolts by 90°;
- we turn the bolts again by 90°.
Lastly, tighten the outer mounting bolt (11) to a torque of 30.6-39.1 N·m.
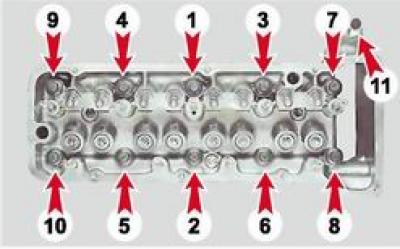
Cylinder head bolt tightening sequence
5. Install the housing with the camshaft on the cylinder head studs and evenly tighten the mounting nuts (see "Camshaft and valve levers - replacement").
6. Untie the wire, install the sprocket with the chain on the camshaft, tighten the mounting bolt and lock it by bending the tab of the lock washer.
7. "Charge" the chain tensioner and, having installed it in its original place, "discharge" it (see "Timing Chain Tensioner - Replacement") and adjust the chain tension (see "Timing Chain - Replacement").
8. Adjust the clearance between the levers and the camshaft cams (see "Clearance between valve levers and camshaft cams - adjustment").
9. Adjust the tension of the generator drive belt (see "Generator Drive Belt - Tension Adjustment and Replacement").
10. Install the ignition distributor, directing the runner contact to the high-voltage terminal of the 4th cylinder (see "Ignition distributor - removal and installation"). We check and, if necessary, adjust the ignition timing angle (see "Ignition timing - checking and adjustment").
11. Installation of removed parts is performed in reverse order.
12. Fill the system with coolant (see "Coolant - Checking Level and Replacing").