
Removing
1. We prepare the car for work (see "Preparing the car for maintenance and repair").
2. On engine 21114 remove decorative trim (see "Decorative overlay of the engine - removal and installation").
3. Disconnect the drive cable from the throttle and, together with the mounting bracket, take it towards the radiator (see "Engine receiver 2111 (1,5i 8v) - removal, replacement of seals and installation", or "Engine receiver 21114 (1,6i 8v) - removal, replacement of seals and installation").
4. Using a Phillips screwdriver, loosen the clamps of the three hoses of the crankcase ventilation system. Remove the hoses from the branch pipes of the head cover.
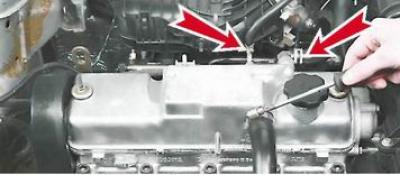
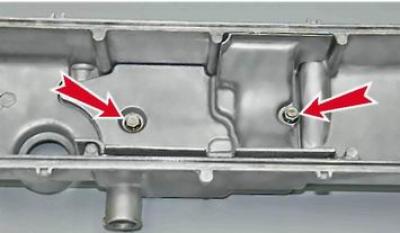
5. socket wrench by 10 mm unscrew the two nuts securing the cylinder head cover.
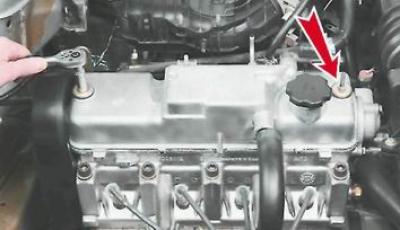
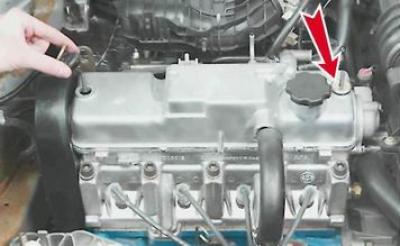
6. Remove the washer and rubber bushing from each cylinder head stud.
Recommendation. Damaged rubber bushings must be replaced.
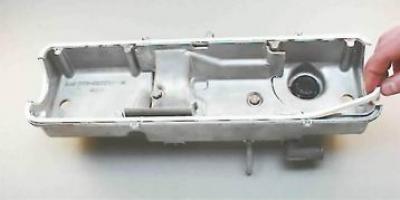
7. Remove the cover.
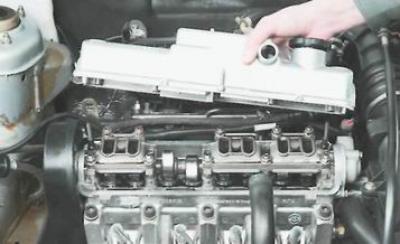
8. Remove the gasket from the cover.
Flushing
1. Unscrew the oil filler cap.
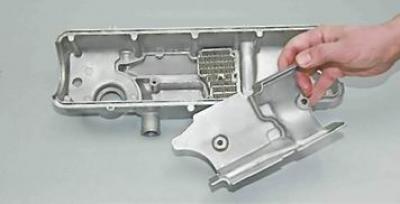
2. socket wrench by 10 mm unscrew the two bolts securing the oil separator housing.
3. Remove the case.
4. Remove the oil separator screens.
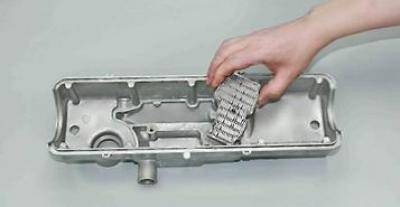
5. We wash the removed parts in kerosene, wipe with a rag and blow with compressed air (from tire pump).
6. We assemble the oil separator in the reverse order.
Installation
1. We remove the remaining oil from the mating surface of the cylinder head, to which the cover gasket is pressed.
2. We put a new gasket in the cover.
Warning! The radii on the right and left sides of the cover are different. Make sure the gasket is installed correctly.
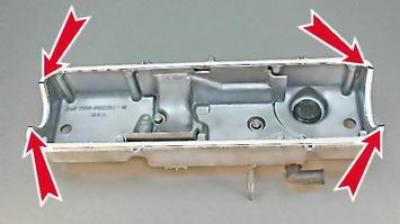
3. Apply a thin layer of sealant to the corners of the gasket.
4. Install the cylinder head cover in reverse order.