




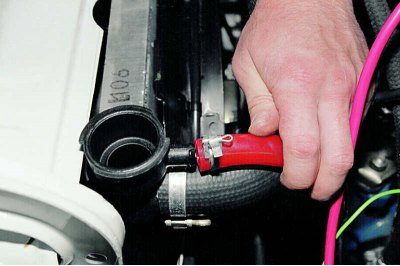
Having loosened the clamp, we disconnect the expansion tank hose from the radiator,…
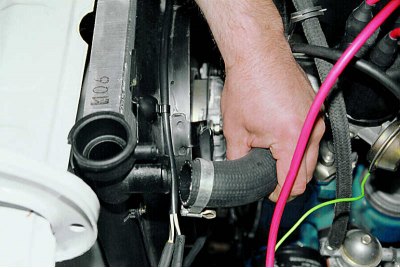
...and also the supply (upper) one...
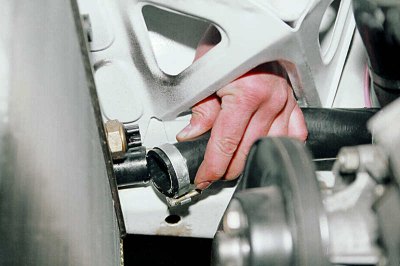
...and the discharge (lower) hoses. (The electric fan has been removed for clarity).
We disconnect the connectors of the electric fan wires and its activation sensor.
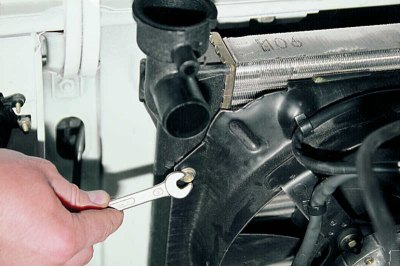
Using an 8 mm spanner, unscrew the three bolts securing the electric fan to the radiator...
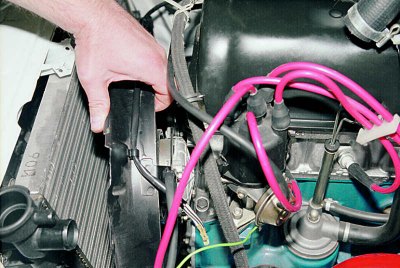
...and remove the electric fan.
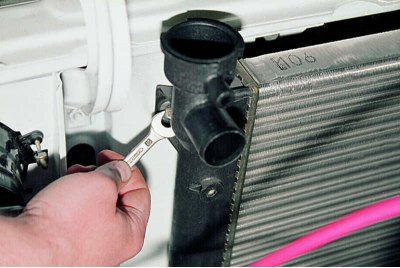
Using a 10 mm spanner, unscrew the two radiator mounting screws...
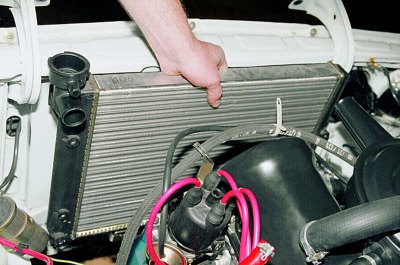
...and remove the radiator from the car.
At the same time, try not to touch its middle part with other parts of the car - you can damage the aluminum fins of the radiator tubes.
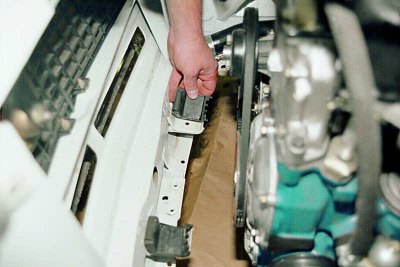
If necessary, remove and replace the radiator rubber mounts.
We install the radiator in the reverse order, then fill it with coolant (see Replacing the coolant).
Attention! When installing hoses connecting elements of the cooling system, replace the standard clamps with worm clamps. They seal the connections more reliably and are more convenient for repairs.
Before installing the old radiator, it is recommended to flush its internal cavity with water through the pipes, and also wash it from the outside.
You can flush the engine cooling system without disassembling it. There are many products designed specifically for this. It is more convenient to use them when replacing the coolant. Before using the product, carefully read the instructions attached to it. As a rule, the cleaner is added to the old coolant through the radiator neck. Then we start the engine and after the time specified in the instructions (from several minutes to several hours), drain the coolant. Flush the engine cooling system with water, removing any remaining product and dirt, then fill the system with fresh coolant.
Attention! Long-term operation of the car with a cleaner in the cooling system (more than the period specified in the instructions) is unacceptable.