




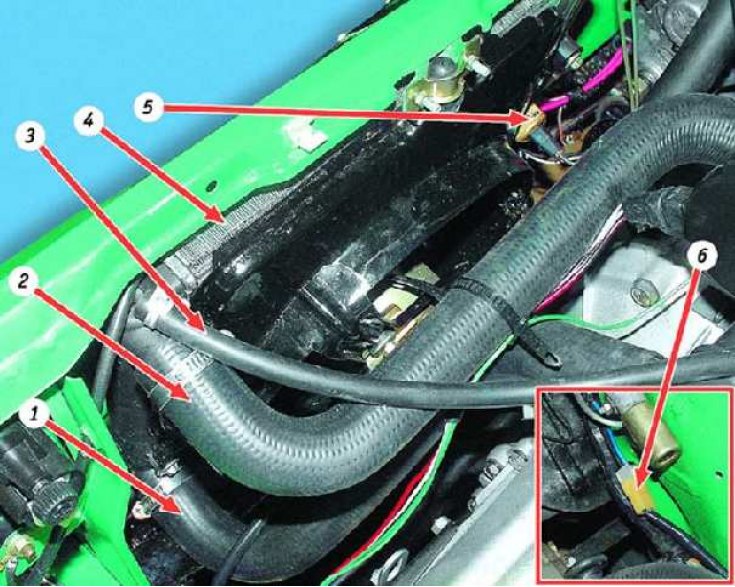
Installing a radiator on a car: 1 - radiator drain hose; 2 - radiator supply hose; 3 - steam outlet hose; 4 - radiator; 5 - fan motor switch sensor; 6 - connecting block of wires of the electric motor of the fan
You will need:
- keys "8", "10"
- screwdriver
Disconnect the wire from the "–" terminal of the battery.
Drain the coolant.
The radiator must be replaced if coolant leaks are detected from it.
In a workshop equipped with special equipment, the radiator can be checked and repaired.
To check for leaks, plug the radiator pipes and lower them into a bath of water, supplying air to it under a pressure of 0.2 MPa (2 kgf/cm²). No air bubbles should appear from the radiator within 30 seconds.
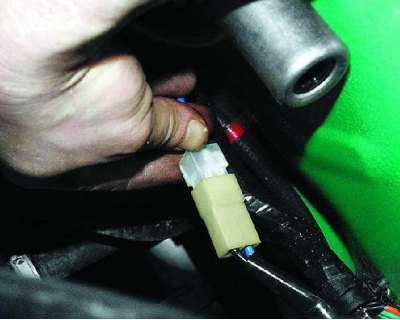
1. Disconnect the connector from the fan and wiring harness.
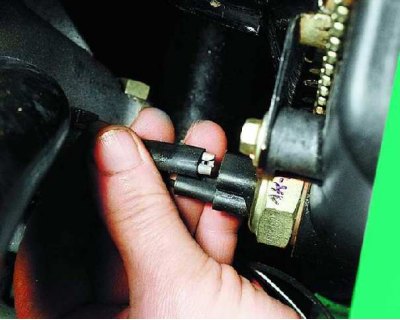
2. Disconnect the two wires from the fan motor switch.
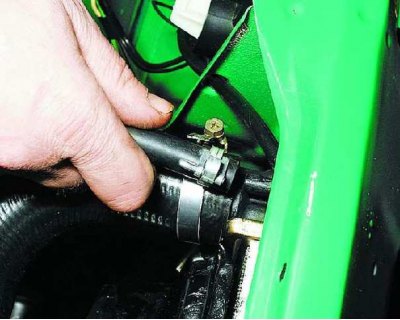
3. After loosening the clamps, disconnect the steam outlet hose from the radiator...
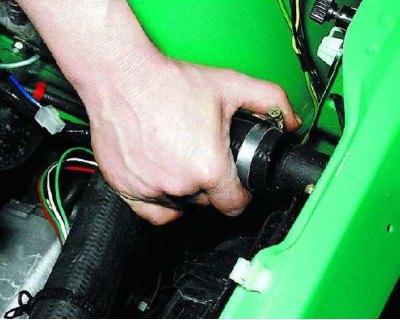
4....supply hose and...
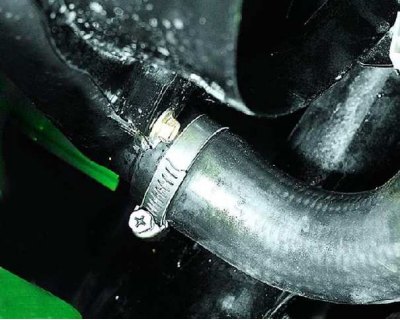
5....discharge hose.
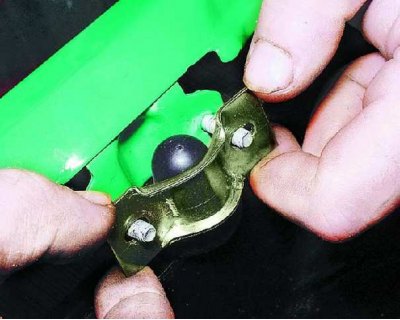
6. Unscrew the two nuts of the upper casing mount, remove the mounting bracket and remove the radiator with the fan casing upwards from the vehicle.
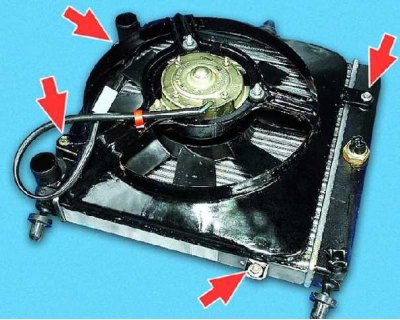
7. Remove the three bolts and nut securing the fan shroud to the radiator and remove the shroud from the radiator.
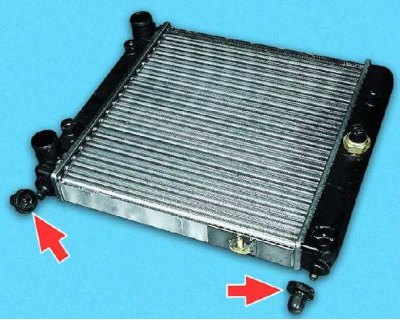
8. Remove the two lower mounting pads from the radiator. Replace any torn or loose pads.
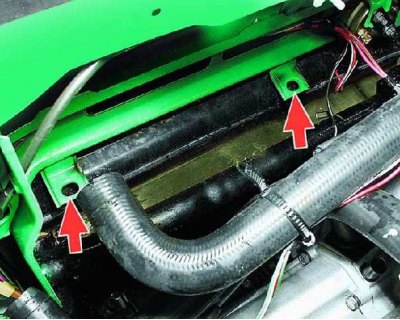
9. Install the fan shroud and lower mount pads onto the new radiator. When installing the radiator on the vehicle, first insert the pads into the holes on the brackets. Connect the hoses and wires to the radiator.
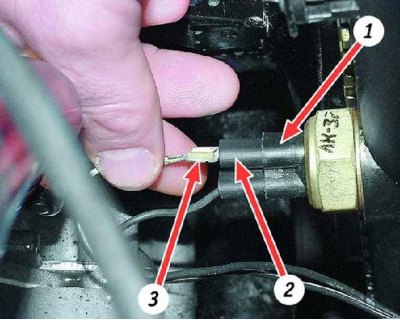
10. When connecting the wires to the fan motor switch, first insert the protective rubber bands 2 into the housing 1, and then the wire tips 3 (the order in which the wires are connected does not matter). Fill with coolant.