




The radiator can be checked and repaired in a workshop with special equipment.
Warning! Remove and install the radiator on a cold engine.
To check for leaks, plug the radiator pipes and lower them into a bath of water, supplying air to it under a pressure of 0.2 MPa (2 kgf/cm²). No air bubbles should appear from the radiator for at least 30 s.
You will need: a screwdriver, keys "10", "13", "17".
1. Remove the battery.
2. Drain the coolant (see "Replacing the coolant").
[Original source is on the resource VazBook]
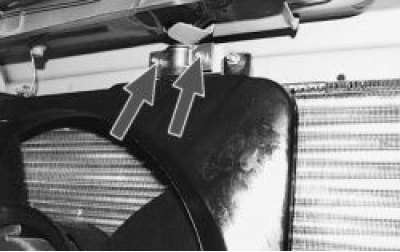
3. Remove the two bolts and two nuts securing the electric fan casing.
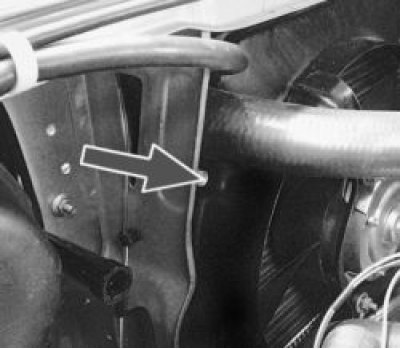
4. Unscrew the two mounting nuts and remove the bracket.
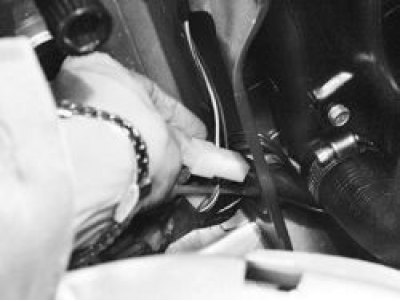
5. Disconnect the wiring harness connector from the fan motor.
6. Tilt the casing with the electric fan towards the engine and remove it from the engine compartment.
7. Loosen the mounting clamps and disconnect the two upper hoses from the radiator.
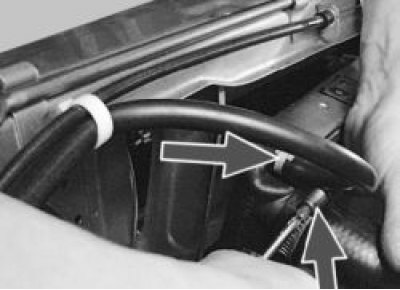
8. Disconnect the lower hose from the radiator.
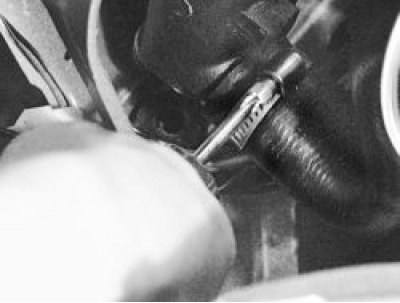
9. Tilt the radiator towards the engine and remove it from the engine compartment.
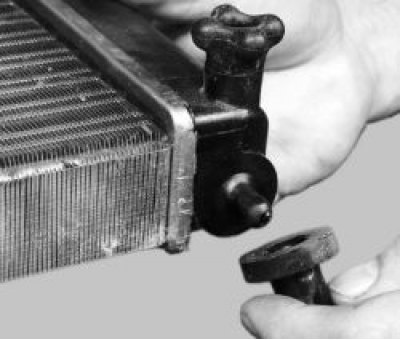
10. Remove the two lower mounting pads from the radiator if they remain on the radiator mounting pins. Replace any torn or loose pads.
Helpful Hint: One possible cause of engine overheating may be a clogged radiator. In this case, flush the radiator with water.