




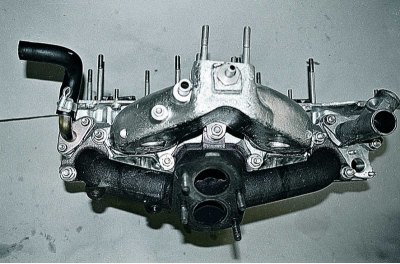
We unscrew the seven nuts securing the manifolds to the cylinder head and remove them (see Replacing intake and exhaust manifold gaskets).
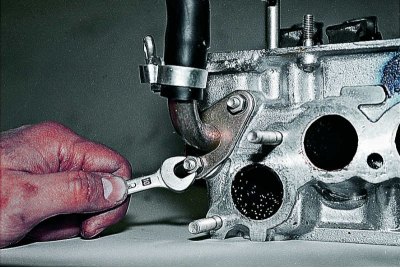
Using a 10 mm spanner, unscrew the two nuts securing the pipe...
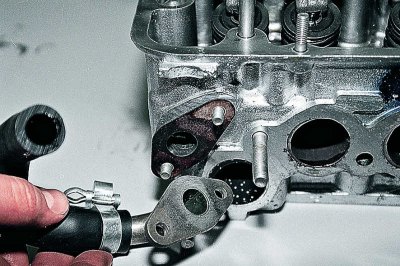
...and remove the pipe.
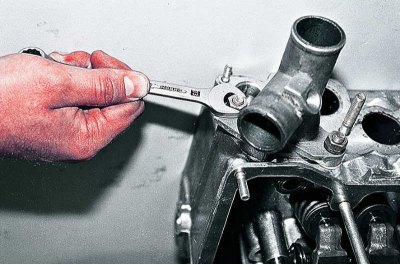
Using a 13 mm spanner, unscrew the two nuts securing the double pipe...
The text is copied from the online resource: VazBook.ru
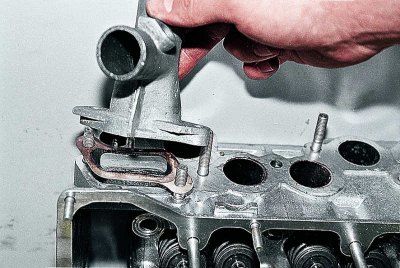
...and remove it from the cylinder head. There are sealing gaskets installed between the pipes and the head.
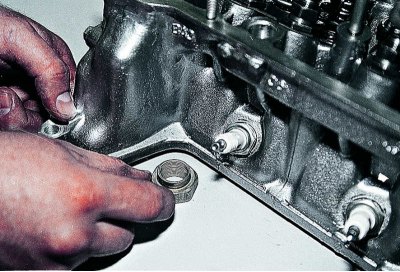
We place an improvised stop under the valve (a nut, but a wooden block is better).
We decompress the valve (see Replacing the valve timing mechanism oil deflector caps).
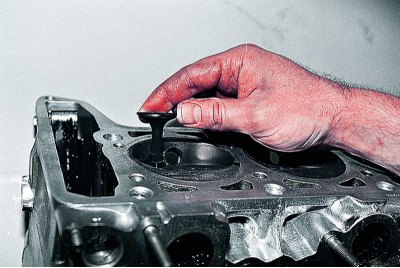
We remove the valve from the guide bushing.
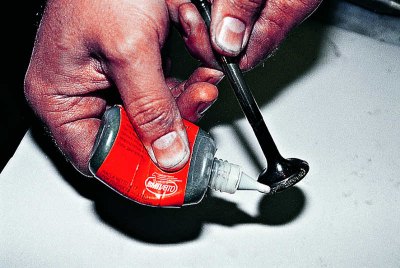
Apply lapping paste to the valve plate.
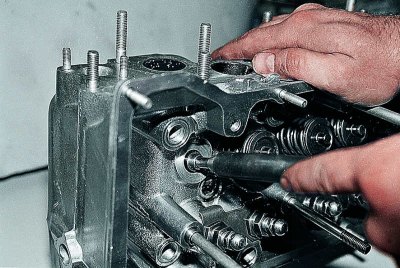
We install the valve in place. We put the lapping device on the valve stem.
Pressing the valve plate against the seat, we turn it alternately in one direction and then in the other.
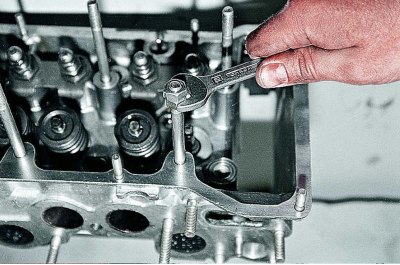
If necessary, for easy access to the outer valves, use a 13 mm wrench to unscrew the two outer studs, having first secured two nuts on them...
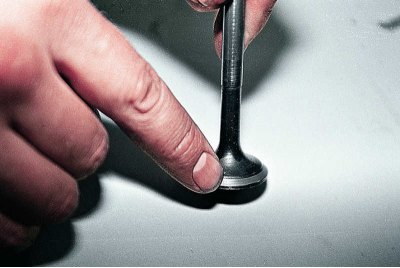
We continue grinding the valve until a smooth matte rim appears on the seat and chamfer of the valve plate.
After thoroughly washing, we install the valve in place, replacing the oil-reflecting cap (see Replacing the valve timing mechanism oil deflector caps).
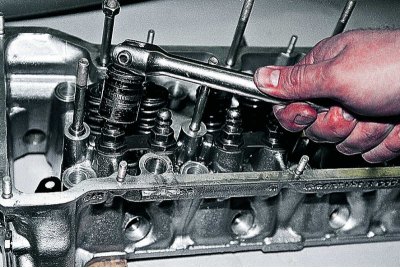
Using a 12 mm socket head, unscrew the bushing...
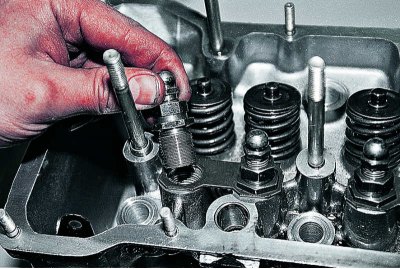
...and remove it together with the adjusting bolt and lock nut. Replace them if necessary.
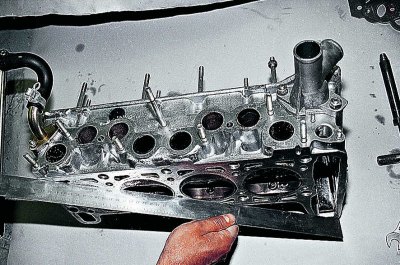
We check the mating plane of the cylinder head with a metal ruler. The permissible gap is 0.15 mm.