




Contents: Removal ↓ Installation ↓
Removal
1. Prepare the car for work (see "Preparing the car for maintenance and repair").
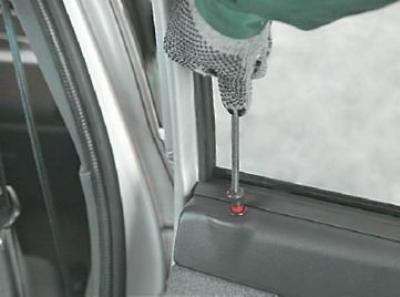
2. Using a Phillips screwdriver, unscrew the door lock button.
3. From the rear of the window lift handle (1), insert the blade of a thin slotted screwdriver between the socket (3) and the handle trim (2). Press the handle trim away from the socket, releasing the retainer (protrusion) located on the inside of the handle trim. In this position...
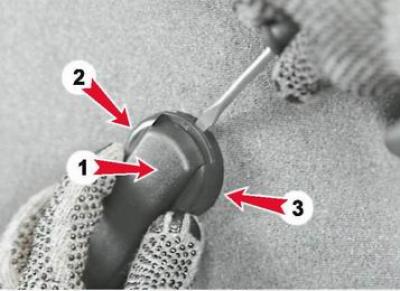
...we move the trim along the axis of the handle and remove it.
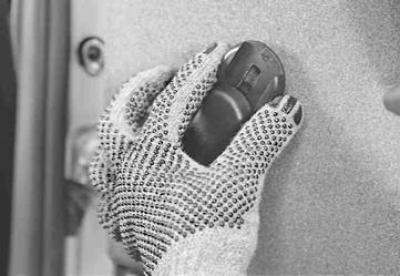
4. Remove the window lift handle and socket from the window lift drive mechanism shaft.
5. Remove the inner door handle (see "Front door trim - removal and installation").
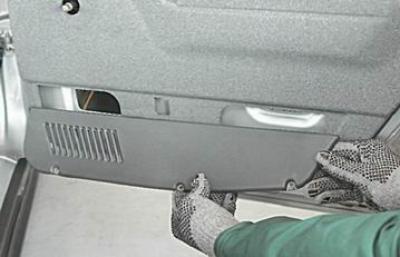
6. Using a Phillips screwdriver, unscrew the three screws securing the lower door trim panel.
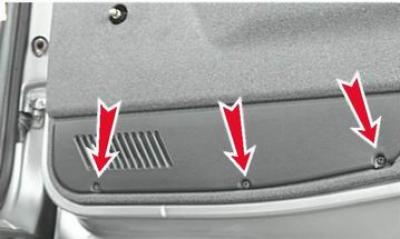
7. Remove the cover.
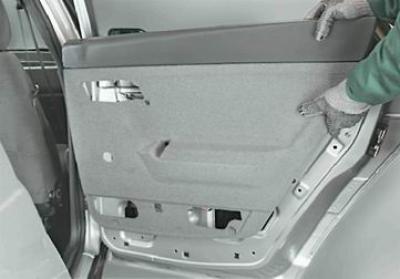
8. A slotted screwdriver with a wide blade (placing a cloth folded in several layers underneath it) we press the upholstery away from the door. At the same time, we remove the eight upholstery fastening holders from the door holes (see "Front door trim - removal and installation").
9. Slightly lift the upholstery and remove it from the door.
Installation
We install the door trim in the reverse order.
Before installing the upholstery, check the fastening holders. Replace any deformed or damaged holders.
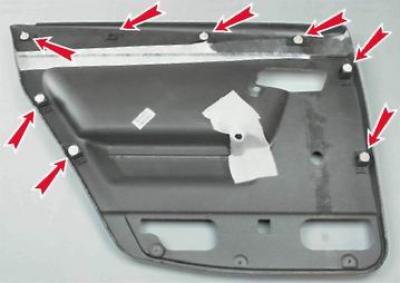
When installing the upholstery on the door, align the upholstery holders with the holes in the door panel and lightly tap the base of the palm to press the holders into the holes.