




Contents: Removal ↓ Installation ↓
Note. The work is shown using the example of a window lifter with an electric drive. The features of removing and installing a window lifter with a mechanical drive are specified in the text.
Removal
1. Remove the inner door trim (see "Front door trim - removal and installation").
2. Remove the plastic film from the door.
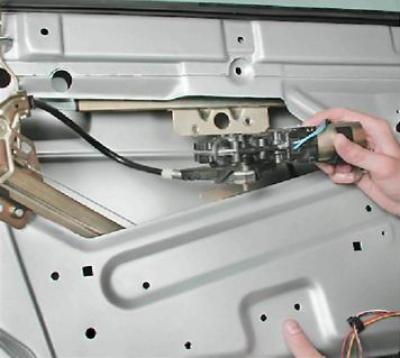
3. Turn on the ignition and lower the door glass to a level that allows you to unscrew the two bolts securing the glass bracket to the window lifter (see below p. 5). We disconnect the wiring blocks of the window lifter motor-reducer.
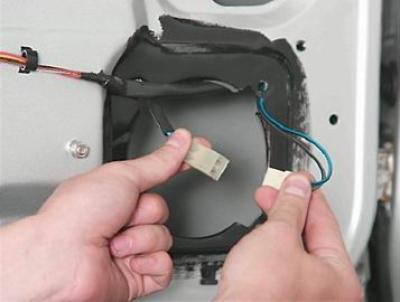
Note: If you have a power window, to lower the window, you must place the handle on the window lift mechanism shaft.
4. Remove the door lock opening handle with the rod (see "Front door lock - removal, installation and adjustment").
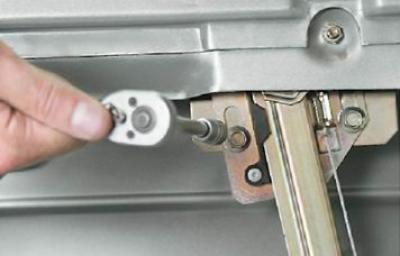
5. With a socket wrench by 10 mm unscrew the two bolts securing the glass bracket to the window lifter guide. Use your hand to lift the glass all the way up and secure it with tape.
The information is posted on the portal: VAZBOOK.ru
6. With a socket wrench by 10 mm unscrew the three nuts (1) securing the window lift drive.
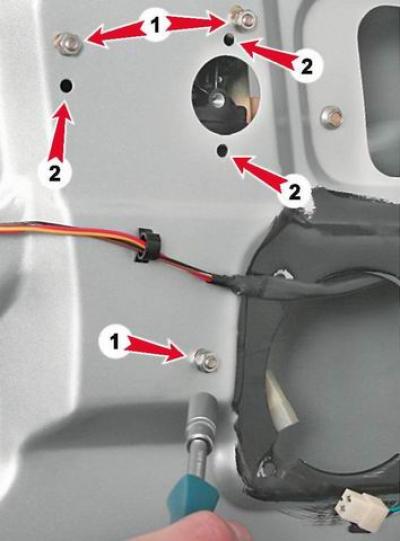
Note: The window lift mechanism with a mechanical drive is mounted on three studs with 10 mm nuts. The holes for the studs are indicated in the photo (see above pos. 2).
7. Using the same wrench, unscrew the four nuts securing the window regulator guide.
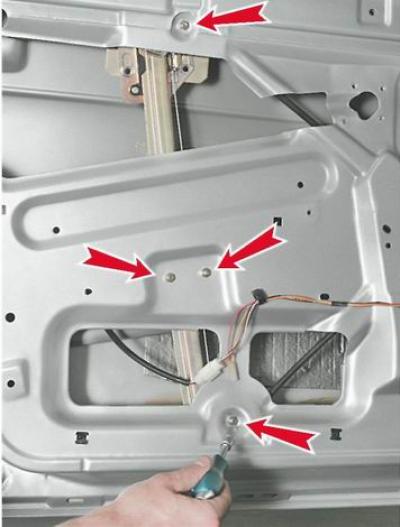
8. Lower the glass along the guides, remove the upper pin of the window regulator guide from the hole in the door panel. Raise the glass, secure it with tape and remove the window regulator from the door.
Installation
We install the window regulator in the reverse order.
Tip: Polyethylene film can be glued using sealant.