




Contents: Removal ↓ Installation ↓
Tip: To reduce the risk of damaging the paintwork of the car body, it is preferable to remove the bumper (see "Front bumper - removal and installation").
Note: The work is shown on the left headlight. Removing the right headlight is done in a similar way, but it does not require removing the battery. It is enough to turn off the outside lighting.
Removal
1. Prepare the car for work (see "Preparing the car for maintenance and repair").
2. Remove the battery (see "Battery - Removal and Installation").
3. Remove the radiator grille (see "Radiator grille - removal and installation").
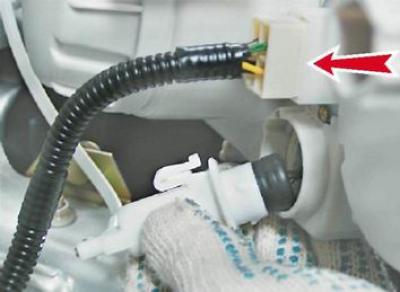
4. Slightly turning the hydraulic corrector working cylinder counterclockwise, remove it from the headlight housing. Disconnect the wiring harness connector from the headlight.
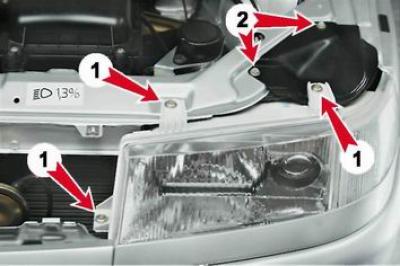
5. With a socket wrench by 8 mm unscrew the three headlight mounting bolts (1). Using a socket wrench by 10 mm unscrew the two bolts securing the shield to the upper crossbar of the front panel (2).
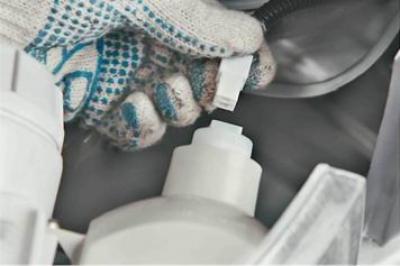
6. Disconnect the front turn signal wiring harness connector.
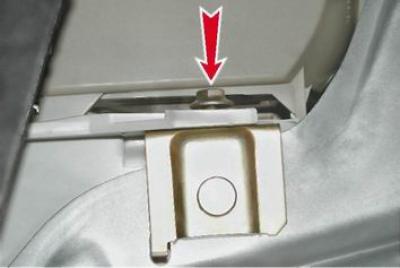
7. With a spanner by 10 mm under the bumper, from underneath the car, unscrew the nut securing the lower headlight bracket (the photo shows a view from below).
Warning! The following operation requires skill and accuracy, as it is easy to damage body parts or scratch the paint. If difficulties arise, then you should remove the front bumper and continue working without it.
8. Having pressed the unfastened headlight upwards, carefully, trying not to damage the paint on the wing and bumper, we remove the outer end of the headlight cover from engagement with the edge of the front wing.
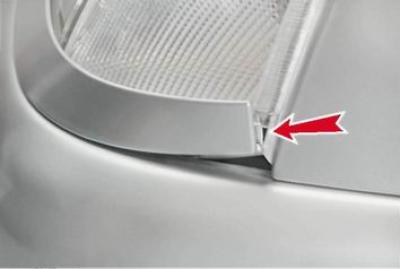
9. Slightly tilting the upper edge of the trim forward, we remove its lower part from engagement with the bumper and at the same time pull the trim out from under the headlight and move it towards the front wing.
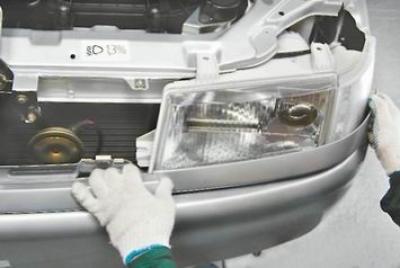
10. Remove the headlight from the car.
Installation
We install the headlight in the reverse order, after which we adjust the direction of its light beam (see "Headlight unit - light adjustment").