




- pliers
- screwdriver
- key "13" (two)
Disconnect the lower ends of the rubber cushions of the exhaust pipe suspension from the brackets (see subsection 10.11.1, operations 5 and 7). There is no need to remove the cushions from the brackets on the body base.
The exhaust pipe is removed if it is mechanically damaged, cracks appear in the welds, corrosion occurs, or other elements of the exhaust system are replaced.
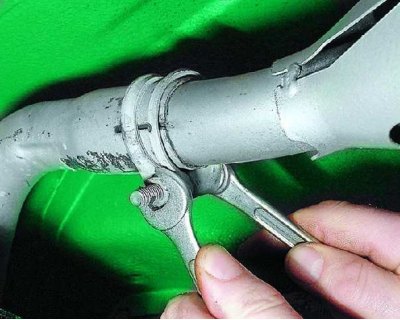
1. While holding the clamp bolt with a wrench from turning, use a second wrench to loosen the nut 3–5 turns.
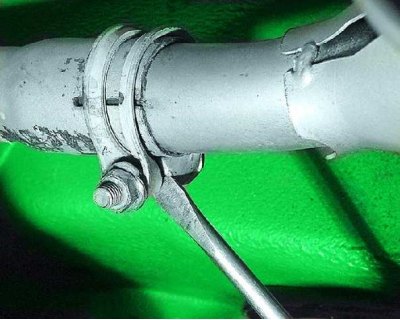
2. Insert a screwdriver into the slot of the clamp and, by pushing its branches apart, loosen the fit on the pipe.
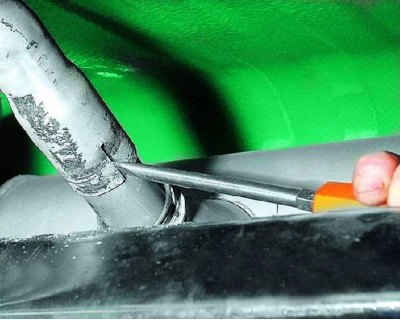
3. Slide the clamp along the main muffler pipe from its installation location and use a screwdriver to carefully bend the petals of the split end of the pipe to loosen its fit in the connection with the pipe.
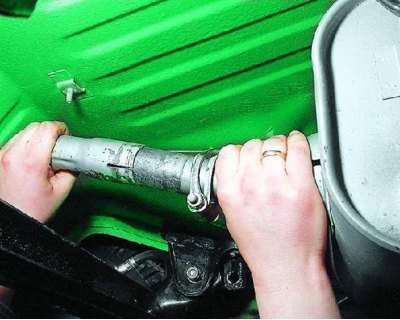
4. By rocking the pipe from side to side and rotating it along the axis...
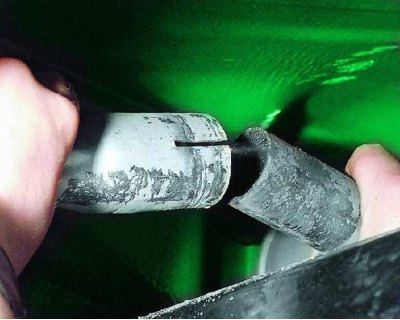
5....slide it off the main muffler pipe and remove it from the car.
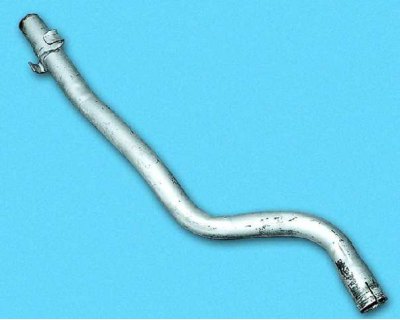
6. Install the exhaust pipe in the reverse order of removal. To improve the tightness of the connection, we recommend lubricating the inner surface of the pipe or the outer surface of the muffler pipe with a special sealant for exhaust systems. We recommend replacing the clamp with a new one each time the system is disassembled.